 Save
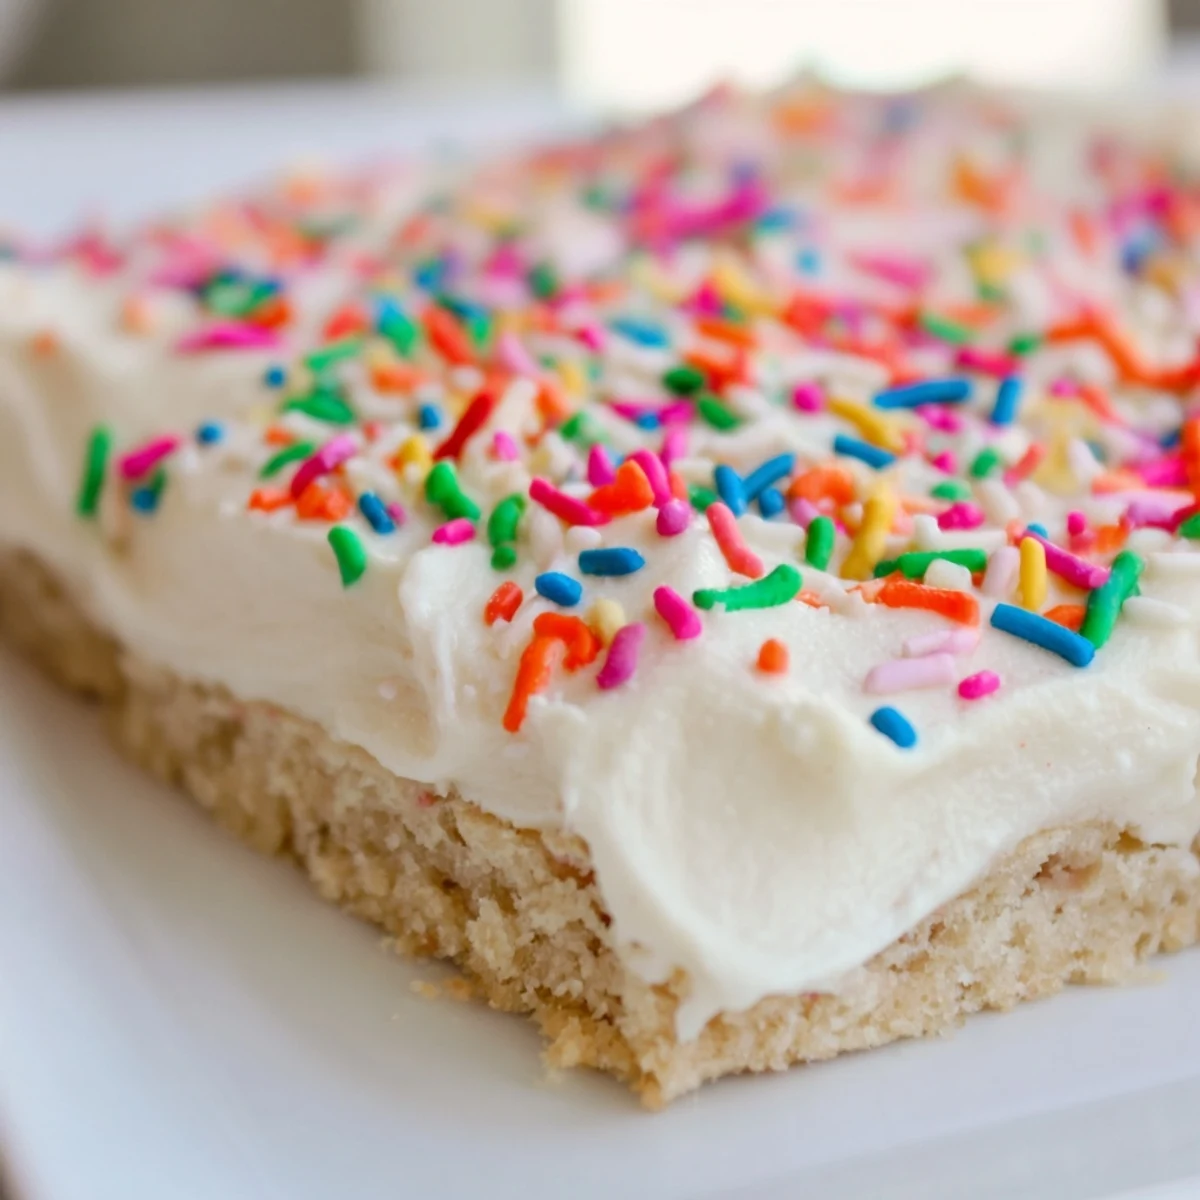
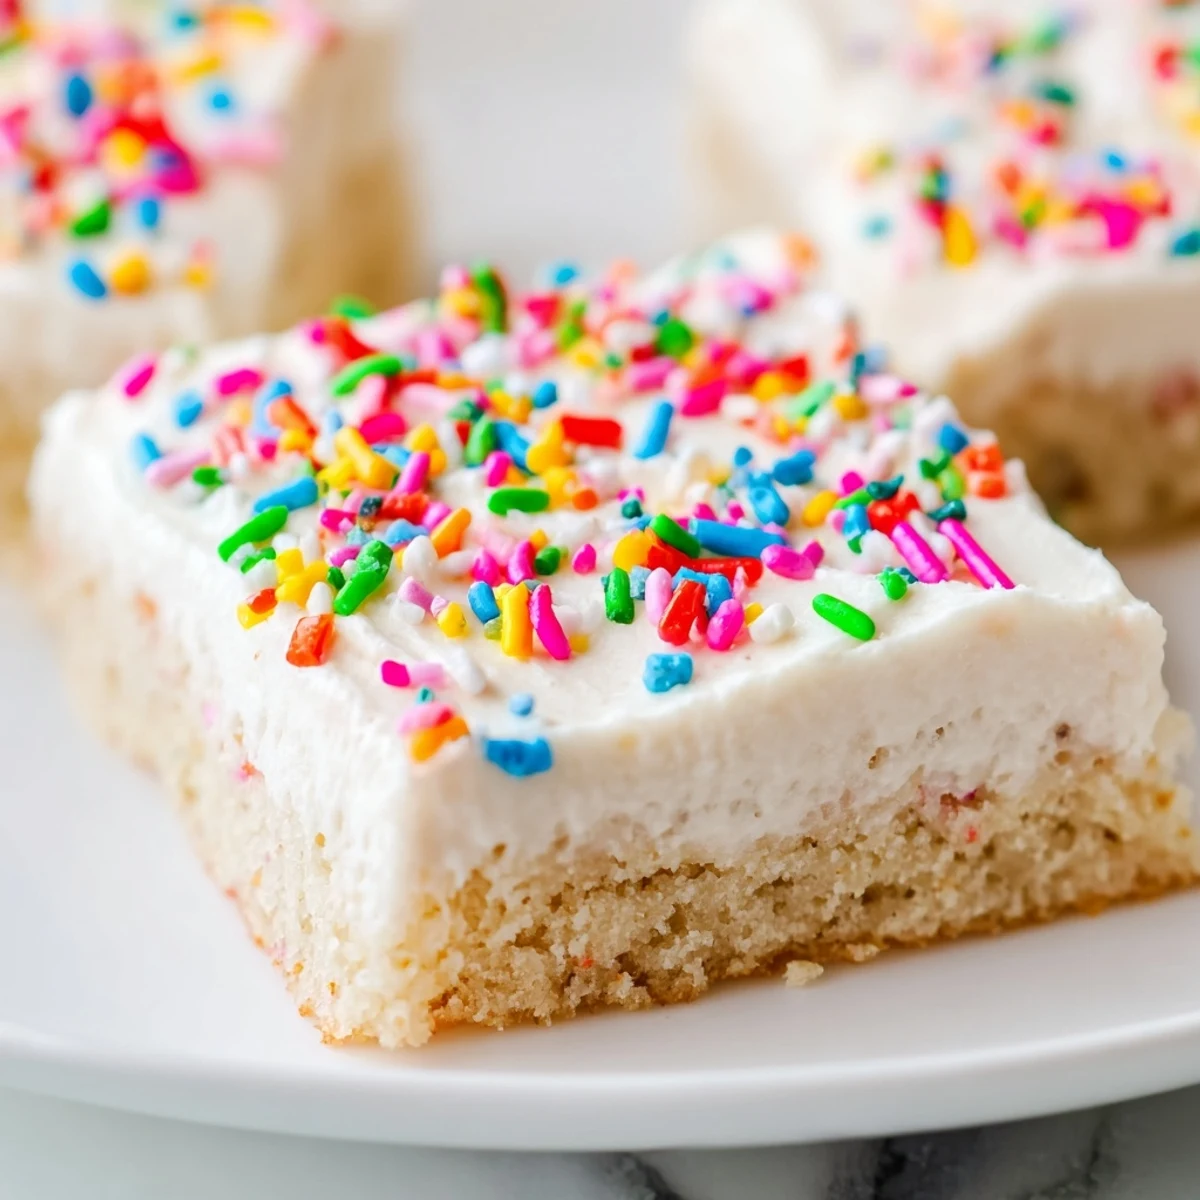
Save These soft, buttery sugar cookie bars combine the classic taste of traditional sugar cookies with the ease of a sheet pan dessert. The tender vanilla-infused base bakes up golden with slightly crisp edges and a melt-in-your-mouth center, while the creamy frosting adds the perfect touch of sweetness.
What makes these bars special is their texture—denser than a cake but lighter than a typical cookie, with a satisfying chew that keeps everyone coming back for more. The frosting creates a smooth, velvety layer that balances the sweetness perfectly, and you can easily customize with food coloring or sprinkles for holidays and special occasions.
Perfect for bake sales, potlucks, birthday parties, or holiday gatherings, these bars transport beautifully and stay fresh for days. The straightforward recipe comes together quickly, making it ideal for both experienced bakers and beginners looking to impress.
My apartment smelled like pure butter and vanilla the day I first made these bars, and I honestly had to stop myself from eating the dough straight from the bowl. I'd been craving something festive but didn't have the patience for rolling and cutting individual cookies, so I pressed the whole batch into a pan instead. That impulsive decision turned into the easiest, most crowd-pleasing treat I've ever made.
I brought these to a friend's birthday party last summer, and people kept asking where I bought them. When I said I baked them that morning, nobody believed me. The best part was watching kids and adults alike reach for seconds, the colorful sprinkles scattered across their plates like confetti.
Ingredients
- Unsalted butter (softened): Room temperature butter creates that tender crumb, and I always set it out first thing so I don't forget
- Granulated sugar: Creaming this with the butter is what gives the bars their lift and delicate texture
- Large egg: Adds structure and richness, bringing everything together
- Pure vanilla extract: Don't skimp here because the vanilla shines in every bite
- All-purpose flour: The foundation of the bars, measured carefully for consistent results
- Baking powder: Just enough to give them a subtle rise without making them cakey
- Salt: Balances the sweetness and makes all the flavors pop
- Unsalted butter (for frosting): Creates a silky, luxurious base for the topping
- Powdered sugar: Sifting first prevents lumps and makes the frosting impossibly smooth
- Milk: Adjust this to get your ideal frosting consistency
- Pure vanilla extract: The same quality extract you used in the cookie base
- Pinch of salt: Keeps the frosting from being cloyingly sweet
- Food coloring and sprinkles (optional): Because everything's better with a little celebration
Instructions
- Get everything ready:
- Preheat your oven to 350°F and line a 9x13-inch pan with parchment paper, leaving the edges hanging over like handles for easy lifting later.
- Make the cookie base:
- Beat the softened butter and sugar until pale and fluffy, then mix in the egg and vanilla until everything's smooth and combined.
- Combine the dry ingredients:
- Whisk the flour, baking powder, and salt in a separate bowl so they're evenly distributed.
- Mix the dough:
- Gradually add the dry ingredients to the butter mixture, mixing just until you no longer see flour streaks.
- Press and bake:
- Press the dough evenly into your prepared pan and bake for 18-20 minutes until the edges turn golden and the center is set.
- Cool completely:
- Let the bars cool in the pan completely because warm bars will melt your frosting into a sad puddle.
- Make the frosting:
- Beat the butter until creamy, then gradually add the powdered sugar and milk until you have a fluffy, spreadable consistency.
- Flavor and frost:
- Mix in the vanilla and salt, add food coloring if you're feeling festive, then spread the frosting generously over the cooled bars.
- Slice and serve:
- Use the parchment overhang to lift the whole slab from the pan, then cut into 24 squares and watch them disappear.
 Save
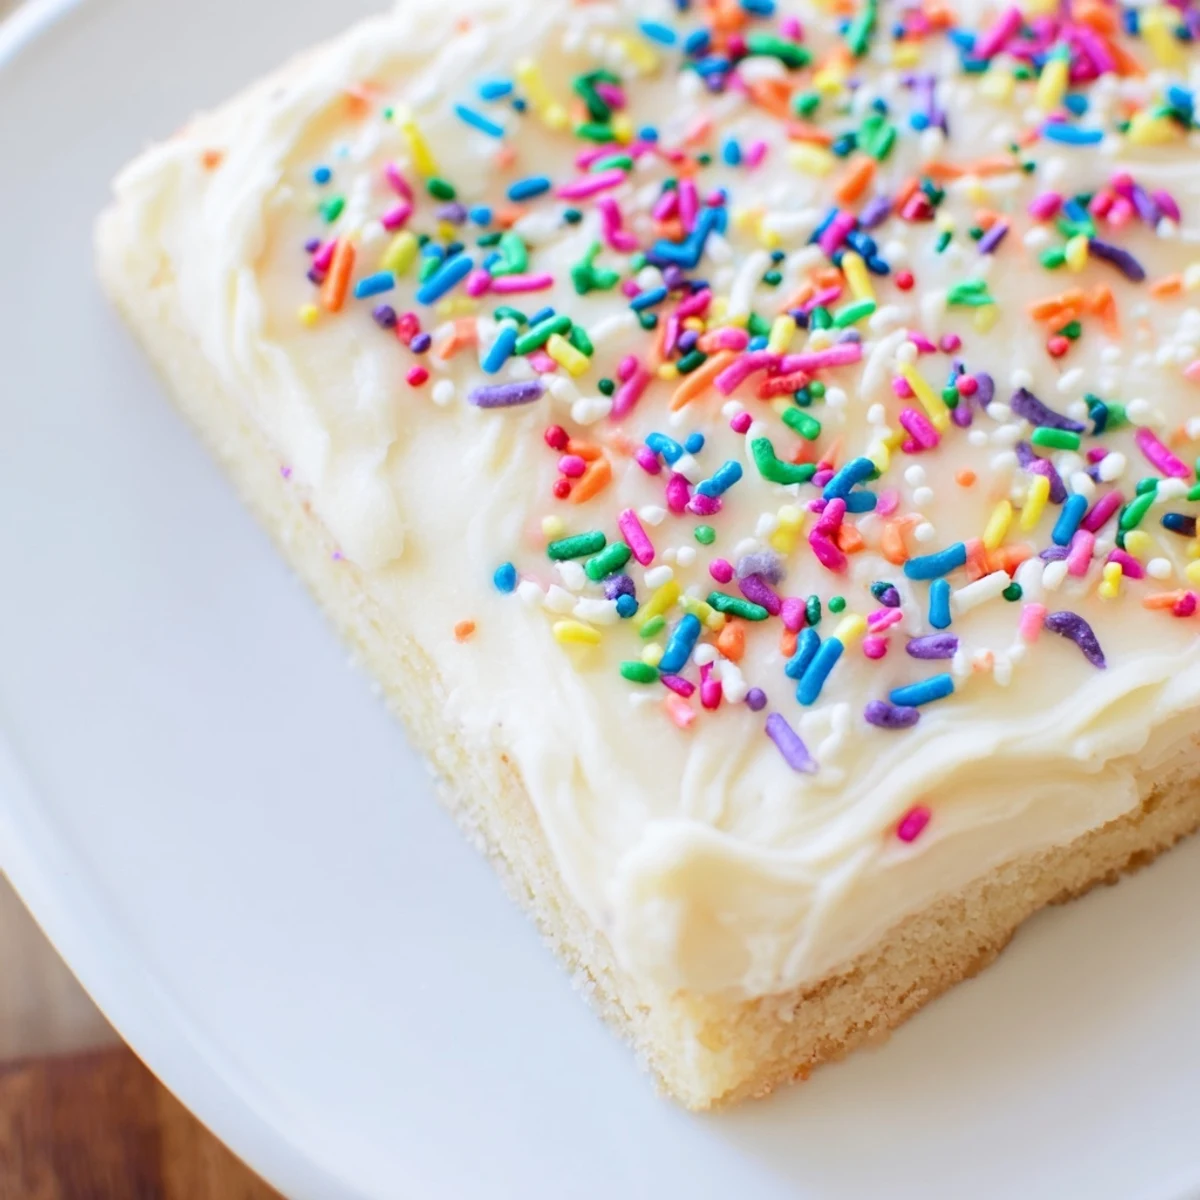
Save These sugar cookie bars have become my go-to for everything from bake sales to birthday celebrations. There's something about the combination of that buttery base and cloud-like frosting that makes people feel like a kid again.
Making Them Your Own
I've found that adding lemon zest to the dough transforms these into something incredibly refreshing for spring gatherings. The citrus brightens everything without overwhelming the classic sugar cookie flavor.
Storage Secrets
These bars actually taste better on day two because the flavors have time to meld and the frosting softens the cookie slightly. Store them in an airtight container and they'll stay perfectly soft for days.
Party Perfect Tips
When I'm making these for a crowd, I double the batch and use two sheet pans so I have plenty to go around. The portable squares are so much easier than handing out plates of individual cookies.
- Use an offset spatula for the smoothest frosting application
- Add sprinkles immediately after frosting so they stick
- Chill the frosted bars for 15 minutes before slicing for clean edges
 Save
Save Hope these bars bring as much joy to your kitchen as they've brought to mine. Every batch feels like a little celebration.
Recipe FAQs
- → Can I make sugar cookie bars ahead of time?
-
Yes, you can bake the bars up to 2 days in advance. Store unfrosted bars wrapped tightly at room temperature. Frost on the day of serving for the freshest taste and texture. Once frosted, they'll keep for 3 days in an airtight container.
- → Why are my sugar cookie bars hard or dry?
-
Overbaking is the most common cause. Remove from the oven when edges are just lightly golden and the center appears set. The bars continue cooking slightly as they cool. Also, measure flour accurately—too much flour creates dry, tough bars.
- → Can I freeze sugar cookie bars?
-
Absolutely. Freeze unfrosted bars for up to 3 months, wrapped tightly in plastic and foil. Thaw at room temperature before frosting. You can also freeze frosted bars, though the texture may be slightly less perfect upon thawing.
- → What's the best way to cut clean, even squares?
-
Let the bars cool completely in the pan before frosting. Once frosted, chill for 30 minutes to firm up the frosting. Use a sharp knife wiped clean between cuts, or use a plastic scraper for perfect edges. Cut into 4 rows by 6 columns for 24 equal pieces.
- → Can I use salted butter instead of unsalted?
-
Yes, simply reduce the added salt in the dough by half. For the frosting, omit the pinch of salt entirely if using salted butter. The flavor will still be delicious, though unsalted butter gives you more control over the final seasoning.
- → How do I know when the bars are done baking?
-
The edges should be just barely golden, and the center should look set rather than raw or jiggly. A toothpick inserted in the center should come out with moist crumbs but not wet batter. Start checking at 18 minutes to avoid overbaking.
