 Save
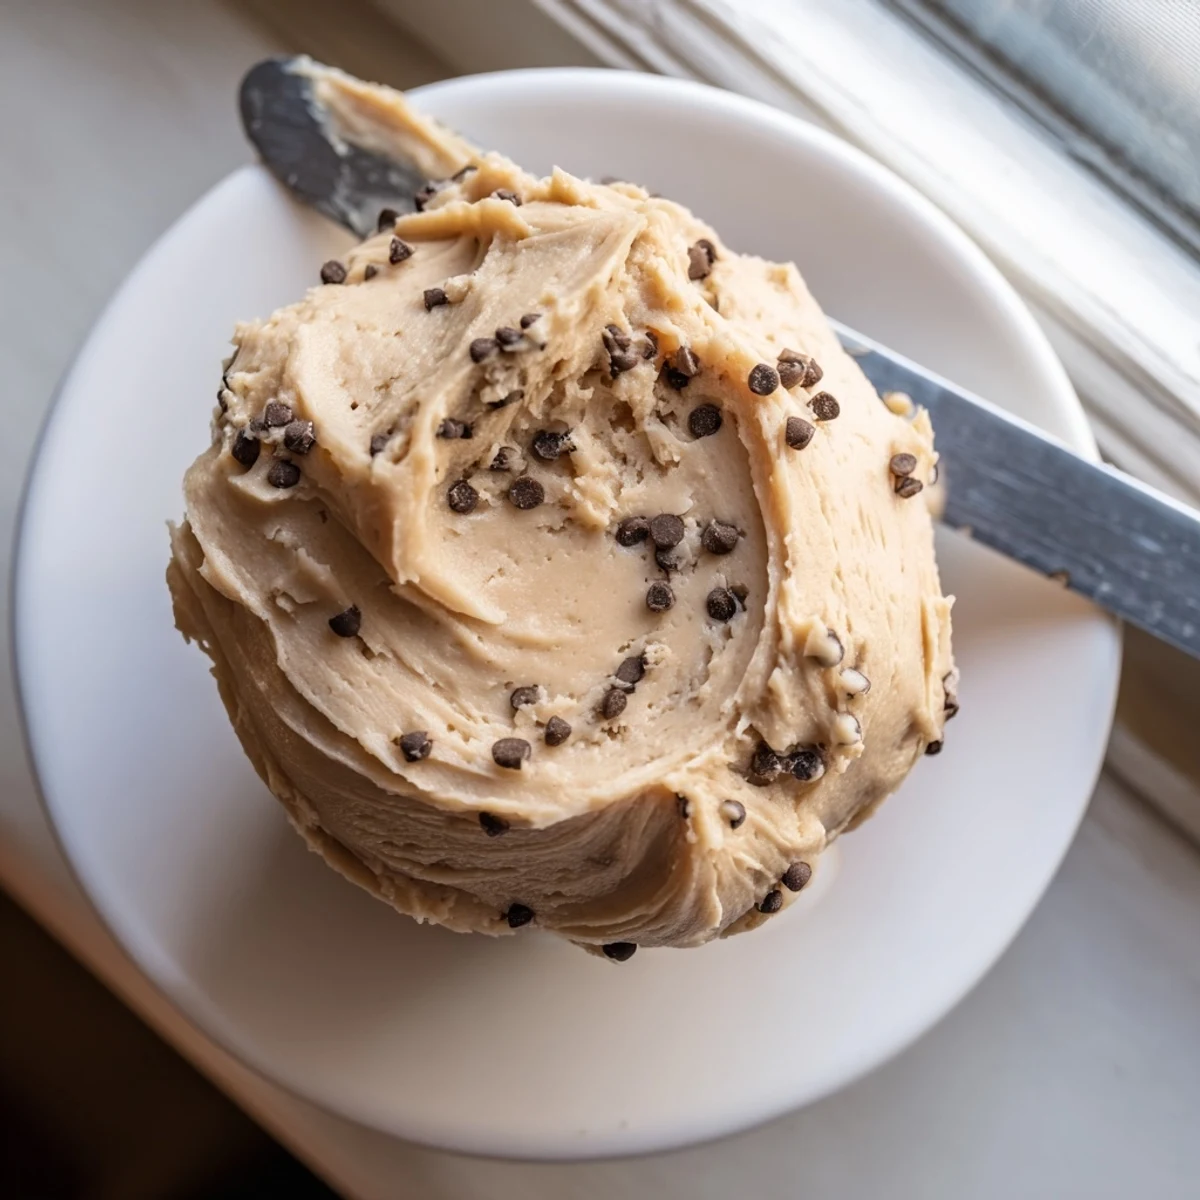
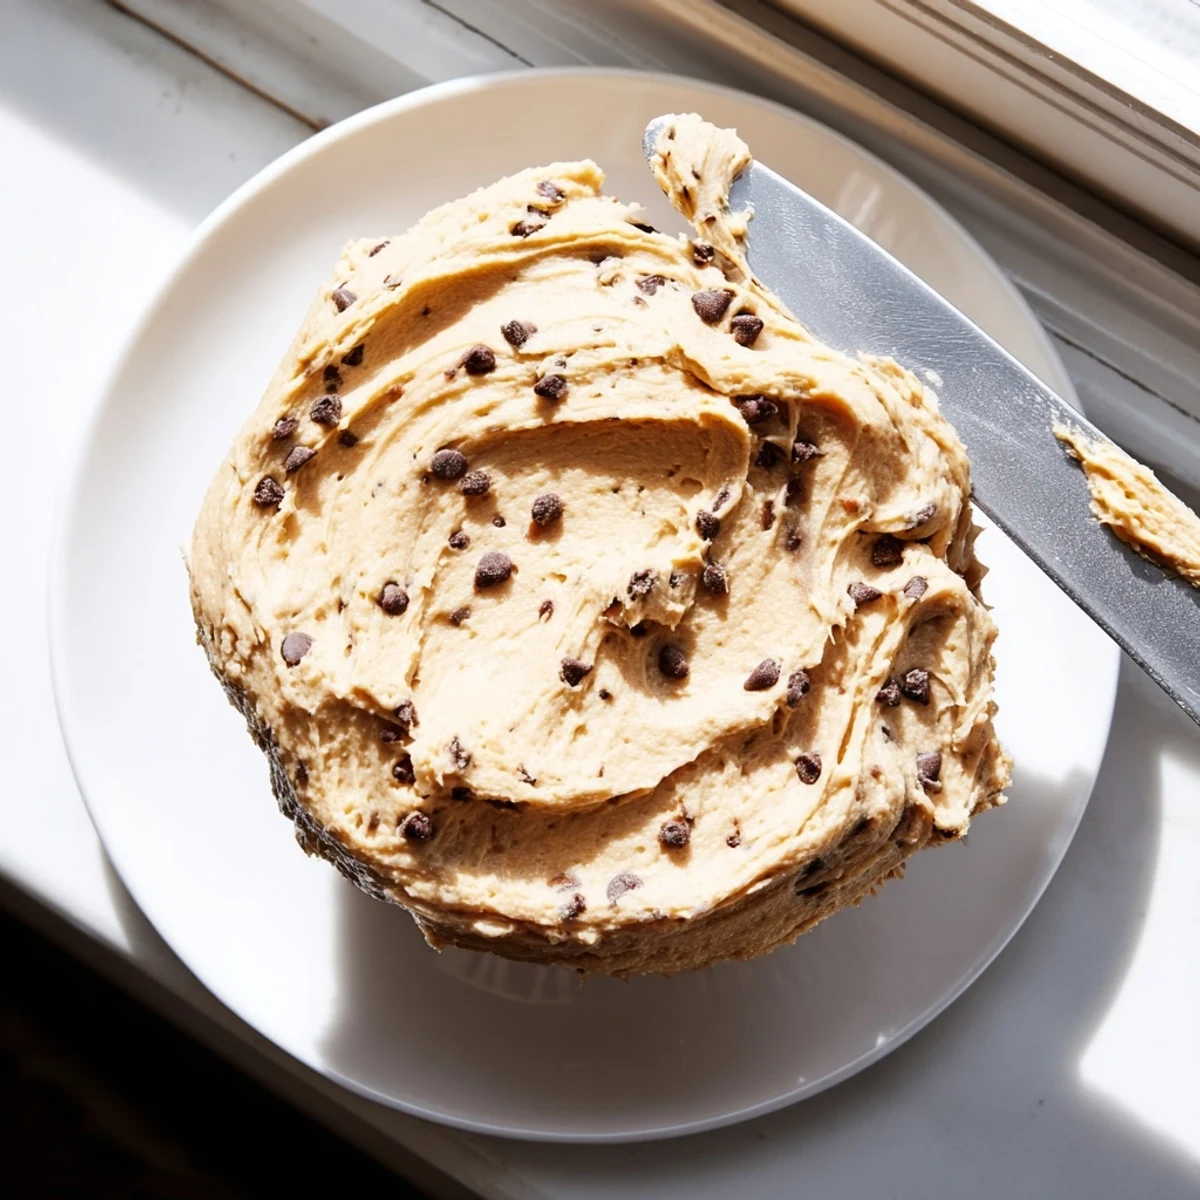
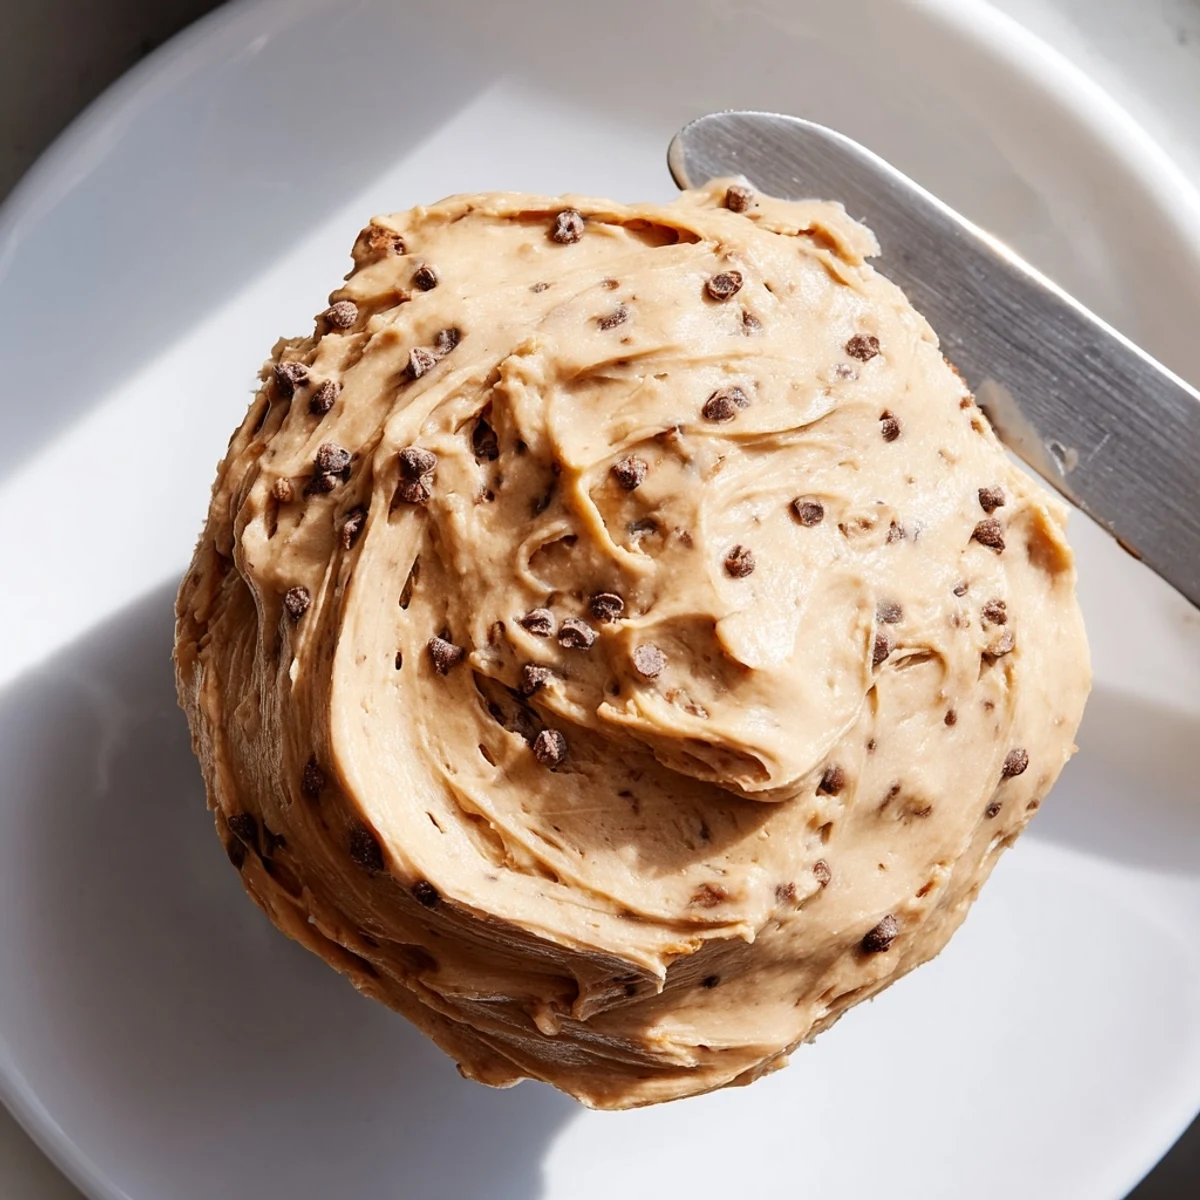
Save This luscious frosting captures the irresistible taste of raw chocolate chip cookie dough with a smooth, spreadable texture. The combination of softened butter and brown sugar creates that authentic dough flavor, while heat-treated flour ensures it's safe to eat without baking.
Mix it up in just 10 minutes using basic pantry staples, then slather over cooled cupcakes, spread between cake layers, or simply grab a spoon. The mini chocolate chips add classic crunch throughout.
The first time I made this frosting, I caught my roommate eating it straight from the bowl with a spoon at midnight. That's when I knew this wasn't just a topping—it was a dangerous addiction in the making. There's something about that classic cookie dough flavor that makes everyone revert to their childhood self, sneaking tastes when no one's watching.
I brought a batch of this to my sister's baby shower, and the other moms kept asking where I bought the frosting. They couldn't believe it was homemade, and I've been the designated frosting provider for every family gathering since. Watching people's eyes light up when they realize it's cookie dough flavored never gets old.
Ingredients
- Unsalted butter: Room temperature butter creates that silky base everything else builds upon—don't rush this step or your frosting will turn out grainy
- Light brown sugar: This gives you that authentic cookie dough taste with hints of caramel that white sugar just can't replicate
- Whole milk: Helps achieve the perfect spreadable consistency while keeping everything smooth and creamy
- Pure vanilla extract: Don't skimp here—it's the flavor backbone that makes everything taste like bakery quality
- Heat-treated flour: This is non-negotiable for safety, plus it gives you that genuine raw dough texture we all crave
- Fine sea salt: Balances out the sweetness and makes all the flavors pop beautifully
- Mini chocolate chips: The smaller size distributes chocolate evenly throughout every single bite
Instructions
- Cream the butter and sugar:
- Beat your softened butter and brown sugar on medium speed for about two minutes until the mixture looks pale and fluffy—those air pockets are what make the frosting feel light on your tongue
- Add the wet ingredients:
- Pour in your milk and vanilla, then keep mixing until everything is completely smooth and there are no visible sugar lumps left
- Incorporate the dry ingredients:
- Start your mixer on low speed and gradually add that heat-treated flour and salt—mix just until combined because overworking makes the texture turn gummy
- Fold in the chocolate chips:
- Switch to a spatula and gently fold in the mini chips by hand so they stay evenly distributed without getting crushed
- Frost everything in sight:
- Spread this immediately over whatever you've baked, or stash it in the fridge for up to three days if you can resist eating it all first
 Save
Save My nephew requested this frosting for his birthday cake three years in a row, and now he requests it for every single celebration. It's become our family's signature sweet, the kind of thing people start asking about weeks before any event. Food has a way of becoming tied to memories, and this frosting has created so many happy moments around our table.
Making It Your Own
Swap out the chocolate chips for chopped pecans or white chocolate chunks when you want to switch things up. I've even added a tablespoon of peanut butter to the butter mixture before adding the dry ingredients—let me tell you, that version is dangerously good.
Texture Troubleshooting
If your frosting feels too stiff, add milk one tablespoon at a time until you reach your desired consistency. On the flip side, if it's too loose, chill it for fifteen minutes before using—it firms up beautifully in the cold.
Serving Suggestions
Beyond frosting cakes and cupcakes, try serving this alongside fresh fruit or graham crackers for an instant dessert dip. It's also incredible sandwiched between two homemade cookies for the ultimate sweet treat.
- Warm the frosting for ten seconds in the microwave for an even more indulgent texture
- Top frosted treats with sea salt flakes for that gourmet touch
- Keep an extra batch in the fridge for late-night spoon emergencies
 Save
Save There's something magical about a frosting that makes people forget their manners and eat straight from the bowl. That's the kind of recipe worth keeping around.
Recipe FAQs
- → Is it safe to eat this frosting without baking?
-
Yes, this frosting uses heat-treated flour which eliminates bacteria. Simply spread flour on a baking sheet and bake at 350°F for 5-7 minutes before mixing into the frosting.
- → Can I pipe this frosting onto cupcakes?
-
This frosting has a soft, doughy texture that works best for spreading rather than intricate piping designs. It's perfect for swirling atop cupcakes with a spatula or knife.
- → How should I store leftover frosting?
-
Refrigerate in an airtight container for up to 3 days. Let it come to room temperature and stir before using. The texture may firm up when chilled but becomes spreadable again at room temperature.
- → Can I make this frosting dairy-free?
-
Substitute plant-based butter and non-dairy milk for a dairy-free version. The texture and flavor will remain similar, though the exact taste may vary slightly based on your butter alternative.
- → What can I use instead of chocolate chips?
-
Try chopped nuts like pecans or walnuts, white chocolate chips, crushed Oreos, or even sprinkles for variation. Each add-in creates a different flavor profile while maintaining the creamy base.
- → Why is my frosting too thick or thin?
-
If too thick, add up to 2 more tablespoons of milk to reach desired consistency. If too thin, add another tablespoon of heat-treated flour. Adjust gradually until you achieve a spreadable texture.
