 Save
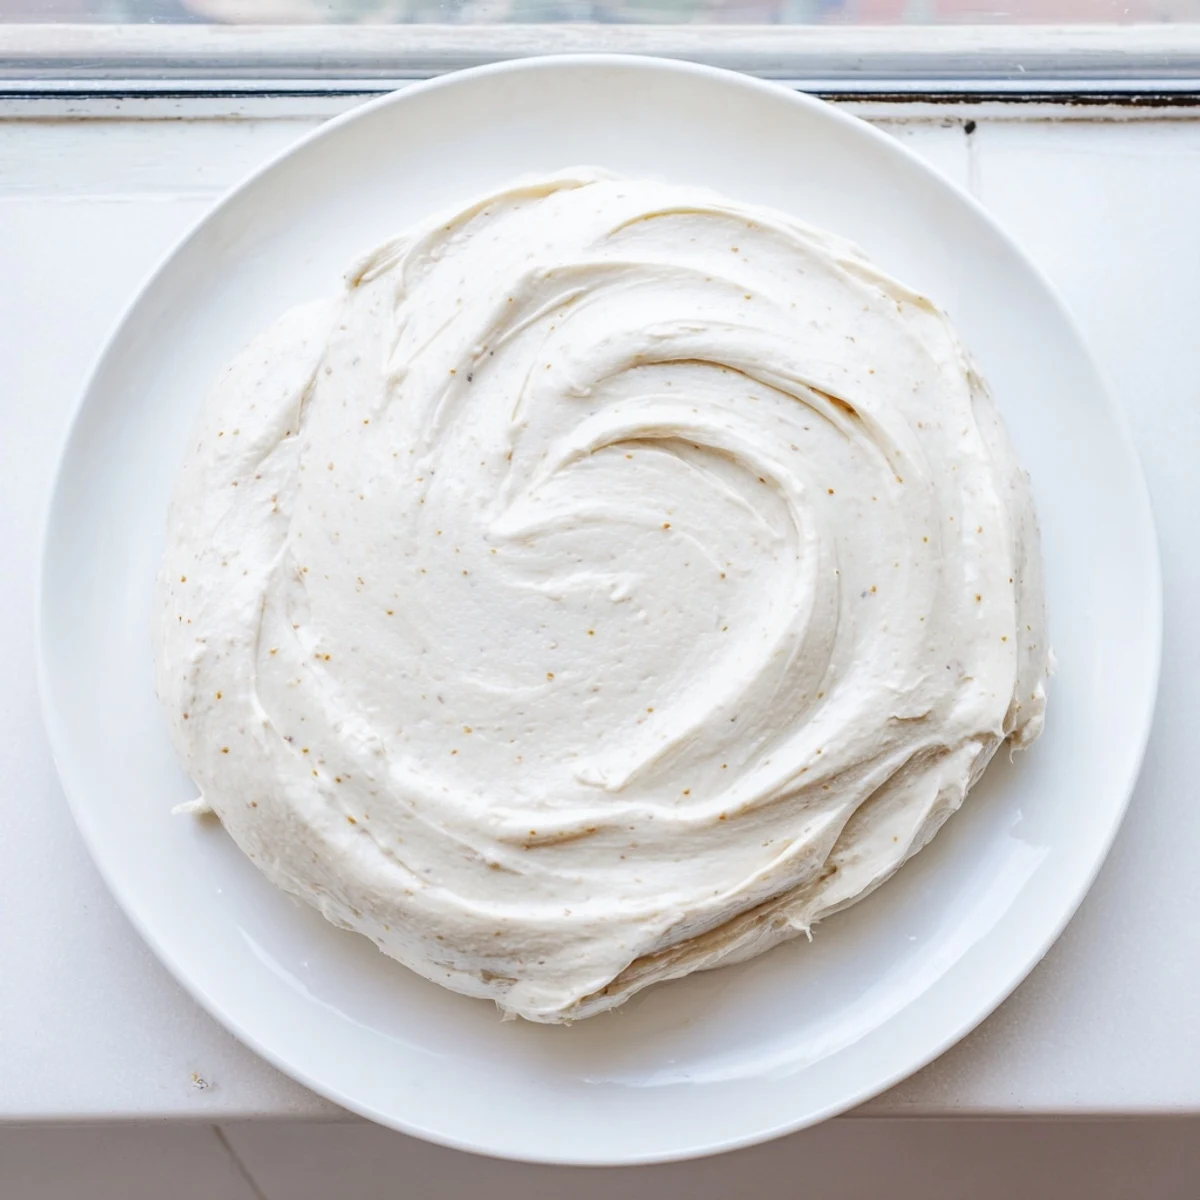
Save Whip up this incredibly smooth vanilla buttercream in just 10 minutes. The creamy texture spreads effortlessly across baked goods while developing a delicate crust that holds decorations beautifully.
Adjust consistency easily with milk or powdered sugar to achieve your perfect spreading or piping texture. Tints seamlessly with gel coloring for vibrant decorated treats.
This versatile topping stores well in the refrigerator for up to a week, making it ideal for batch decorating. Simply re-whip before using to restore fluffy consistency.
My kitchen smelled like a bakery last December when I first whipped up this frosting for my daughter\'s holiday cookie decorating party. I\'d tried so many recipes that were either too stiff to spread or melted into puddles, but this one found that perfect balance between fluffy and stable. The way it holds its shape while still being smooth enough to pipe made me look like I actually knew what I was doing. Now it\'s the only frosting I keep in my recipe box.
Last Christmas Eve, my niece accidentally tipped an entire container of red sprinkles into my perfectly piped white frosting stars. We ended up with the most festive confetti cookies anyone had ever seen, and now she insists on helping me frost every batch just to see what happy accidents we can create together.
Ingredients
- Unsalted butter: Softened to room temperature so it incorporates smoothly without those frustrating tiny lumps that ruin the texture
- Powdered sugar: Sifted first to prevent any stubborn clumps from sneaking into your silky frosting
- Whole milk: Added just enough to reach spreadable consistency, but keep extra handy for adjusting
- Pure vanilla extract: The real stuff makes a noticeable difference in depth and warmth
- Pinch of salt: Balances the sweetness and makes all the flavors pop instead of just tasting like sugar
Instructions
- Beat the butter:
- Use your electric mixer on medium speed until the butter transforms from cold and stiff to smooth and creamy, about one full minute
- Add the sugar gradually:
- Pour in the powdered sugar slowly while mixing on low, then scrape down the bowl to incorporate those stubborn pockets hiding at the bottom
- Add flavor and fluff:
- Pour in the milk, vanilla, and salt, then beat on medium-high for 2-3 minutes until the frosting turns light and airy
- Adjust to your needs:
- Add more milk one teaspoon at a time for thinner frosting or additional powdered sugar for a stiffer consistency that holds detailed piping
- Frost and set:
- Spread or pipe onto completely cooled cookies, then let them sit at room temperature for 1-2 hours to develop that perfect slight crust on top
 Save
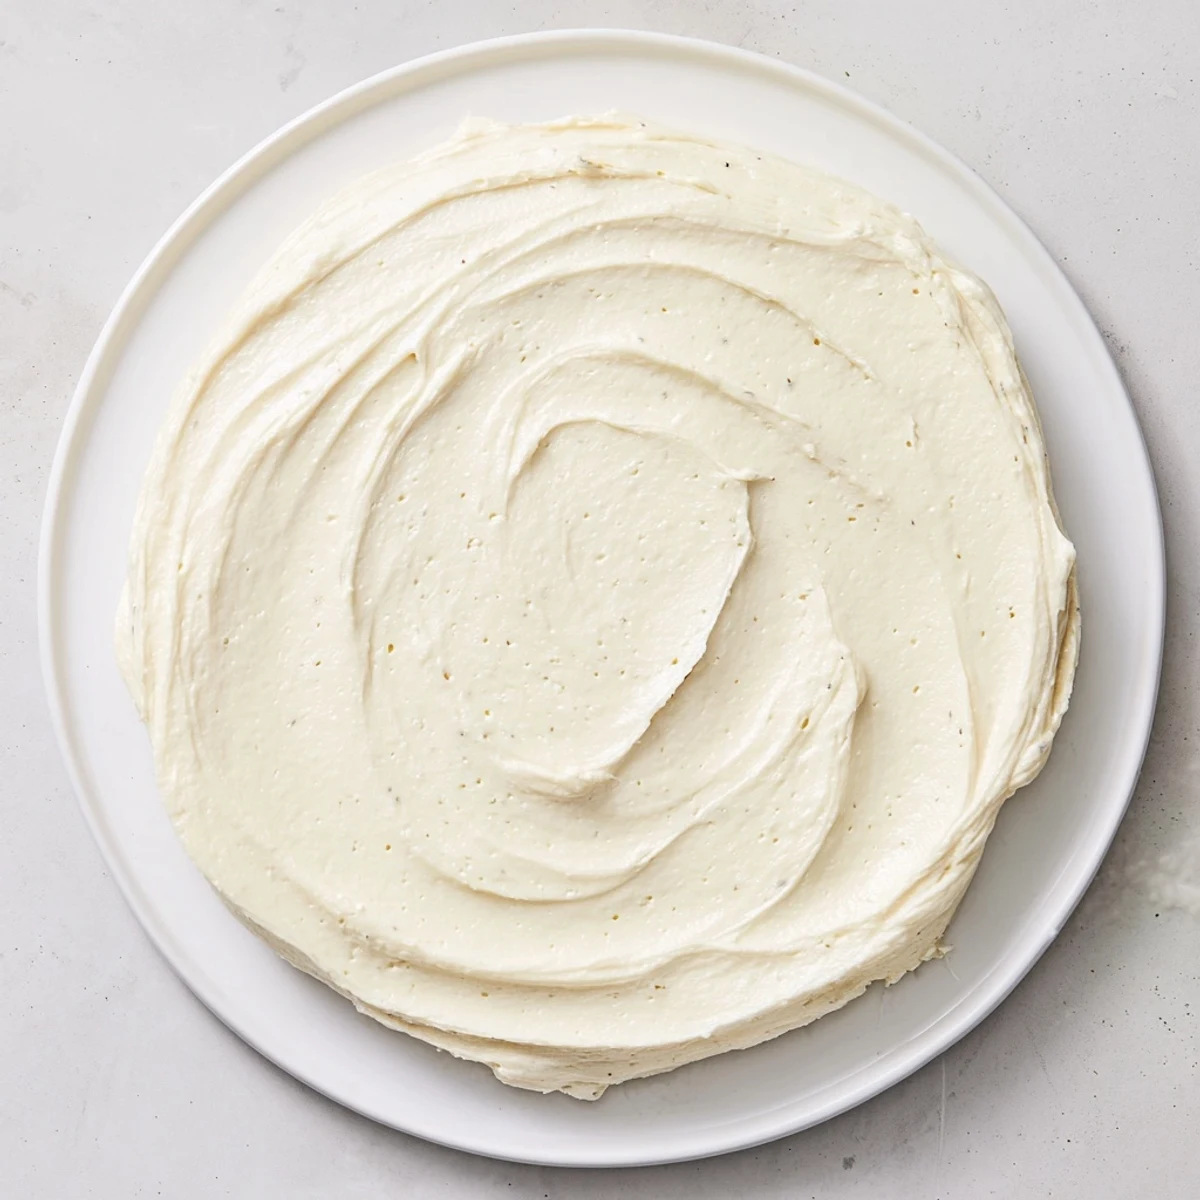
Save This frosting became my go-to the day my neighbor brought over a batch of slightly dry sugar cookies she\'d made, and one taste of this creamy vanilla buttercream transformed them into something everyone couldn\'t stop talking about. Sometimes the simplest recipes are the ones that rescue a baking day and make you feel like a kitchen magician.
Getting The Right Consistency
The difference between frosting that spreads like a dream and frosting that tears your cookies apart comes down to that tiny bit of milk adjustment. I\'ve learned to start with less and add drop by drop, watching carefully as the texture transforms from stiff to spreadable to too thin, because there\'s a narrow window where everything just clicks into place.
Color Without Compromise
Gel food coloring became my secret weapon after liquid dye turned my beautiful white frosting into a sad, watery mess one too many times. A tiny toothpick swirl of gel creates intense, vibrant colors without watering down the perfectly calibrated texture, and now I actually look forward to experimenting with different shades for each holiday.
Storage And Make Ahead Tips
This frosting keeps beautifully in the refrigerator for up to a week, which means I can make a double batch on Sunday and still have fresh frosting ready for midweek cookie decorating sessions. When you\'re ready to use stored frosting, let it come completely to room temperature and give it a quick whip to restore that fluffy texture.
- Always frost cookies the same day you plan to serve them for the freshest texture
- If frosting feels too stiff after refrigerating, add just 1/2 teaspoon of milk while re-whipping
- Press a piece of plastic wrap directly onto the surface to prevent a hard crust from forming
 Save
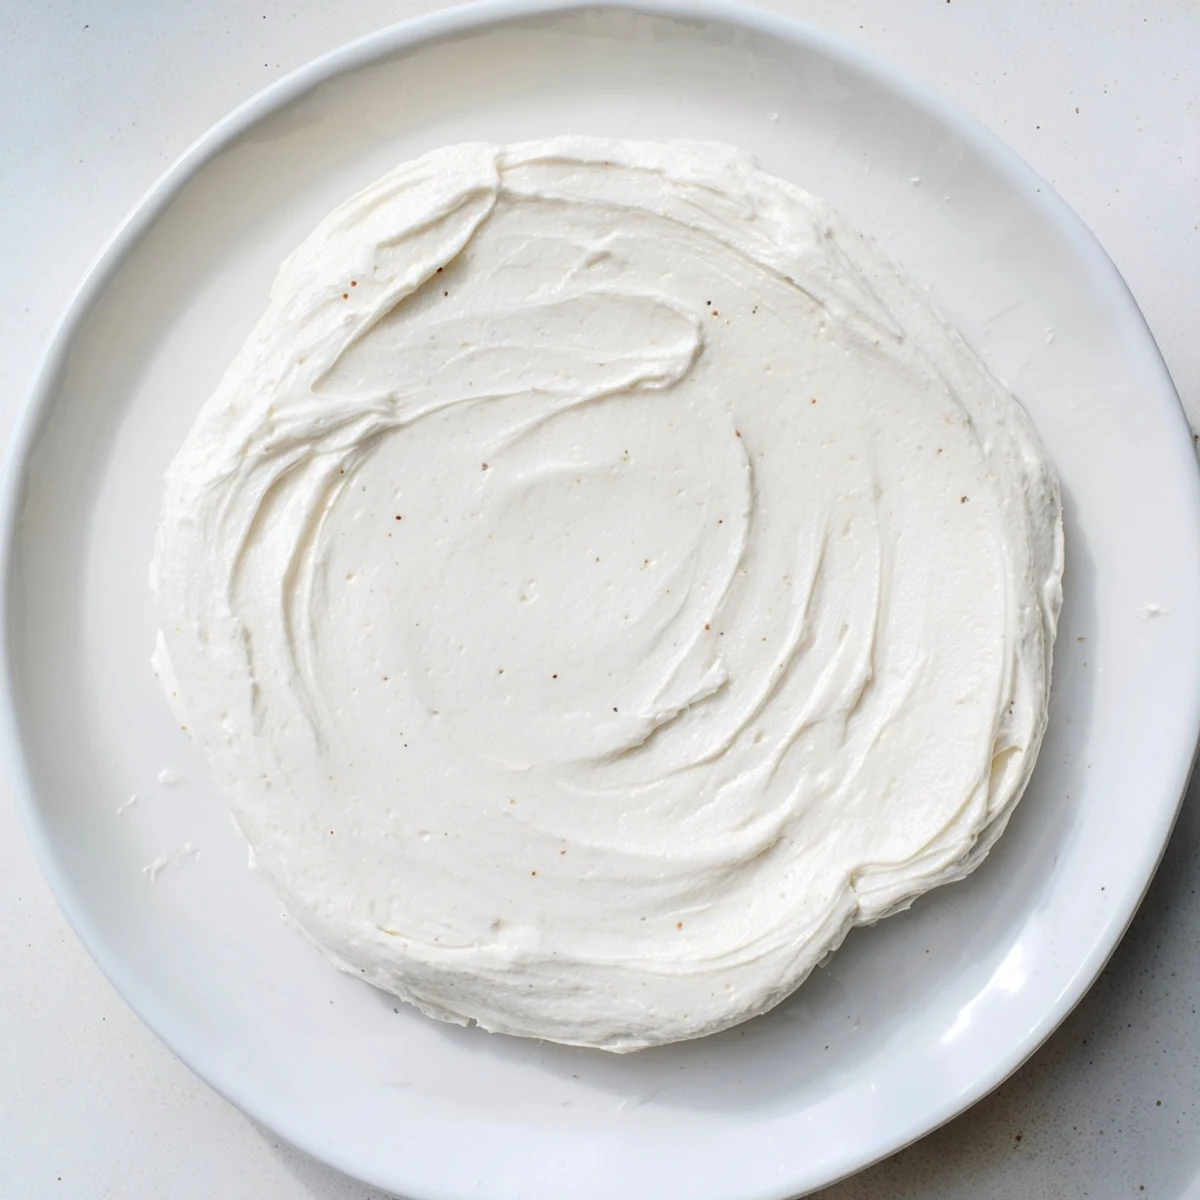
Save There\'s something so satisfying about pulling a perfectly frosted cookie from the cooling rack and seeing that smooth, professional-looking surface you created yourself. This recipe turns ordinary cookies into little celebrations.
Recipe FAQs
- → How do I achieve the perfect spreading consistency?
-
Start with the base recipe, then add milk one teaspoon at a time for thinner texture or powdered sugar for thicker consistency. The buttercream should hold soft peaks while spreading smoothly without tearing your baked goods.
- → Can I make this ahead of time?
-
Absolutely. Store in an airtight container in the refrigerator for up to one week. Bring to room temperature and re-whip with your electric mixer for 1-2 minutes to restore the fluffy texture before using.
- → What's the best way to color this buttercream?
-
Use gel food coloring instead of liquid for vibrant hues without thinning the texture. Add drops gradually after step 3, mixing thoroughly between additions until you reach your desired shade.
- → Why does my frosting feel too stiff?
-
This often happens in cooler environments or if too much powdered sugar was added. Simply mix in 1 teaspoon of milk at a time until you reach the desired consistency. Room temperature ingredients also help achieve smoother texture.
- → Can I use salted butter instead?
-
Yes, though reduce the added salt to just a tiny pinch or omit completely. Salted butter works fine but may slightly alter the delicate vanilla flavor profile. Unsalted butter gives you more control over the final taste.
