 Save
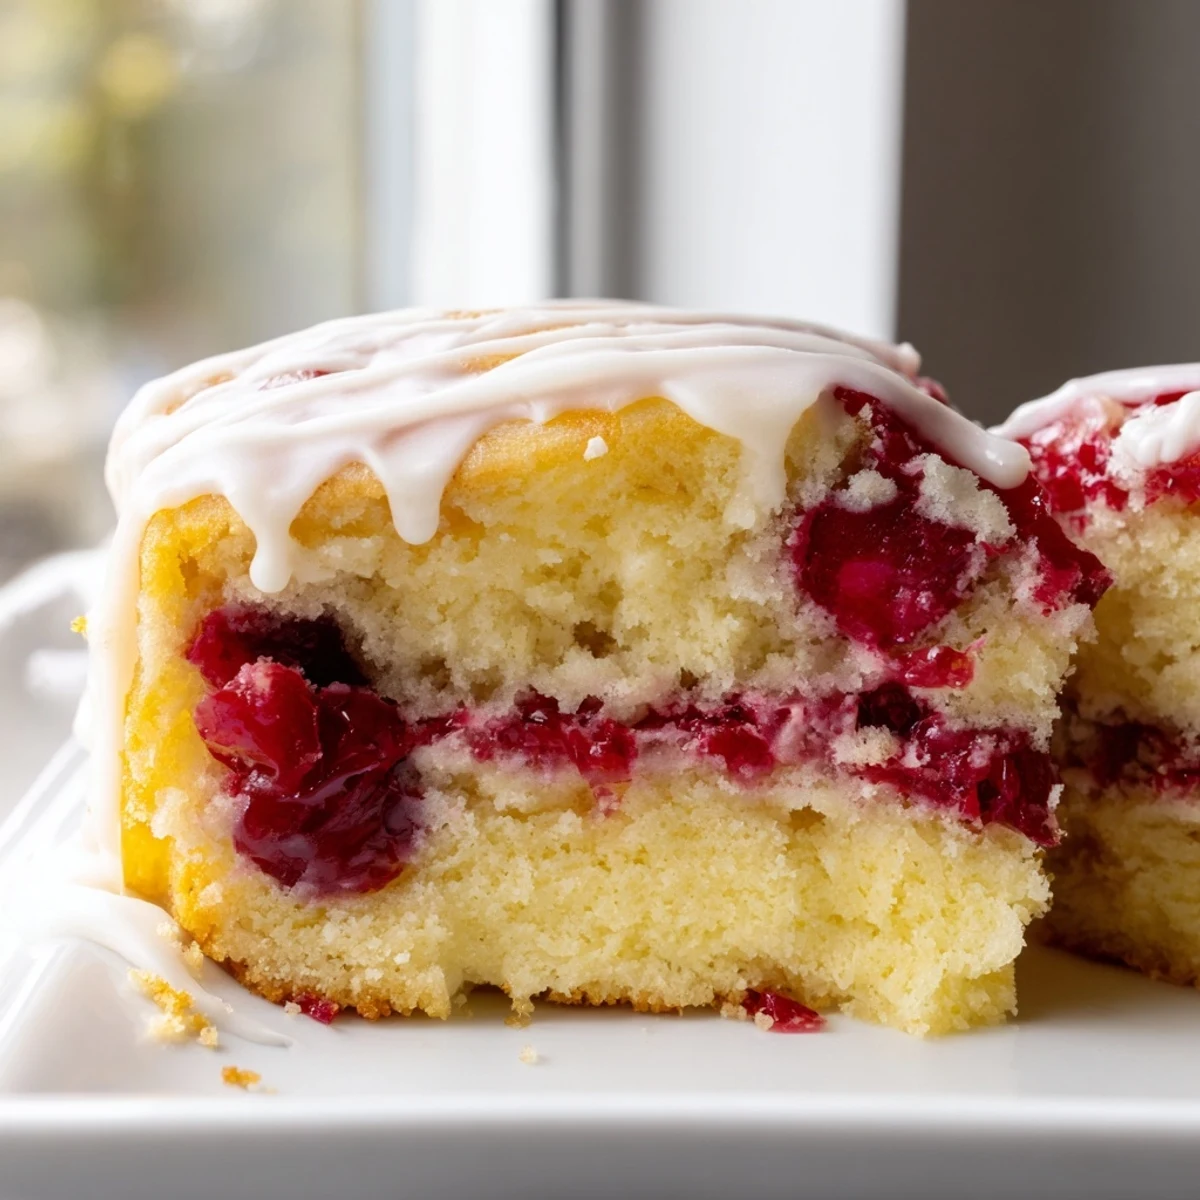
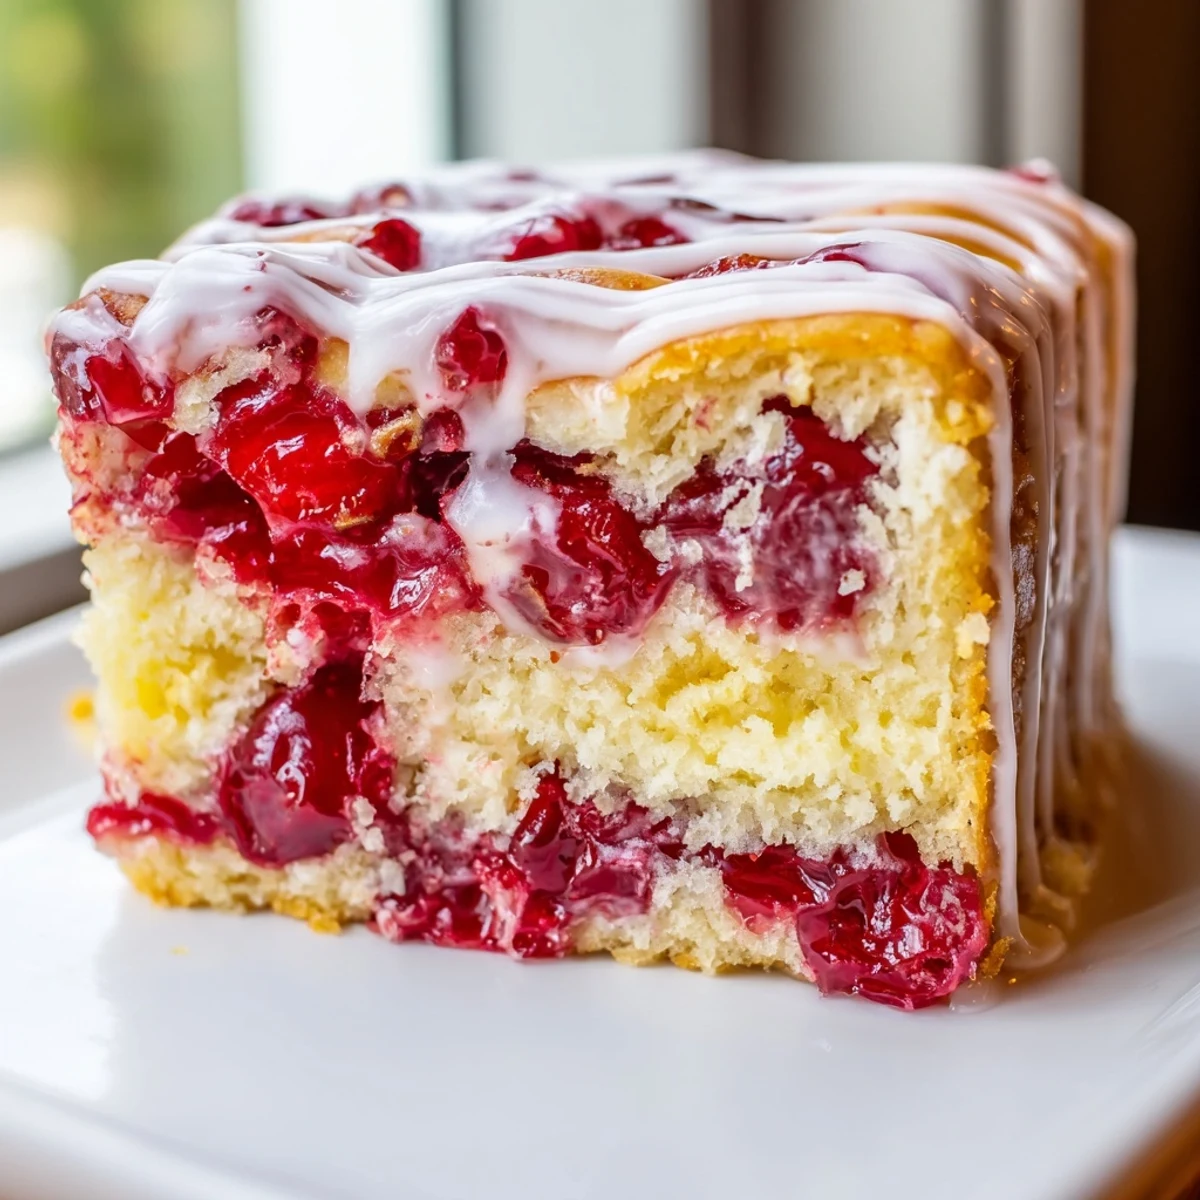
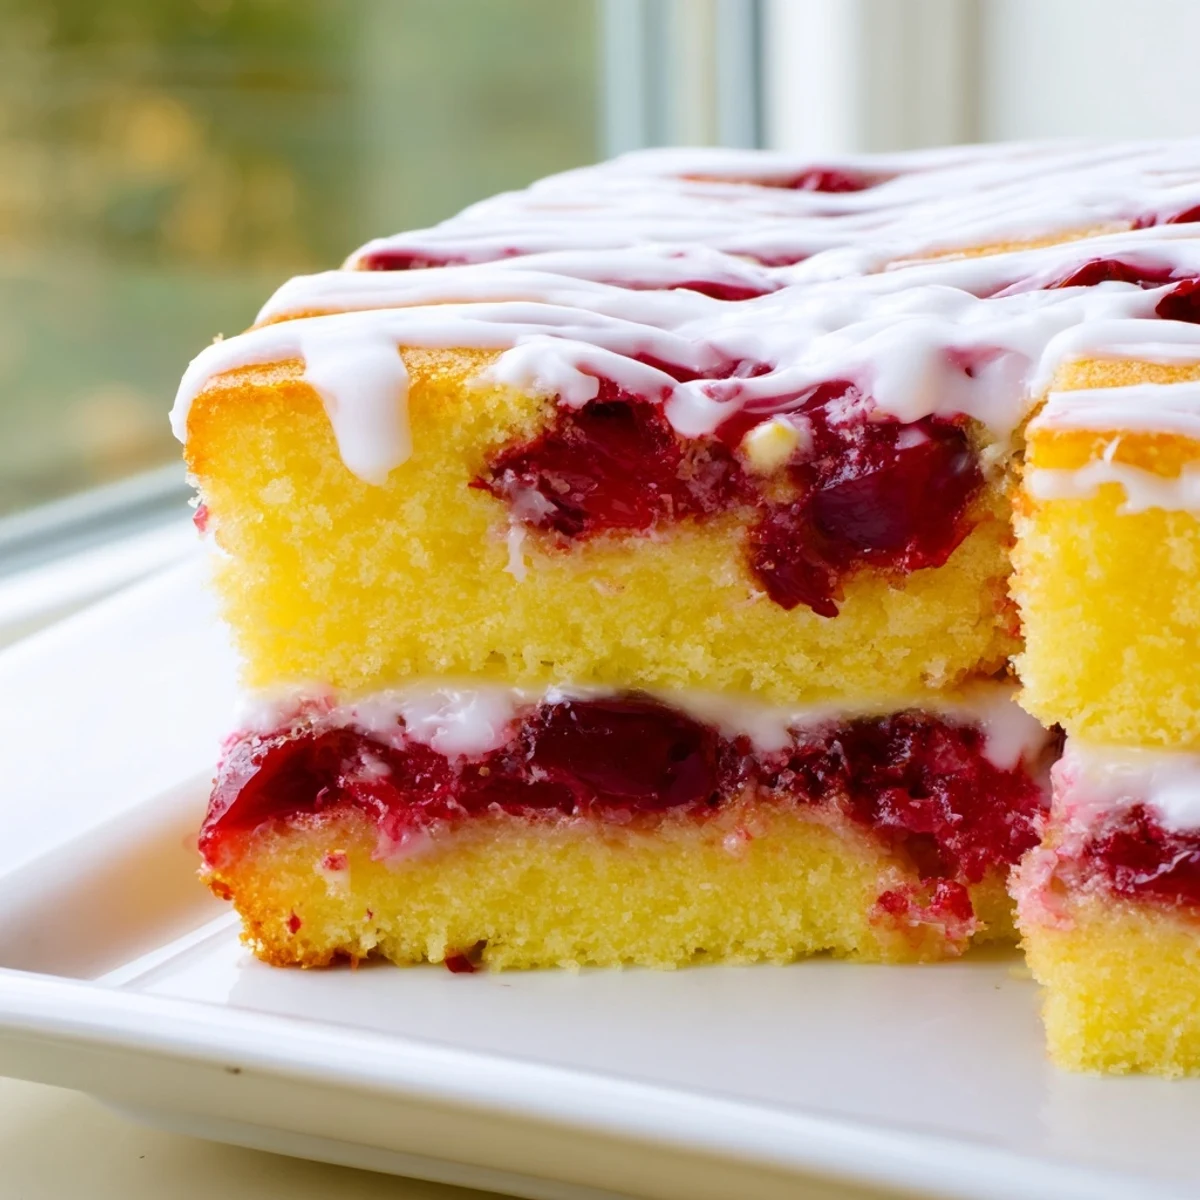
Save These tender cherry bars feature a buttery vanilla base topped with sweet cherry pie filling and finished with a simple vanilla glaze. The dough comes together quickly with softened butter creamed into sugar, then enriched with eggs and vanilla and almond extracts. After spreading most of the dough into your pan, layer with cherry filling and dot with remaining dough for that classic cherry pie bar look with fruit peeking through golden patches. Bake until lightly golden, cool completely, then drizzle with the creamy vanilla glaze for an irresistible dessert that serves 16.
My neighbor Sarah brought these over last summer when I was recovering from surgery, and I swear they're the reason I healed so fast. There's something about the combination of that tender buttery crust and sweet cherry filling that feels like a hug in dessert form. I've made them at least a dozen times since, tweaking little things here and there, but the magic really is in their simplicity. They've become my go-to for every potluck and birthday, and people actually gasp when they see the glaze drizzle.
Last Christmas, my daughter insisted we make six batches for her teacher gifts, and we accidentally discovered that the dough freezes beautifully. Now I always keep a portion stashed in the freezer for those Oh no someone's coming over moments. The house smells absolutely incredible while they bake, like butter and vanilla and warm cherries all having a party in your kitchen.
Ingredients
- Unsalted butter: Use room temperature butter and you'll thank me later when your dough practically mixes itself
- Granulated sugar: Cream this thoroughly with the butter until it looks pale and fluffy, that's the secret to tender bars
- Eggs: Add these one at a time and really let each one incorporate before moving on
- Vanilla and almond extracts: The almond extract is totally optional but it adds this bakery style depth that people can never quite put their finger on
- All-purpose flour: Measure this by spooning it into your measuring cup and leveling off, don't scoop directly or you'll pack it down
- Salt: Don't skip this, it balances all that sugar and makes the flavors pop
- Cherry pie filling: Use the good stuff with whole cherries visible in the can
- Powdered sugar: Sift this for the glaze or you'll spend forever fishing out lumps
- Milk: Start with two tablespoons and add more only if needed, you want thick drizzle consistency
Instructions
- Getting everything ready:
- Preheat your oven to 350°F and grab a 9x13 inch pan, lining it with parchment paper that overhangs the edges like little handles.
- Making the magic dough:
- Beat that softened butter and sugar together until they're pale and fluffy, then add your eggs one by one, followed by both extracts.
- Bringing it together:
- Whisk the flour and salt in another bowl, then gradually mix it into your butter mixture just until you can't see flour anymore.
- Building the layers:
- Press about two thirds of the dough into your pan, spread the cherry filling over it, then drop little bits of remaining dough on top like you're making polka dots.
- The bake:
- Bake for 30 to 35 minutes until the top is lightly golden and the edges are set, then let them cool completely before glazing.
- The finishing touch:
- Whisk powdered sugar with milk and vanilla until smooth, then drizzle it all over like you're an artist painting a masterpiece.
 Save
Save My husband who claims he doesn't like cherry anything ate four of these the first time I made them, then asked if I could pack some in his lunch for work. There's something about that buttery vanilla crust with the sweet tart cherries that just works perfectly together. Now they're his official favorite dessert, and he actually gets excited when he sees me measuring flour.
Making These Your Own
I've tried all sorts of fruit fillings and blueberry is amazing, especially with a little lemon zest in the dough. Apple pie filling with cinnamon in the glaze tastes just like apple pie in bar form. My sister uses peach filling and adds a bit of nutmeg to the dough, which is honestly genius.
Storage Secrets
These keep beautifully at room temperature for about two days, though good luck making them last that long. For longer storage, I wrap individual bars in plastic and freeze them, then just grab one whenever I need a sweet moment. They thaw in about 30 minutes and taste just as good as fresh baked.
Serving Suggestions
These are perfectly delicious on their own, but warmed up with vanilla ice cream is next level. I've also served them with coffee for brunch and people acted like I invented something revolutionary. They're sturdy enough to pack for picnics but fancy enough for dinner parties.
- Cut them small because they're surprisingly rich
- The glaze firms up after about an hour, so plan accordingly
- Store them between layers of wax paper if you're stacking them
 Save
Save Hope these bring as much joy to your kitchen as they have to mine, and don't be surprised when everyone starts requesting them for every gathering.
Recipe FAQs
- → Can I use fresh cherries instead of canned pie filling?
-
You can use fresh cherries, but you'll need to cook them down with sugar and cornstarch to create a thick filling similar to canned pie filling. Using canned filling ensures consistent texture and saves time.
- → How should I store these cherry bars?
-
Store in an airtight container at room temperature for up to 3 days. For longer storage, refrigerate for up to a week. You can also freeze them unglazed for up to 3 months, then thaw and glaze before serving.
- → Can I make these bars without almond extract?
-
Absolutely. Simply omit the almond extract and increase the vanilla extract to 1 1/2 teaspoons. The bars will still be delicious with just the vanilla flavor enhancing the buttery dough.
- → Why do I need to cool the bars completely before glazing?
-
The glaze will melt and run off warm bars, creating a messy appearance. Cooling allows the bars to set completely so the glaze drizzles beautifully and sets properly for clean slicing.
- → Can I use different fruit fillings?
-
Yes, blueberry, apple, strawberry, or raspberry pie filling all work wonderfully in this recipe. Just use the same 21-ounce can size for consistent results. The baking time remains the same.
