 Save
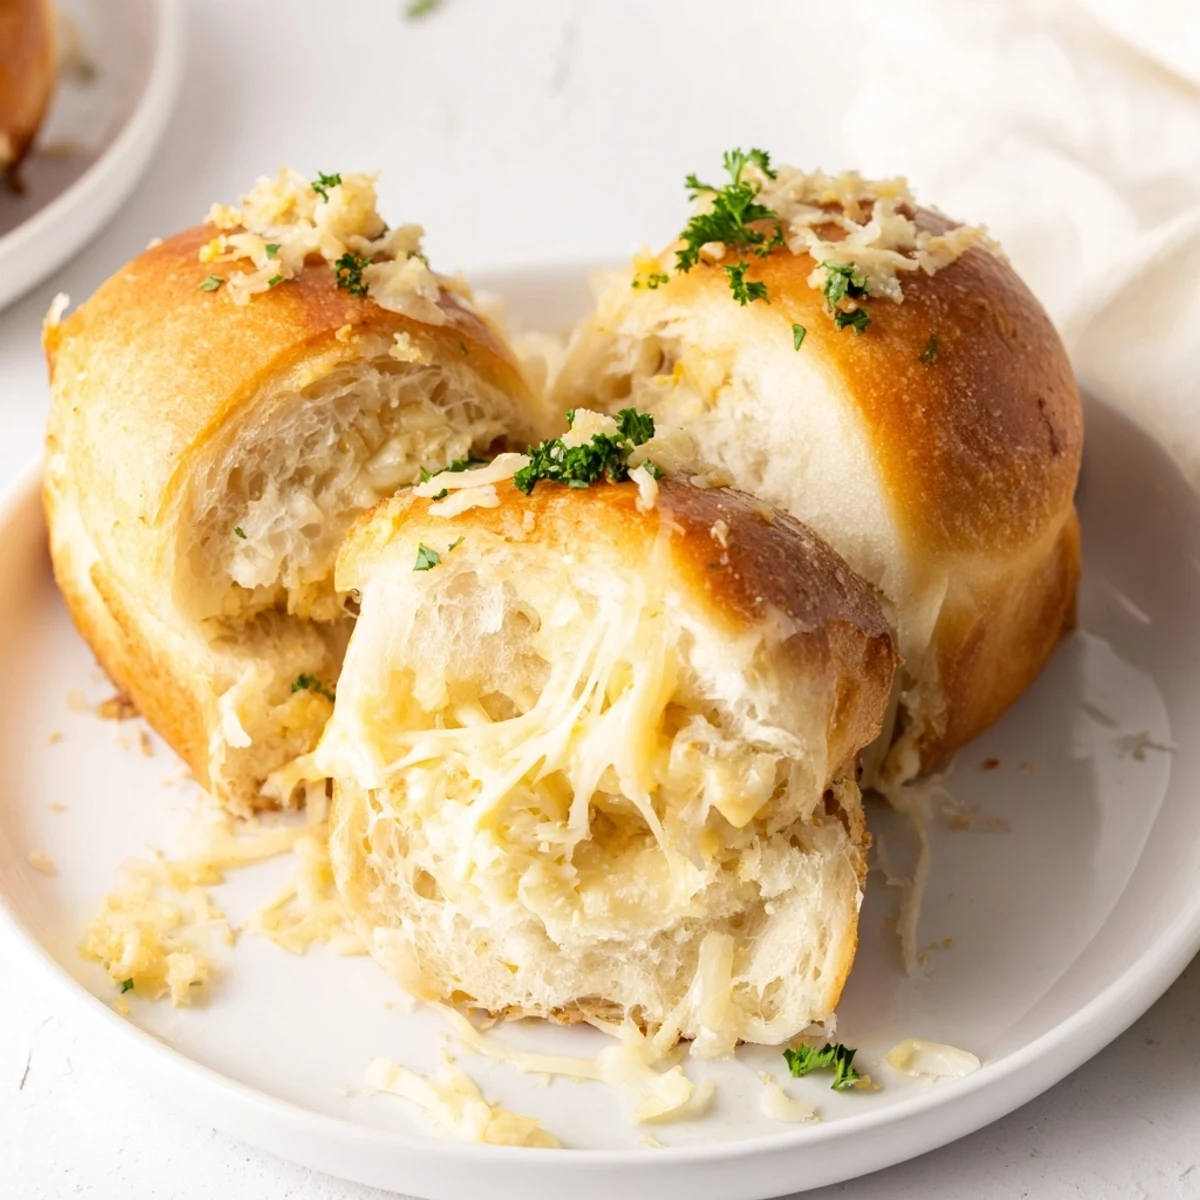
Save These soft, pillowy rolls yield 12 cheesy buns filled with garlic butter, mozzarella and Parmesan. Begin with a frothy yeast start, knead until smooth, and allow a 1-hour first rise. Divide, fill and seal each ball, proof 25–30 minutes, then bake at 180°C/350°F for 20–25 minutes. Brush with garlic butter while hot for gloss and extra flavor. Great warm alongside soups or pasta.
There’s nothing quite like the quiet hiss of butter melting in the pan while garlic sizzles and the kitchen slowly fills with that late-afternoon, savory aroma. These Buttery Cheese Garlic Rolls were born from a spontaneous craving during a rainy weekend, when staying in sounded far better than venturing out for bread. I remember fiddling with flour-dusted fingers, listening to my favorite playlist, feeling pretty certain I’d made a mess of things only to be surprised by how perfectly golden and pillowy the rolls turned out. Friends soon learned to stop by unannounced around baking day, and somehow, there were always just enough rolls to go around.
One evening, I made these for a last-minute game night at my place. Everyone ended up standing in the kitchen, tearing apart the still-steaming rolls before they ever made it to the table, laughing about how we’d lost all pretense of manners but gained a new group tradition.
Ingredients
- All-purpose flour: Gentle kneading is key to getting these rolls light and fluffy; don’t rush this bit.
- Active dry yeast: Always proof in warm (not hot) milk so your dough actually rises worth bragging about.
- Sugar: Just a spoonful helps give the yeast a jump start and encourages golden tops.
- Salt: Even with all the cheese, it ensures nothing tastes flat.
- Warm milk: Warms up the dough and helps with that tender crumb—avoid anything hotter than your wrist.
- Unsalted butter: Softened in the dough for richness, melted in the filling and topping for flavor you’ll smell down the hallway.
- Egg: Bring it to room temp for the fluffiest texture.
- Garlic: Mince it finely so nobody bites into a huge chunk—trust me on this one.
- Mozzarella cheese: Pick one that melts nicely; the little cheese lakes are proof of success.
- Parmesan cheese: Adds the perfect salty bite to balance the softness of mozzarella.
- Fresh parsley & dried Italian herbs (optional): They’re not just for color—they brighten everything up.
Instructions
- Activate the yeast:
- Combine warm milk with sugar and yeast, breathing in that slightly sweet, bready scent as it turns foamy, about 5-7 minutes.
- Mix dough ingredients:
- Add softened butter, the egg, and salt—stir gently before working in the flour a bit at a time until shaggy dough forms.
- Knead by hand or mixer:
- If kneading by hand, press and fold for 6-8 minutes until smooth; if using a mixer, keep an eye out so it doesn’t overwork and get tough.
- First rise:
- Place dough in a greased bowl, cover, and let it nap in a warm spot for about an hour—watch for it to double.
- Prep cheese garlic filling:
- Stir together melted butter, minced garlic, mozzarella, Parmesan, herbs, and lots of anticipation.
- Shape the rolls:
- Punch down the dough, divide into 12 equally sized pieces, and flatten each one so there’s ample space for a heap of filling.
- Fill and seal:
- Add a scoop of cheesy garlic filling to each round, then pinch the dough closed and shape into balls, trying not to lose too much filling in the process.
- Second rise:
- Arrange seam-side down on a parchment-lined tray, cover lightly, and let them perk up for another 25-30 minutes.
- Bake to golden:
- Slide the tray into a 180°C (350°F) oven for 20-25 minutes, enjoying the gradual bloom of buttery, garlic aroma.
- Top and serve:
- While rolls are still hot, brush with extra garlic butter topping and a sprinkle of parsley, then try not to burn your tongue (no one ever waits).
 Save
Save I once brought a batch to a neighbor recovering from surgery—when I checked back the next morning, all I found was an empty plate, a smile, and a request for the ‘magic recipe’ that apparently made her kitchen smell like home again.
The Secret to Pillowy Softness
Letting your dough rise until properly doubled is what makes these rolls irresistibly light. I like to set the bowl near a sunny window or on top of the fridge, away from any drafts.
Ways to Tweak the Filling
Feel free to experiment with extra herbs, grated sharp cheddar, or even a tip from a friend: a pinch of red chili flakes for subtle heat. Every time I switch it up, the rolls disappear just as quickly as before.
What To Serve With These Rolls
A rich tomato soup or a saucy baked pasta can turn these rolls into a hearty meal. They fit right in alongside a brunch spread—perfect for sopping up runny yolks and extra sauces.
- Leftovers make for an unbeatable midnight snack.
- You can freeze extras and warm them in the oven—they taste freshly baked again.
- If you notice a little cheese escaping while baking, that’s just bonus crispiness—save it all!
 Save
Save Whether you’re sharing these rolls with a crowd or sneaking one before anyone else arrives, they always bring warmth (and that buttery garlic smell) to the moment. Enjoy every gooey, golden bite!
Recipe FAQs
- → Can I use a stand mixer to knead the dough?
-
Yes. Use the dough hook on low–medium speed for 6–8 minutes until the dough is smooth and elastic. Hand-knead if you prefer, aiming for the same silky texture.
- → What dairy or cheese substitutions work well?
-
Swap mozzarella with fontina, provolone or mild cheddar for different melt and flavor. Parmesan can be replaced with Grana Padano or Asiago for a similar umami note.
- → How do I avoid soggy centers after baking?
-
Don’t overfill each roll and seal edges tightly to prevent leaks. Ensure oven temperature is accurate and bake until golden; underbaking can leave doughy centers.
- → Can these be made ahead or frozen?
-
Yes. Freeze unbaked, sealed rolls on a tray, then transfer to a bag; bake from frozen adding a few minutes. Baked rolls freeze well—reheat in a warm oven to refresh texture.
- → How can I boost the garlic flavor without burning it?
-
Use finely minced raw garlic in the butter filling and brush with melted garlic butter after baking. For a milder, sweeter garlic note, roast the cloves before mixing into the filling.
- → What gives a shiny, golden crust?
-
Brushing with melted butter after baking creates a soft, glossy finish. For a deeper golden sheen before baking, an egg wash gives a shinier, slightly firmer crust.
