 Save
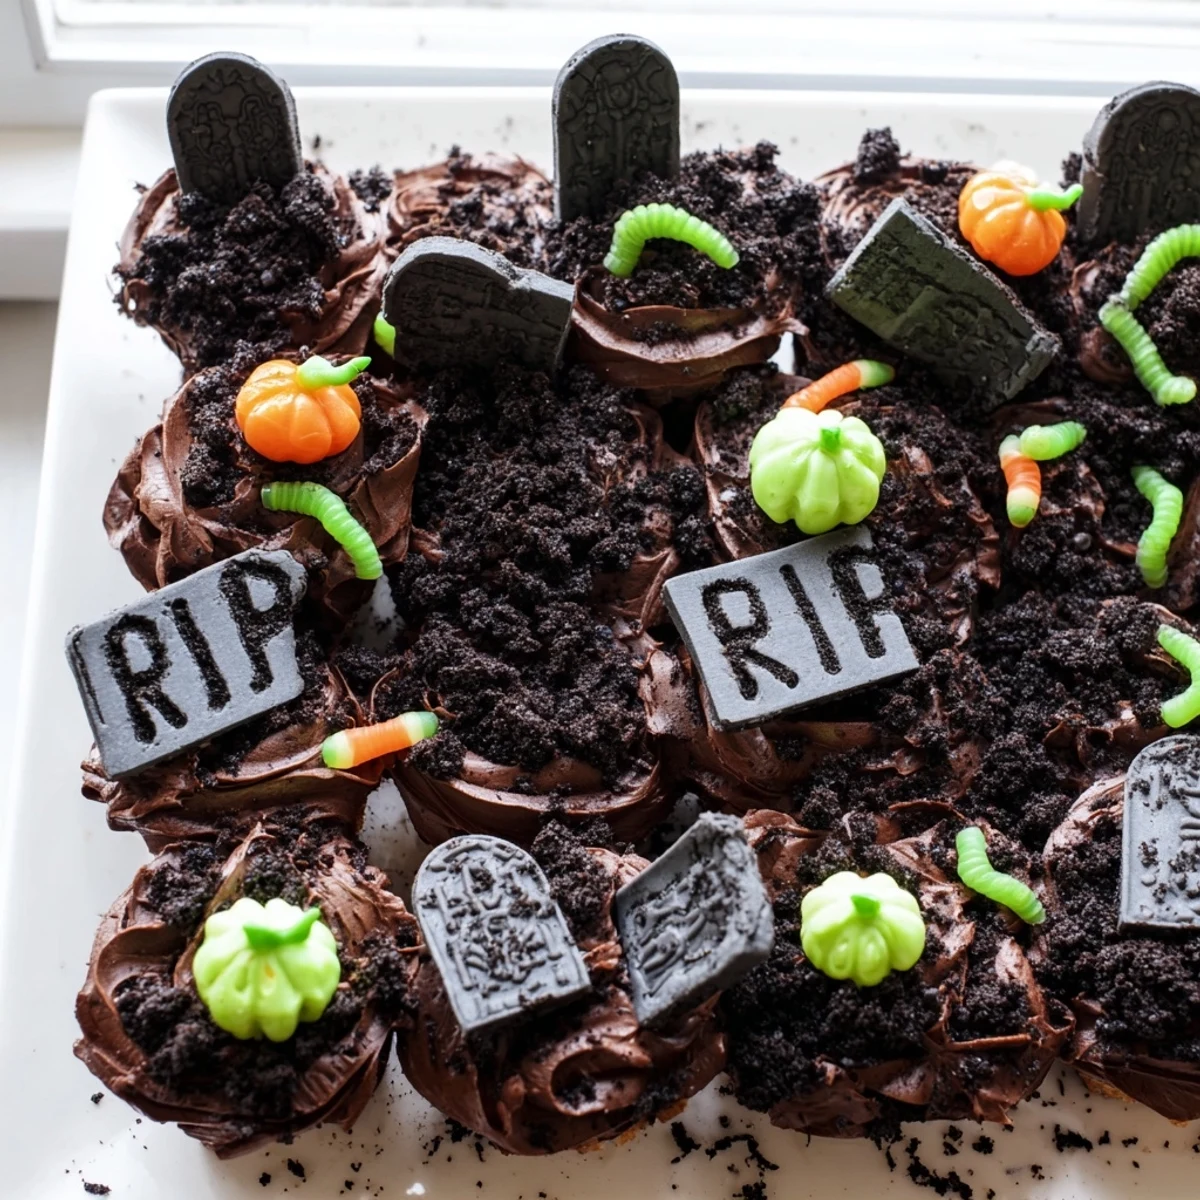
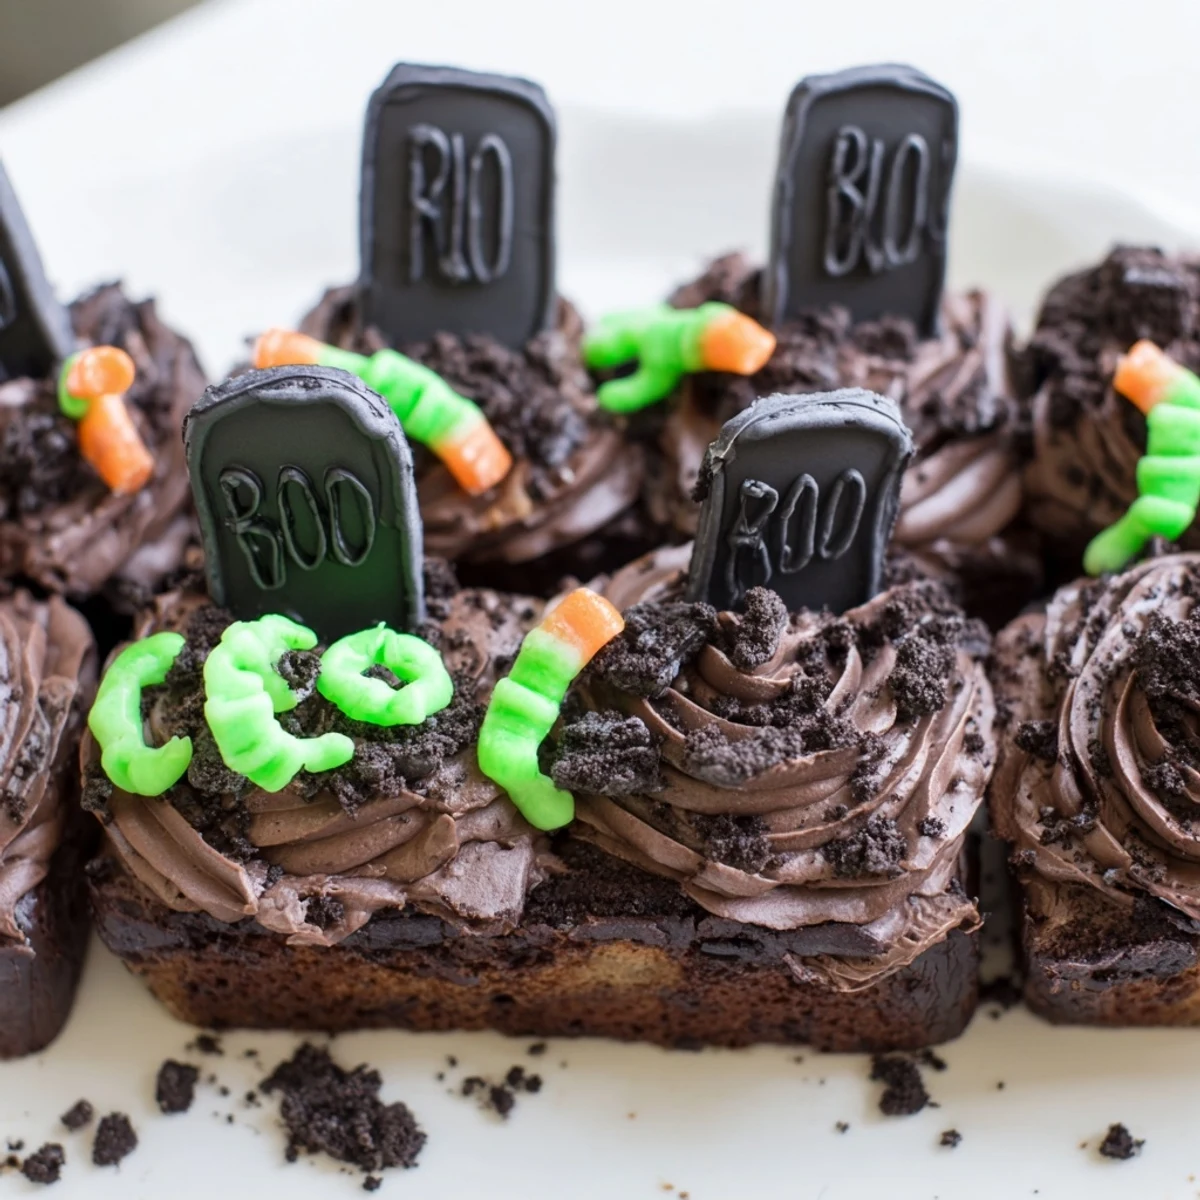
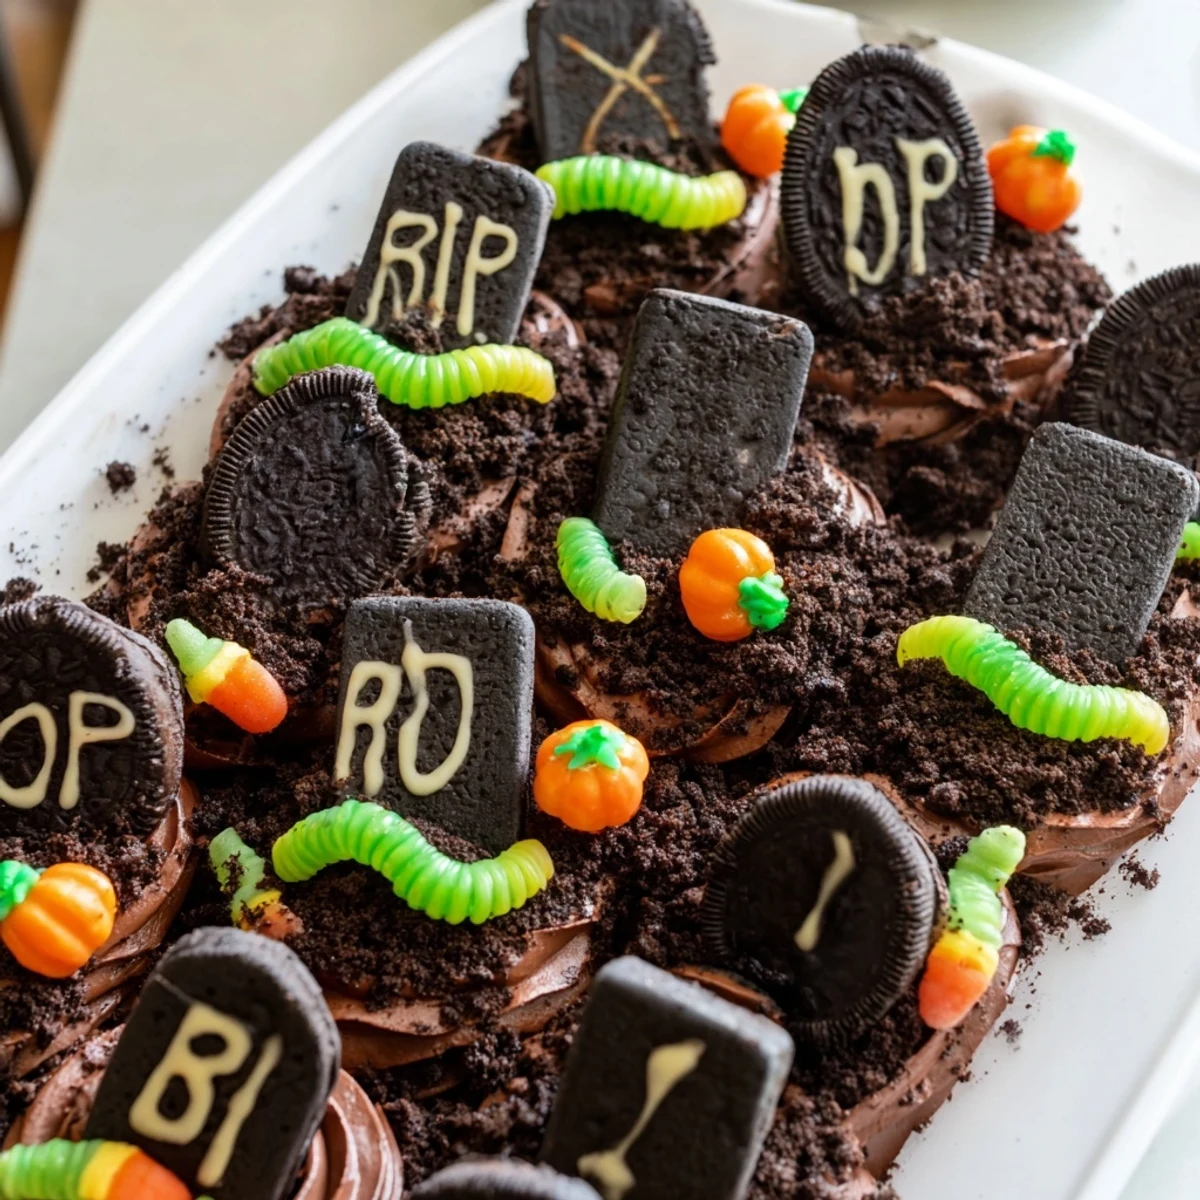
Save These Halloween-themed cupcakes feature moist vanilla bases topped with rich chocolate frosting and creative graveyard decorations. The assembly involves arranging 12 cupcakes together, frosting them as one unit, then covering with crushed chocolate sandwich cookies to create realistic "dirt." Rectangular cookies decorated with gel icing become edible tombstones, while gummy worms and candy pumpkins add creepy-crawly accents.
The entire process takes about 50 minutes from start to finish, with most time spent on the creative decorating phase. Kids can help personalize the tombstone messages and arrange the decorations, making it an engaging family activity. The result is a showstopping dessert that's perfect for Halloween parties, school events, or autumn gatherings.
Last October, my daughter insisted we make something spookier than our usual pumpkin cookies for her class party. We found ourselves crushing Oreos at midnight, covered in chocolate dust and giggling over tombstone messages. Now it's the one request I get before the leaves even start turning.
I once brought these to a neighborhood Halloween potluck and watched three grown men argue over who got the cupcake with the gummy worm crawling out of the dirt. The way the chocolate frosting mound brings everyone in close, leaning over to pick their graveyard plot, creates this perfect moment of connection.
Ingredients
- All-purpose flour: The foundation of tender cupcakes that hold up under heavy frosting
- Granulated sugar: Sweetens and creates that perfect golden crumb structure
- Unsalted butter: Use room temperature butter for both cupcakes and frosting to achieve proper creaming
- Whole milk: Adds moisture and richness to the batter
- Large eggs: Bind everything together and provide structure
- Baking powder: Gives these cupcakes their lift and fluffy texture
- Pure vanilla extract: Enhances all the flavors and rounds out the sweetness
- Salt: Balances the sweetness and intensifies the chocolate flavor
- Powdered sugar: Creates the smooth, spreadable frosting texture
- Unsweetened cocoa powder: Delivers deep chocolate flavor without making the frosting too sweet
- Chocolate sandwich cookies: Crushed to create realistic graveyard dirt
- Rectangular cookies: Transform into spooky tombstones with your own messages
- Gel icing pens: Let you write personalized RIP messages and add creepy details
Instructions
- Get your oven ready:
- Preheat to 350°F and line a 12-cup muffin tin with paper liners, setting the stage for your graveyard creation.
- Cream the butter and sugar:
- Beat the softened butter and granulated sugar until pale and fluffy, then incorporate eggs one at a time, followed by vanilla.
- Combine dry and wet ingredients:
- Whisk flour, baking powder, and salt in a separate bowl, then alternate adding dry mixture and milk to the butter mixture, mixing just until combined.
- Bake until perfect:
- Fill each liner two-thirds full with batter and bake for 18-20 minutes until a toothpick comes out clean, then cool completely on a wire rack.
- Make the chocolate frosting:
- Beat butter until creamy, then gradually add powdered sugar and cocoa powder, followed by vanilla and milk until you reach a smooth, spreadable consistency.
- Create the graveyard foundation:
- Arrange cooled cupcakes in a tight rectangle or mound on your serving tray, then spread frosting generously over all of them to create one unified surface.
- Add spooky decorations:
- Crush chocolate sandwich cookies and sprinkle over the frosting, then press decorated tombstone cookies into the dirt and add gummy worms or candy pumpkins around the graves.
 Save
Save My niece now asks every year if we're making the graveyard cupcakes, and she's developed quite a signature RIP style with the gel pens. Watching kids and adults alike light up when they see the spread of tombstones never gets old.
Making Ahead
Bake and cool the cupcakes up to two days in advance, storing them in an airtight container. The frosting can also be made ahead and kept at room temperature, covered, for one day.
Graveyard Layout Tips
Arrange your cupcakes in an uneven mound rather than a perfect rectangle to create hills and valleys in your graveyard. This variation in height makes the tombstones look more natural and adds depth to the scene.
Decoration Ideas
Let creativity guide your graveyard theme beyond just traditional tombstones. The more personalized and varied your decorations, the more impressive and fun the final display becomes.
- Pipe orange frosting around tombstones to look like pumpkin vines
- Add candy bones or skeleton hands partially buried in the cookie dirt
- Create a path with crushed vanilla wafers leading through the graveyard
 Save
Save These pull-apart graveyard cupcakes have become the centerpiece of our Halloween traditions, bringing just the right amount of spooky sweetness to every celebration.
Recipe FAQs
- → How far in advance can I make these Halloween cupcakes?
-
You can bake the cupcakes up to 2 days ahead and store them in an airtight container. Prepare the frosting and crush the cookies the day before, but assemble and decorate the graveyard scene within 4-6 hours of serving to prevent the tombstone cookies from becoming soft and the decorations from sliding.
- → What type of cookies work best for the tombstone decorations?
-
Rectangular biscuits like shortbread, graham crackers, or Milano-style cookies work perfectly because they're sturdy enough to stand up in the frosting. Avoid overly thin or fragile cookies that might break when pressed into the cupcakes. Vanilla wafers can also be trimmed into tombstone shapes with a knife.
- → Can I make these graveyard cupcakes gluten-free?
-
Absolutely. Substitute the all-purpose flour with a 1-to-1 gluten-free flour blend for the cupcakes. Use gluten-free chocolate sandwich cookies for the dirt and ensure your rectangular cookies and decorations are certified gluten-free. The texture and taste will remain just as delicious.
- → How should I transport these cupcakes to a Halloween party?
-
Transport them already assembled on a sturdy serving board or tray. Use a large cupcake carrier with a tall lid, or place the entire tray in a cardboard box slightly larger than your serving dish. Keep them flat and avoid stacking anything on top. If decorating on-site, bring unfrosted cupcakes, frosting in a piping bag, and decorations in separate containers.
- → What other decorations can I add to make them more spooky?
-
Beyond gummy worms and candy pumpkins, consider adding candy bones, skull-shaped sprinkles, or crushed Oreos mixed with chocolate cookie crumbs for darker dirt. Use orange and black sprinkles around the edges, or add edible glitter for a mystical graveyard effect. Plastic fencing, miniature skeletons, or candy spiders can enhance the spooky atmosphere.
- → Can I use boxed cake mix instead of making cupcakes from scratch?
-
Yes, using a vanilla or chocolate boxed cake mix works perfectly fine and saves time. Prepare according to package directions for 12 cupcakes. The real magic happens in the decorating anyway, so most people won't notice the difference. Just ensure the cupcakes are completely cooled before frosting to prevent melting.
