 Save
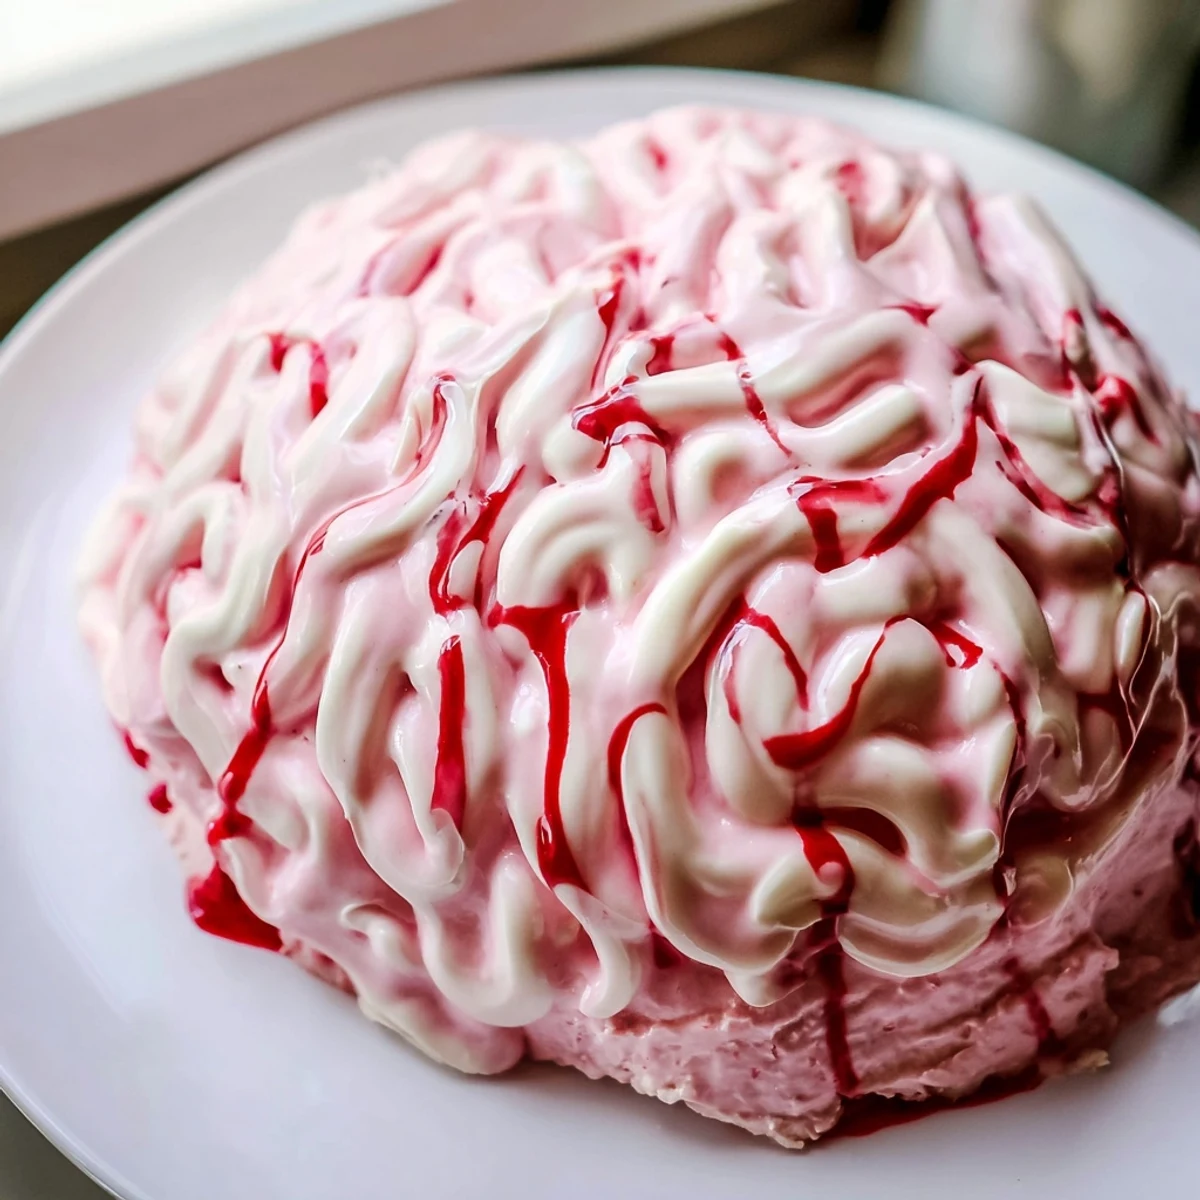
Save This creepy Halloween dessert combines a buttery graham cracker crust with a luscious strawberry-cream cheese filling that sets without baking. The brain shape creates an impressive centerpiece for spooky gatherings, while fresh strawberry puree adds natural sweetness and vibrant pink color.
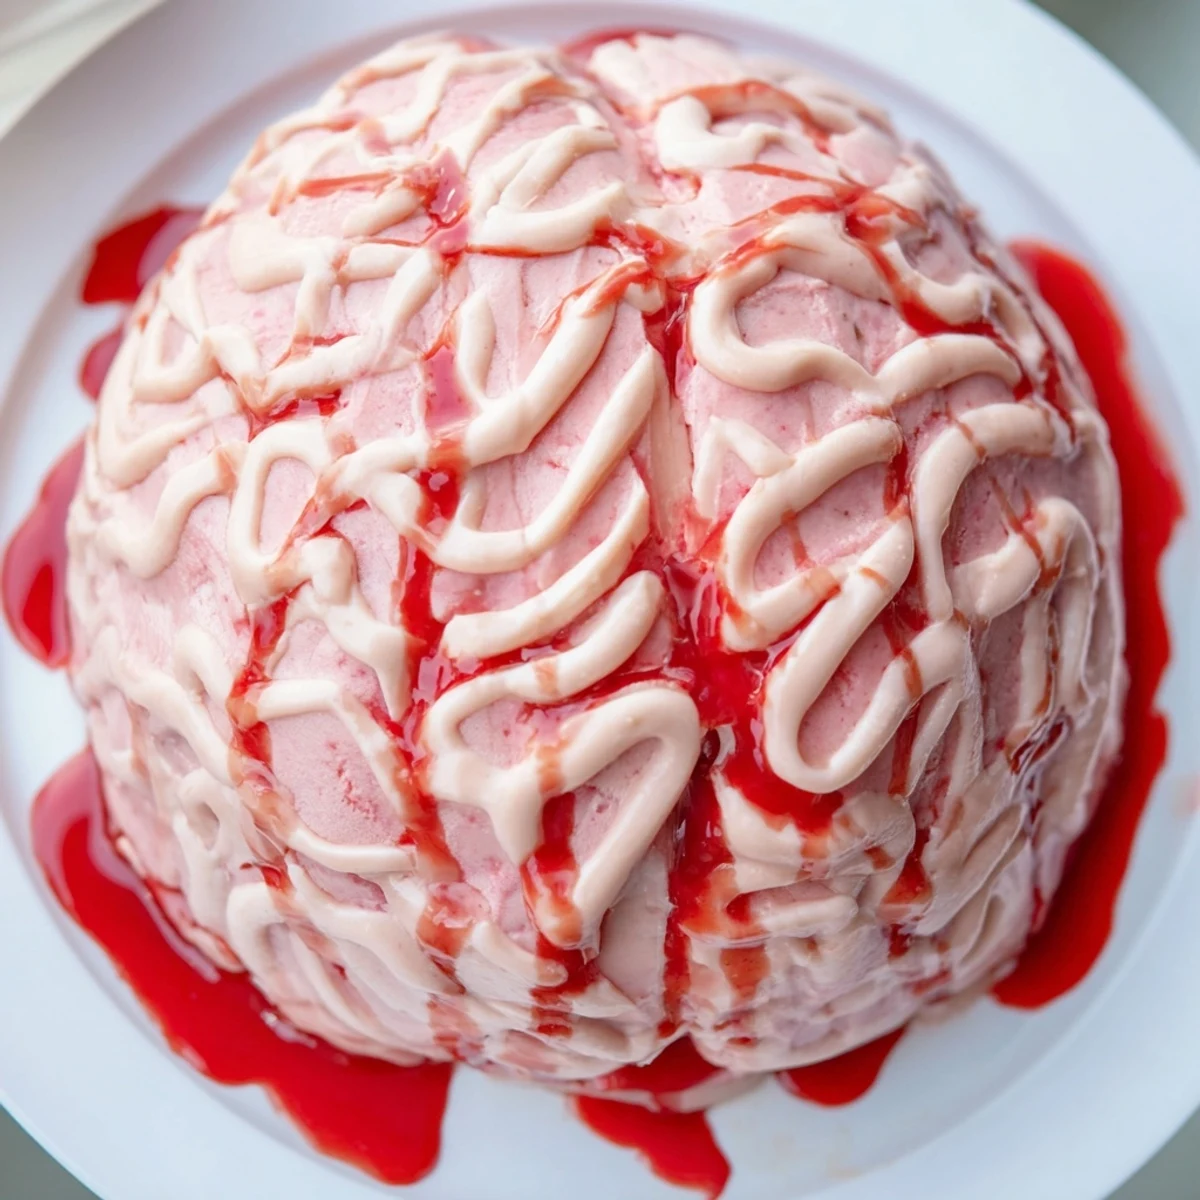
White chocolate squiggles mimic brain folds for that authentic gory look, while optional red berry sauce adds the perfect finishing touch. The vegetarian-friendly gelatin makes it accessible for various dietary needs, and the 5-hour chill time means you can prepare it ahead of your party.
Each serving delivers rich, creamy textures with bright strawberry notes balanced by the classic cookie base. The foolproof no-bake method makes this dramatic dessert surprisingly simple to execute.
The first time I brought this brain cake to a Halloween potluck, my friend actually asked if I needed to call an ambulance. We all erupted in laughter when I sliced into that pinkish, squiggly dome to reveal the creamiest strawberry cheesecake inside. Now it is the most requested dessert at every October gathering, and honestly I look forward to that shocked expression on new faces every single year.
Last year I made three of these brains for my daughter's science-themed birthday party. The kids went wild pretending to be mad scientists while eating dessert, and even the parents could not stop taking pictures. One dad told me weeks later he still thinks about that cake whenever he walks past the baking aisle.
Ingredients
- 200 g graham crackers or digestive biscuits: These create a buttery, crumbly foundation that holds everything together beautifully
- 75 g unsalted butter, melted: Room temperature butter blends more evenly with the crumbs for a stable crust
- 400 g fresh strawberries, hulled: Pick berries that are deep red and fragrant for the most vibrant color and flavor
- 2 tbsp granulated sugar: Just enough to draw out the natural strawberry juices without overpowering
- 2 tbsp water: Creates the perfect base for blooming your gelatin properly
- 2 tsp gelatin powder: This sets your strawberry layer into a gorgeous, sliceable consistency
- 400 g cream cheese, room temperature: Cold cream cheese creates lumps so let it sit out for at least an hour
- 100 g powdered sugar: Dissolves instantly into the filling unlike granulated sugar
- 200 ml heavy cream: Whip this slowly to avoid overbeating which can make the cheesecake dense
- 1 tsp vanilla extract: Pure vanilla makes all the difference in the final flavor profile
- 200 g white chocolate, melted: Use high-quality white chocolate for the best piping consistency
- Pink gel food coloring: Gel coloring is more concentrated than liquid so you need less
- Extra strawberry coulis: This dripping effect takes the brain from cute to convincingly creepy
Instructions
- Prep your brain mold:
- Line a brain-shaped silicone mold with plastic wrap, ensuring the wrap presses into all the crevices for easy removal later.
- Build the buttery crust:
- Crush the graham crackers until fine and sandy, then stir in melted butter until it resembles wet sand and press firmly into the mold base.
- Make the strawberry gelatin:
- Blend strawberries with sugar until completely smooth, then bloom the gelatin in warm water before stirring it into the puree until dissolved.
- Whip the creamy filling:
- Beat cream cheese and powdered sugar until silky smooth, then fold in whipped cream and vanilla until no streaks remain.
- Combine and pour:
- Gently fold the cooled strawberry gelatin into the cheesecake mixture, then pour everything into your prepared mold and smooth the top.
- Chill until set:
- Refrigerate for at least five hours or overnight, testing by gently pressing the center to see if it jiggles like a firm gelatin.
- Create the brain decoration:
- Melt white chocolate and tint it pink, then pipe squiggly lines onto parchment paper and chill until firm enough to handle.
- Assemble the final brain:
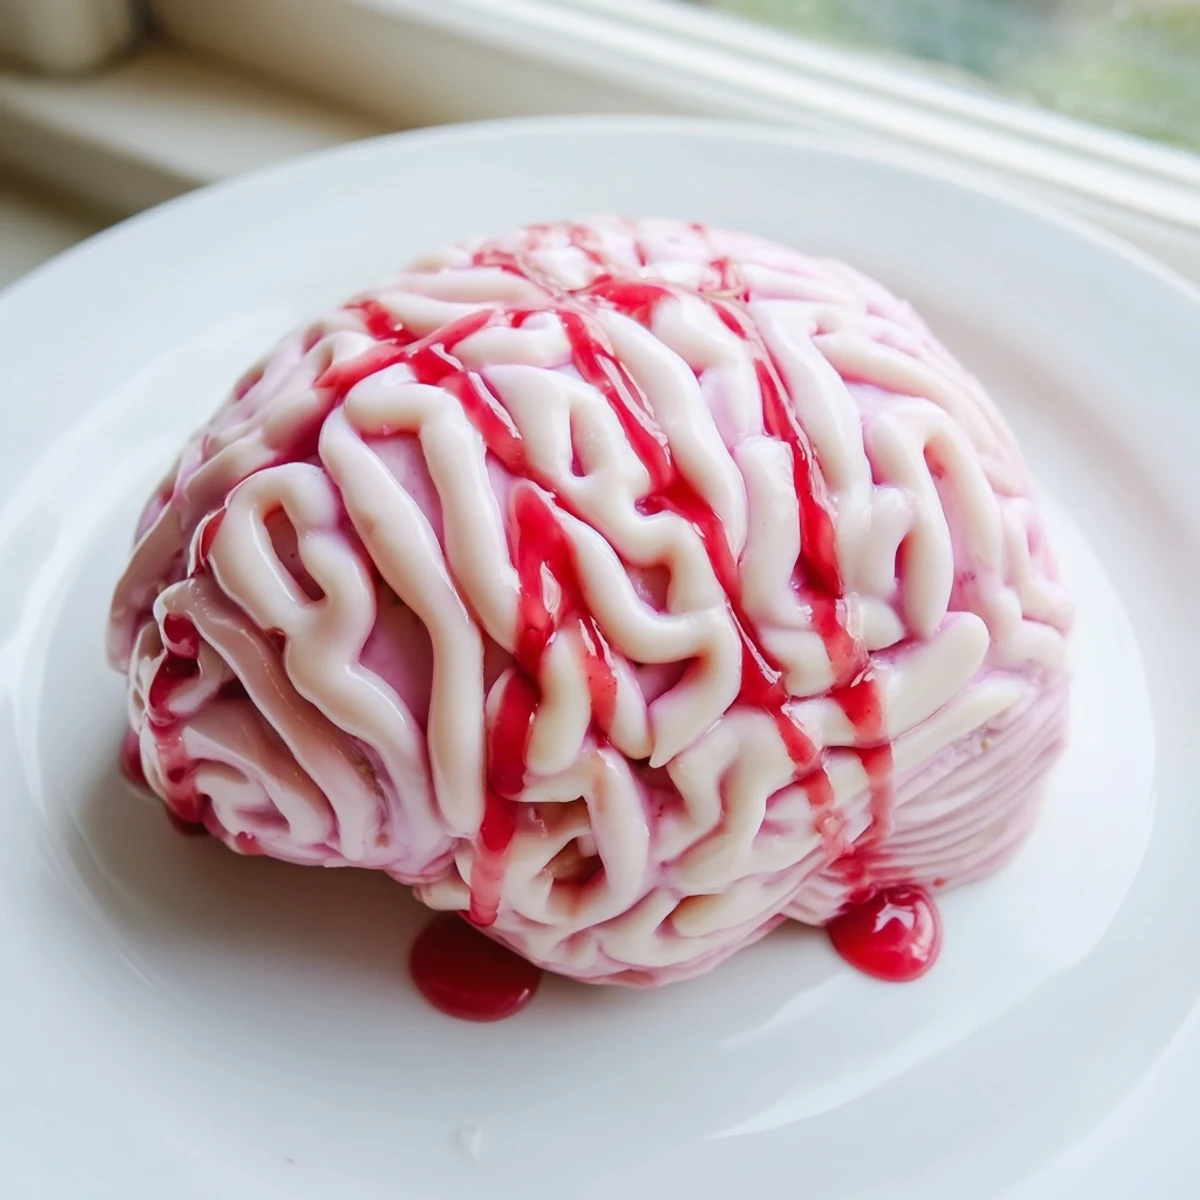
- Carefully unmold the cheesecake, arrange the chocolate squiggles to resemble brain folds, and drizzle with red coulis for that eerie effect.
 Save
Save My niece helped me pipe the chocolate squiggles last Halloween and we ended up with the most gloriously lopsided brain imaginable. The kids loved it even more because it looked properly weird, and sometimes imperfect is absolutely perfect for a spooky dessert.
Choosing Your Mold
Silicone brain molds work best because they flex for easy release, but I have used oval mixing bowls lined with plastic wrap in a pinch. The key is creating those characteristic folds and crevices that make the brain effect convincing. If you use a regular bowl, simply arrange your chocolate squiggles more artistically to suggest the brain texture.
Getting the Right Color
Fresh strawberries naturally give the cheesecake a lovely pink hue, but sometimes you want that more intense brain-like color. Start with a tiny drop of pink gel coloring because you can always add more. I once added too much and ended up with a neon bubblegum brain that looked more cartoon than creepy.
Making It Ahead
This recipe actually improves when made a day ahead, giving all the flavors time to meld and the texture to become perfectly firm. The brain decoration can be piped and chilled up to two days before you need it. Keep everything wrapped well in the refrigerator until you are ready to assemble and serve.
- Wrap the molded cheesecake tightly with plastic to prevent absorbing fridge odors
- Bring the cake to room temperature for about 15 minutes before slicing for clean cuts
- Store any leftovers covered in the fridge for up to three days
 Save
Save Hope this spooky creation brings as many delighted gasps to your table as it has to mine over the years. Happy haunting.
Recipe FAQs
- → Can I make this brain cheesecake ahead of time?
-
Yes, this dessert actually benefits from being made 1-2 days ahead. The extended chilling time allows flavors to develop and the filling to set completely. Keep it covered in the refrigerator until ready to decorate and serve.
- → What if I don't have a brain-shaped mold?
-
Use a medium oval bowl lined with plastic wrap as an alternative. The shape will still resemble a brain, and you can create the characteristic folds with your white chocolate piping. Just ensure you line it well for easy removal.
- → Can I use frozen strawberries instead of fresh?
-
Frozen strawberries work perfectly fine for the puree layer. Thaw them completely before blending, and you may need to reduce the added sugar slightly since frozen fruit can be sweeter. The texture will remain smooth after blending.
- → How long does the decoration take?
-
Piping the white chocolate brain squiggles takes about 15-20 minutes plus 10 minutes to chill. You can prepare these decorations up to a week in advance and store them layered between parchment paper in the refrigerator.
- → Is there a way to make this without gelatin?
-
Agar-agar works as an excellent vegetarian substitute. Use approximately 1.5 teaspoons of agar-agar powder dissolved in hot liquid instead of the gelatin. The setting time may be slightly faster, so check your mixture after 4 hours.
- → Can I freeze this brain cheesecake?
-
Yes, you can freeze the undecorated cheesecake for up to 2 months. Wrap it tightly in plastic and foil. Thaw overnight in the refrigerator before adding the white chocolate decorations and sauce, as these don't freeze well.
