 Save
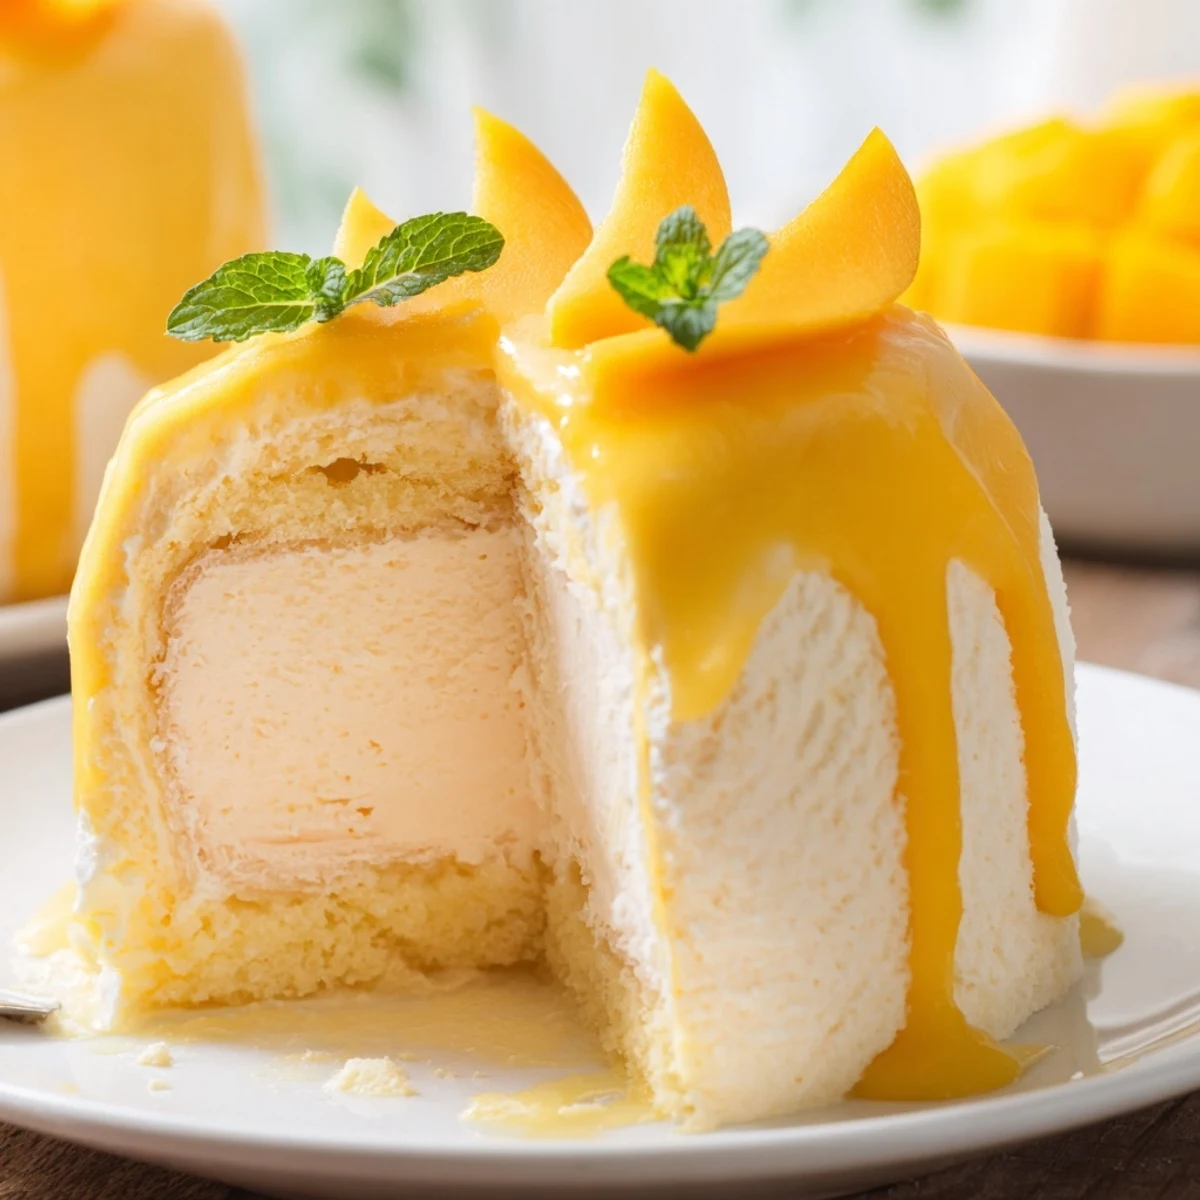
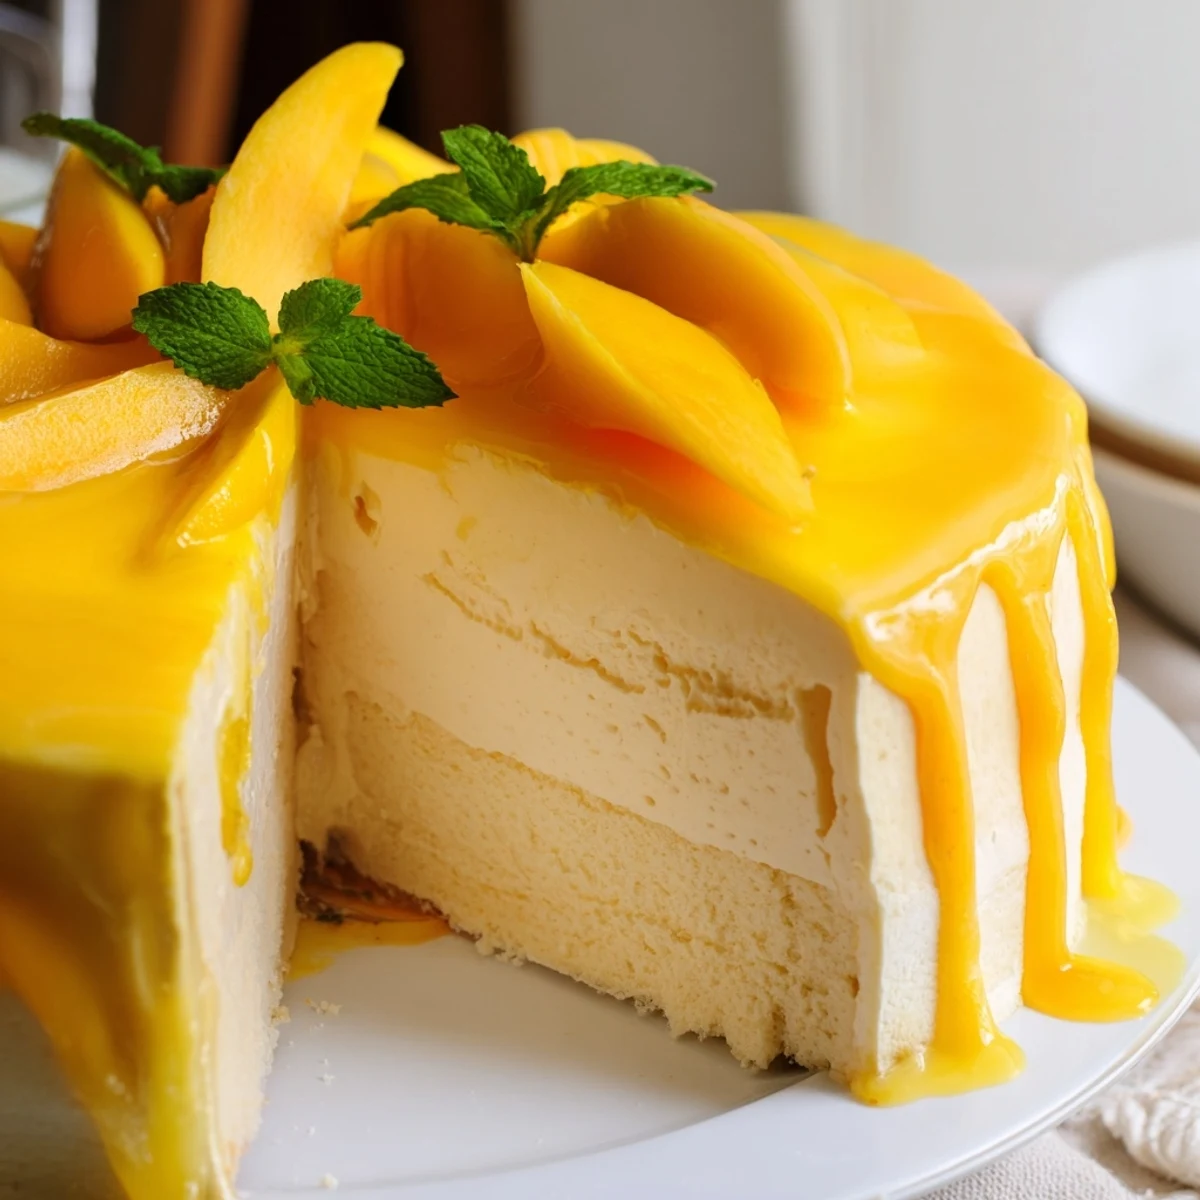
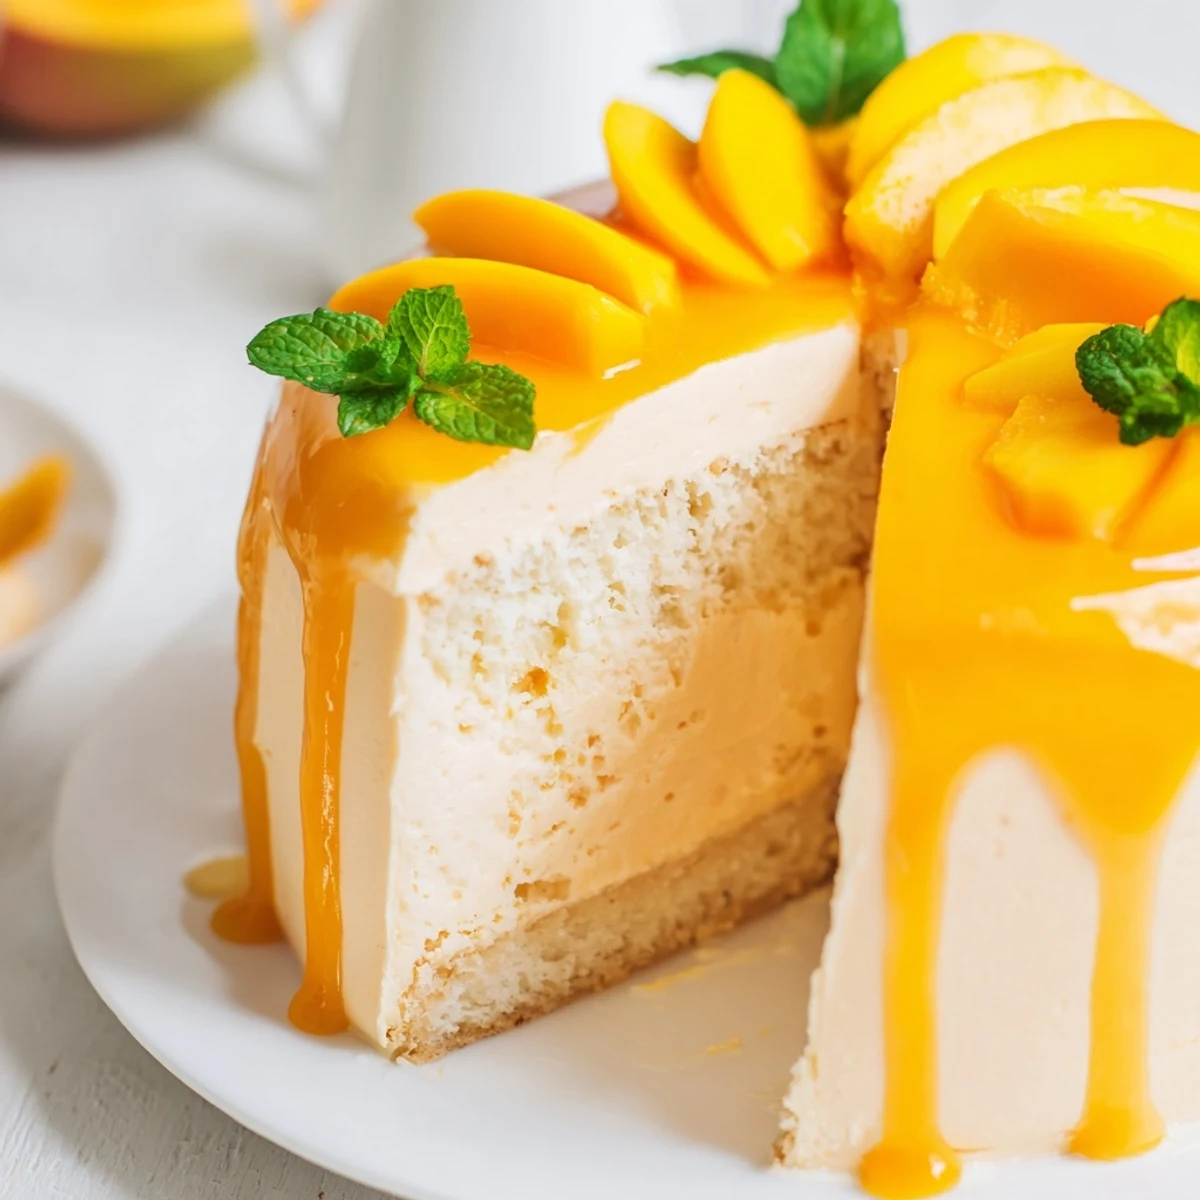
Save This elegant mango mousse cake features three indulgent layers: a tender vanilla sponge base, airy mango mousse made from fresh ripe mangoes and whipped cream, and a mirror-like mango glaze. The tropical sweetness shines through while the mousse remains incredibly light and creamy.
Perfect for warm weather gatherings, this stunning dessert requires just 40 minutes of active prep time before chilling to set. The result is a restaurant-worthy showstopper that balances refreshing mango flavor with rich, velvety texture.
The first time I made this mango mousse cake, my kitchen smelled like pure sunshine. I was attempting to impress some dinner guests with something that felt fancy but wasn't actually complicated, and when I pulled that glossy, golden masterpiece out of the fridge, even I couldn't believe I'd made it. The way the light hit that mirror-like glaze made it look like something from a French patisserie window.
Last summer, I brought this to a potluck and my friend Sarah literally chased me around the patio demanding the recipe. She doesn't even bake. But watching people's eyes widen when they cut into those pristine layers and take that first impossibly light bite has become one of my favorite kitchen moments. Something about mango just makes everything feel like a celebration.
Ingredients
- 3 large eggs at room temperature: Cold eggs won't whip up properly, so trust me on this one
- 90 g granulated sugar: This creates the structure for your sponge, so don't reduce it
- 90 g all-purpose flour: Sift it first for the lightest possible texture
- 1/2 tsp vanilla extract: Pure extract makes a difference you can actually taste
- Pinch of salt: Just enough to wake up all the flavors
- 400 g ripe mango flesh pureed: The sweeter and riper your mangoes, the more intense your mousse will be
- 60 g granulated sugar: Adjust slightly based on how sweet your mangoes are naturally
- 2 tbsp lemon juice: This brightens the mango flavor and cuts through the rich cream
- 1 tbsp unflavored gelatin powder: This is what gives your mousse that dreamy, stable texture
- 300 ml heavy cream cold: Don't skimp on fat content here or your mousse won't hold its shape
- 150 g mango puree: Use the same mangoes you pureed for the mousse
- 1 tbsp lemon juice: Keeps your glaze from becoming cloyingly sweet
- 1 tbsp granulated sugar: Just enough to balance the tang of the lemon
- 1.5 tsp unflavored gelatin powder: This creates that gorgeous mirror finish when set
- Fresh mango slices mint leaves: Because beautiful food deserves beautiful garnish
Instructions
- Prep your oven and pan:
- Preheat to 180°C (350°F) and line just the bottom of a 23 cm springform pan with parchment paper, but leave the sides bare so you can easily release the cake later.
- Whip up your sponge base:
- Beat those room-temperature eggs and sugar with an electric mixer until they're pale and have tripled in volume, which should take about 5 full minutes.
- Gently fold in the dry ingredients:
- Sift your flour and salt into the egg mixture, add vanilla, then fold everything together until just combined.
- Bake the foundation:
- Pour into your prepared pan and bake for 12 to 15 minutes until a toothpick comes out clean, then let it cool completely in the pan.
- Bloom your gelatin for the mousse:
- Sprinkle the gelatin over 3 tbsp cold water, let it sit for 5 minutes until it absorbs all the water and becomes firm.
- Prepare your mango base:
- Blend the mango puree, sugar, and lemon juice until silky smooth, then stir in your dissolved gelatin.
- Whip and fold the cream:
- Whip the heavy cream to soft peaks, then gently fold it into the mango mixture until no white streaks remain.
- Assemble the mousse layer:
- Pour this cloud-like mixture over your cooled sponge base and refrigerate for at least 2 hours until it's completely set.
- Make the glossy glaze:
- Bloom the gelatin in 2 tbsp cold water, dissolve it gently, then stir it into the mango puree, lemon juice, and sugar.
- Add the mirror finish:
- Let the glaze cool to room temperature, then carefully pour it over your set mousse layer and chill for 2 more hours.
- Release and adorn:
- Run a warm knife around the edge of the pan to release the cake, then top with fresh mango slices and mint if you're feeling fancy.
 Save
Save My mom asked me to make this for her birthday instead of a traditional cake, and watching her face light up when she saw those mango slices on top was better than any gift I could have bought. Sometimes food is just love you can eat.
Working with Gelatin
I learned the hard way that gelatin needs to be treated with respect and patience. Blooming it properly, dissolving it gently, and never ever letting it come to a boil are the three commandments of working with it. Rush any of these steps and your beautiful mousse will refuse to set properly, leaving you with mango soup instead of mango cake.
Selecting the Perfect Mangoes
The best mangoes for this recipe are ones that yield slightly to gentle pressure but aren't mushy, with a fragrant tropical smell at the stem end. I always buy one extra mango than the recipe calls for because sometimes you cut into what looks like a perfect specimen only to find it's fibrous or not quite ripe enough. Better safe than sorry when mango season only comes once a year.
Timing Your Cake
This cake needs to be started the day before you plan to serve it, honestly. Between the cooling, the first chill, the glaze setting, and the final firm-up, you're looking at about 6 hours of inactive time. But the beauty is that almost all of that happens while you're doing other things.
- Making the sponge and mousse in the evening lets it set overnight
- Add the glaze first thing in the morning for an afternoon party
- This cake actually tastes better after 24 hours in the fridge
 Save
Save There's something deeply satisfying about serving a dessert that looks like it belongs in a magazine spread but tastes like pure, uncomplicated joy. Hope this cake brings as much sunshine to your table as it has to mine.
Recipe FAQs
- → Can I use frozen mango for the mousse?
-
Yes, frozen mango chunks work well when thawed and drained thoroughly. Ensure excess liquid is removed before pureeing to maintain proper mousse consistency.
- → How long does the cake need to chill?
-
The mousse layer requires at least 2 hours to set, and the glaze needs an additional 2 hours. For best results, chill overnight to ensure firm, clean slices.
- → Can I make this gluten-free?
-
Absolutely. Substitute the all-purpose flour in the sponge base with a 1:1 gluten-free flour blend. The texture remains virtually identical.
- → How do I know when the sponge is done baking?
-
Insert a toothpick into the center — it should come out clean or with just a few moist crumbs. The top should be lightly golden and spring back when touched gently.
- → Can I prepare this in advance?
-
The completed cake keeps beautifully in the refrigerator for up to 3 days. Store covered to prevent absorbing other flavors. Add fresh decorations just before serving.
