 Save
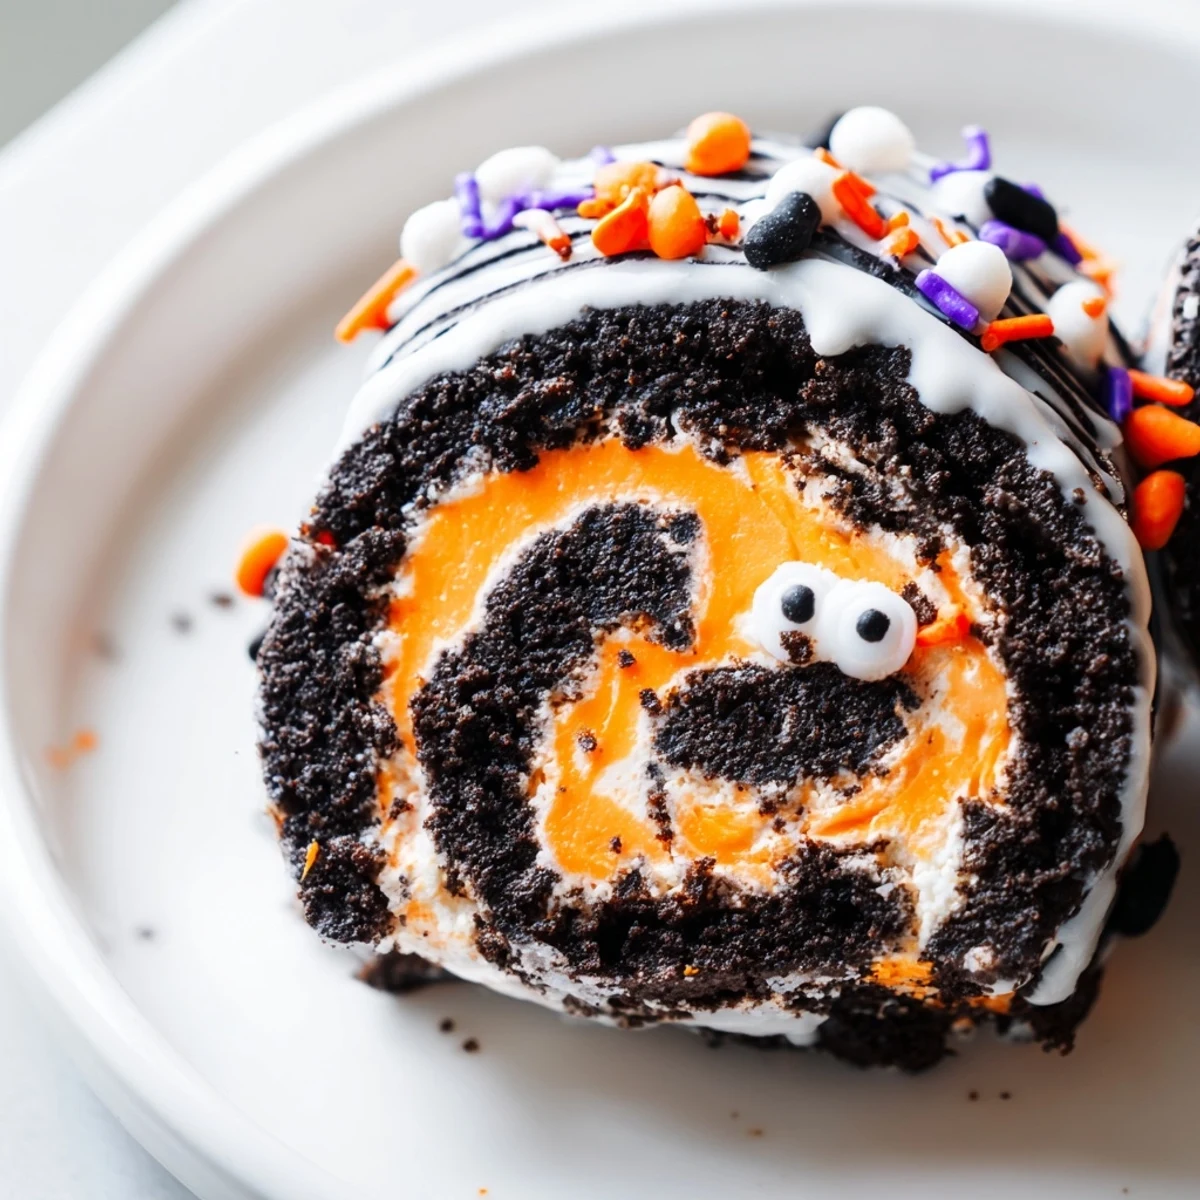
Save This festive Halloween roll combines crushed sandwich cookies with a creamy whipped filling in eye-catching orange and purple hues. The no-bake preparation comes together in under 30 minutes, making it perfect for last-minute party planning. Simply crush the cookies, mix with cream cheese and butter, then roll out the dough and spread with colored whipped cream before rolling into a log.
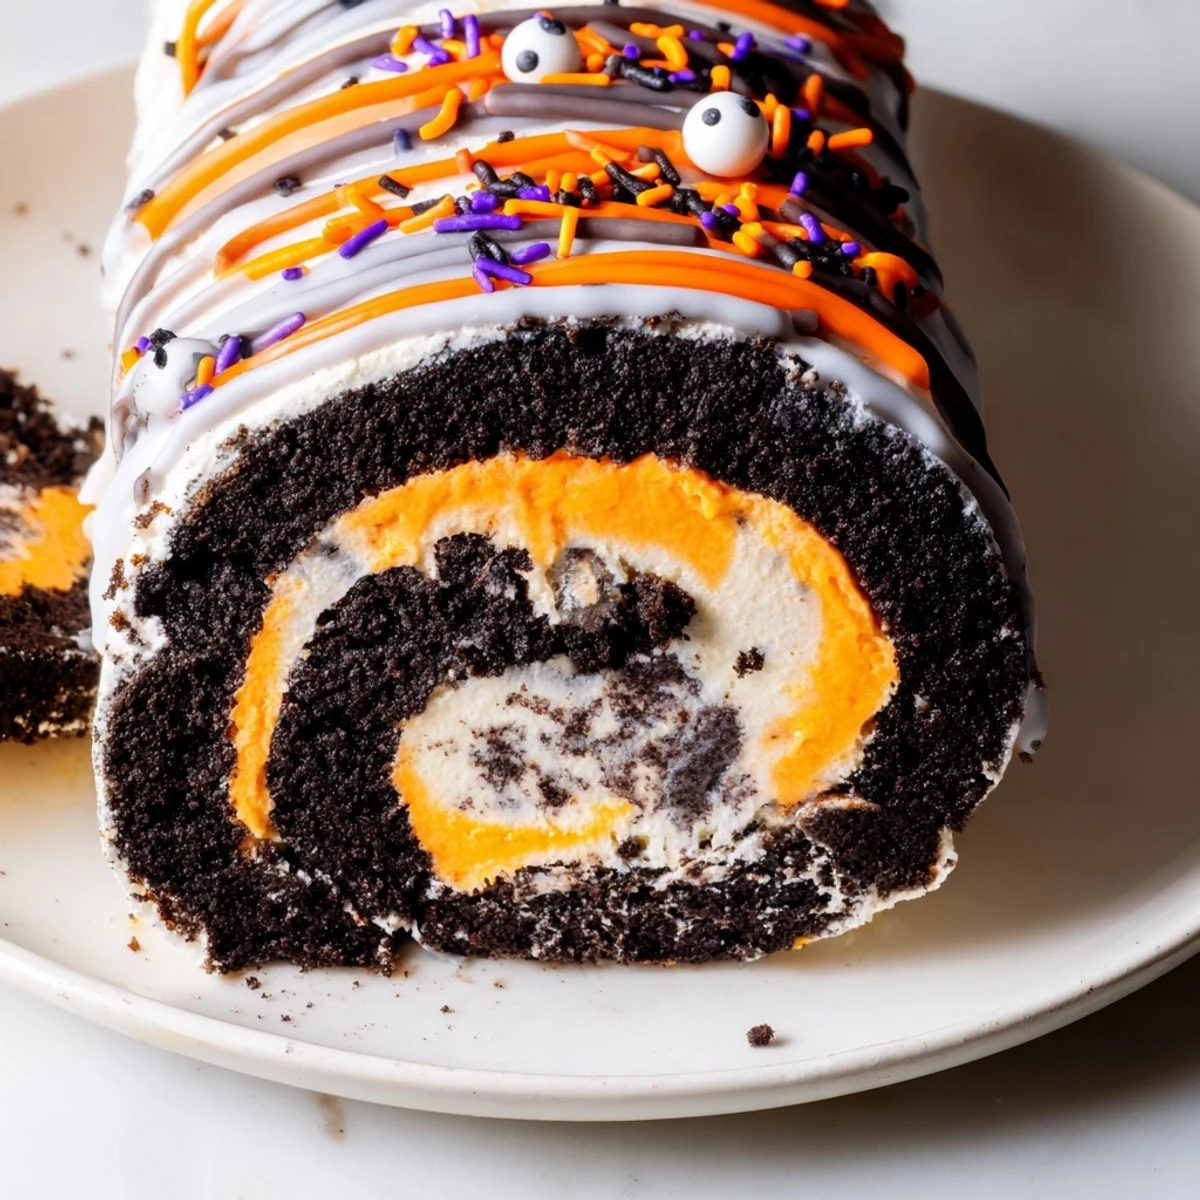
After chilling for an hour, this indulgent dessert transforms into firm, sliceable portions that showcase beautiful swirls of Halloween colors. The addition of sprinkles, candy eyes, and chocolate drizzle creates a show-stopping centerpiece that tastes as good as it looks.
Last October, my daughter's eyes went wide when I unrolled this from the fridge. She said it looked like a pumpkin got dressed up for a party and then exploded into something wonderful. We'd spent the afternoon crushing Oreos to Halloween music, laughing when orange dust coated every surface of my kitchen.
My friend Jen begged for this recipe after seeing it on my Instagram. She made it for her office Halloween potluck and texted me saying grown men were fighting over the last slice. Something about combining childhood cookies with whipped cream just unlocks a sense of celebration in people.
Ingredients
- Halloween Oreos: Get the ones with orange filling—it saves you from having to tint the crust yourself, though regular Oreos work if you add a drop of orange gel food coloring to the crushed mixture
- Powdered sugar: This sweetens the crust base and also stabilizes your whipped cream filling, so don't skip it in either place
- Unsalted butter: Melt it completely so it coats every crumb evenly—cold butter creates weird dry patches I learned the hard way
- Cream cheese: Soften it on the counter for an hour so it blends seamlessly into the cookie crust without tiny lumps
- Heavy whipping cream: Chill your bowl and beaters beforehand, seriously, it makes the difference between sad foam and glorious stiff peaks
- Vanilla extract: Pure vanilla tastes better than imitation here since the flavor shines through the whipped cream
- Orange or purple food coloring: Gel coloring works better than liquid drops because it won't thin out your carefully whipped cream
- Halloween sprinkles: Press them gently into the chocolate drizzle before it sets so they actually stick instead of sliding off onto serving plates
Instructions
- Prep your workspace:
- Tear off a sheet of parchment paper large enough to cover your entire work surface—it's about to get messy with crumbs and cream
- Crush the cookies:
- Pulse those Halloween Oreos in your food processor until they're fine and even, or put them in a ziplock bag and crush with a rolling pin while imagining your stress disappearing
- Mix the crust:
- Stir the crushed cookies with powdered sugar, melted butter, and softened cream cheese until it clumps together like damp sand that holds shape when squeezed
- Roll it out:
- Place the dough between fresh parchment sheets and roll to about half an inch thick, lifting the paper occasionally so it doesn't stick
- Make the filling:
- Whip that cold cream with powdered sugar and vanilla until it stands up in stiff peaks, then gently fold in food coloring until it looks like Halloween sunshine
- Spread and roll:
- Spread the orange cream over your cookie rectangle, leave a border at one end, then use the parchment to help you roll it into a tight log like you're making sushi but sweeter
- Chill thoroughly:
- Slide the whole thing onto a plate and refrigerate for at least one hour—overnight is even better if you can plan that far ahead
- The grand finish:
- Drizzle with melted chocolate and shower with sprinkles right before serving because that's when the real Halloween magic happens
- Slice and serve:
- Use a sharp knife and wipe it clean between cuts for those pretty spiraled slices that make everyone grab their phones for pictures
 Save
Save Last year I made three of these for different events and started keeping a stash of Halloween Oreos in my pantry just in case. Something about rolling up dessert feels like being a magician who forgot the top hat but remembered the wand.
Making It Ahead
You can assemble the entire roll up to two days before your party, wrap it tightly in plastic, and keep it chilling until you're ready to decorate and serve. This saved my life when I hosted Halloween dinner and had zero counter space left on the big day.
Flavor Twists
Sometimes I stir a teaspoon of orange zest into the whipped cream, which makes it taste like a creamsicle met its cookie soulmate. A pinch of cinnamon in the crust adds warmth that reminds people of pumpkin pie without actually being pumpkin pie.
Serving Ideas
This looks absolutely dramatic on a black serving plate or board scattered with plastic spiders if you want to commit to the theme. I once served it with vanilla ice cream on the side and people acted like I'd invented dessert itself.
- Clean your knife between every single slice for those picture perfect spirals
- Let it sit at room temperature for 10 minutes before serving for the best texture
- Keep any leftovers covered or the cookie parts will get sad and soggy
 Save
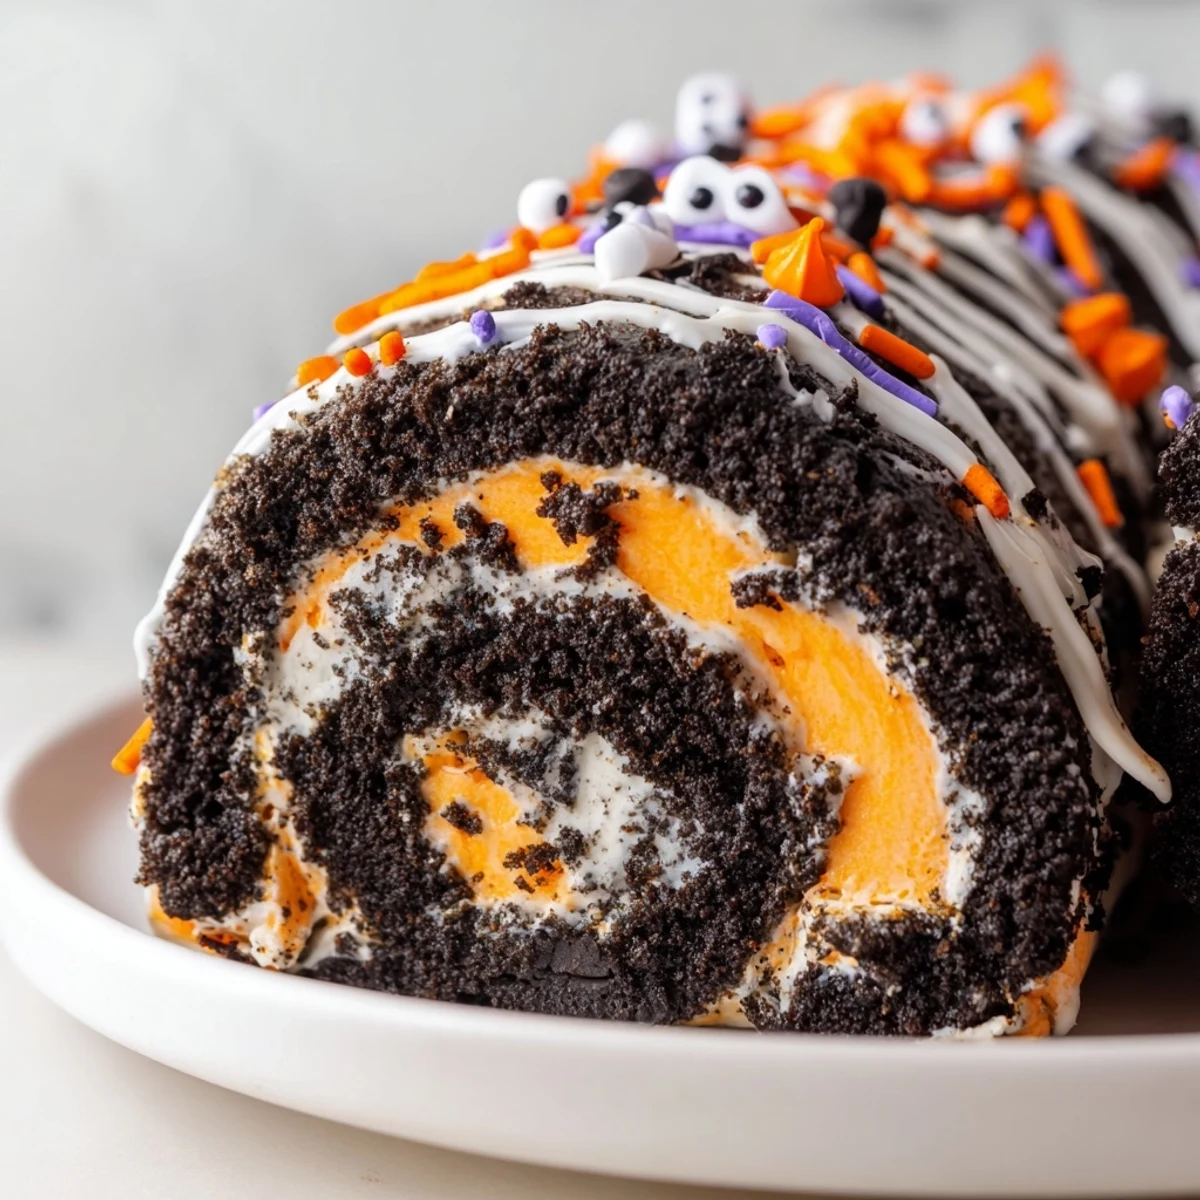
Save Hope this brings some spooky joy to your kitchen. Every time I slice into that orange swirl, I remember why dessert is supposed to be fun.
Recipe FAQs
- → How long does the Oreo roll need to chill?
-
Refrigerate for at least 1 hour until firm. This allows the creamy filling to set and the roll to hold its shape when sliced.
- → Can I make this ahead of time?
-
Yes! Prepare up to 24 hours in advance. Store well-covered in the refrigerator, and add decorations just before serving for the freshest appearance.
- → What if I don't have Halloween Oreos?
-
Regular sandwich cookies work perfectly—simply add orange or purple food coloring to the cream filling mixture to achieve the festive Halloween hue.
- → Can I freeze this dessert?
-
Absolutely! Wrap the chilled log tightly in plastic and freeze for up to 1 month. Thaw in the refrigerator for 2-3 hours before decorating and serving.
- → How do I get clean slices?
-
Use a sharp knife wiped clean between cuts. For even cleaner slices, run the knife under hot water and dry it before each slice.
- → Can I make this gluten-free?
-
Simply substitute gluten-free sandwich cookies for the Oreos. All other ingredients are naturally gluten-free, making this an easy adaptation.
