 Save
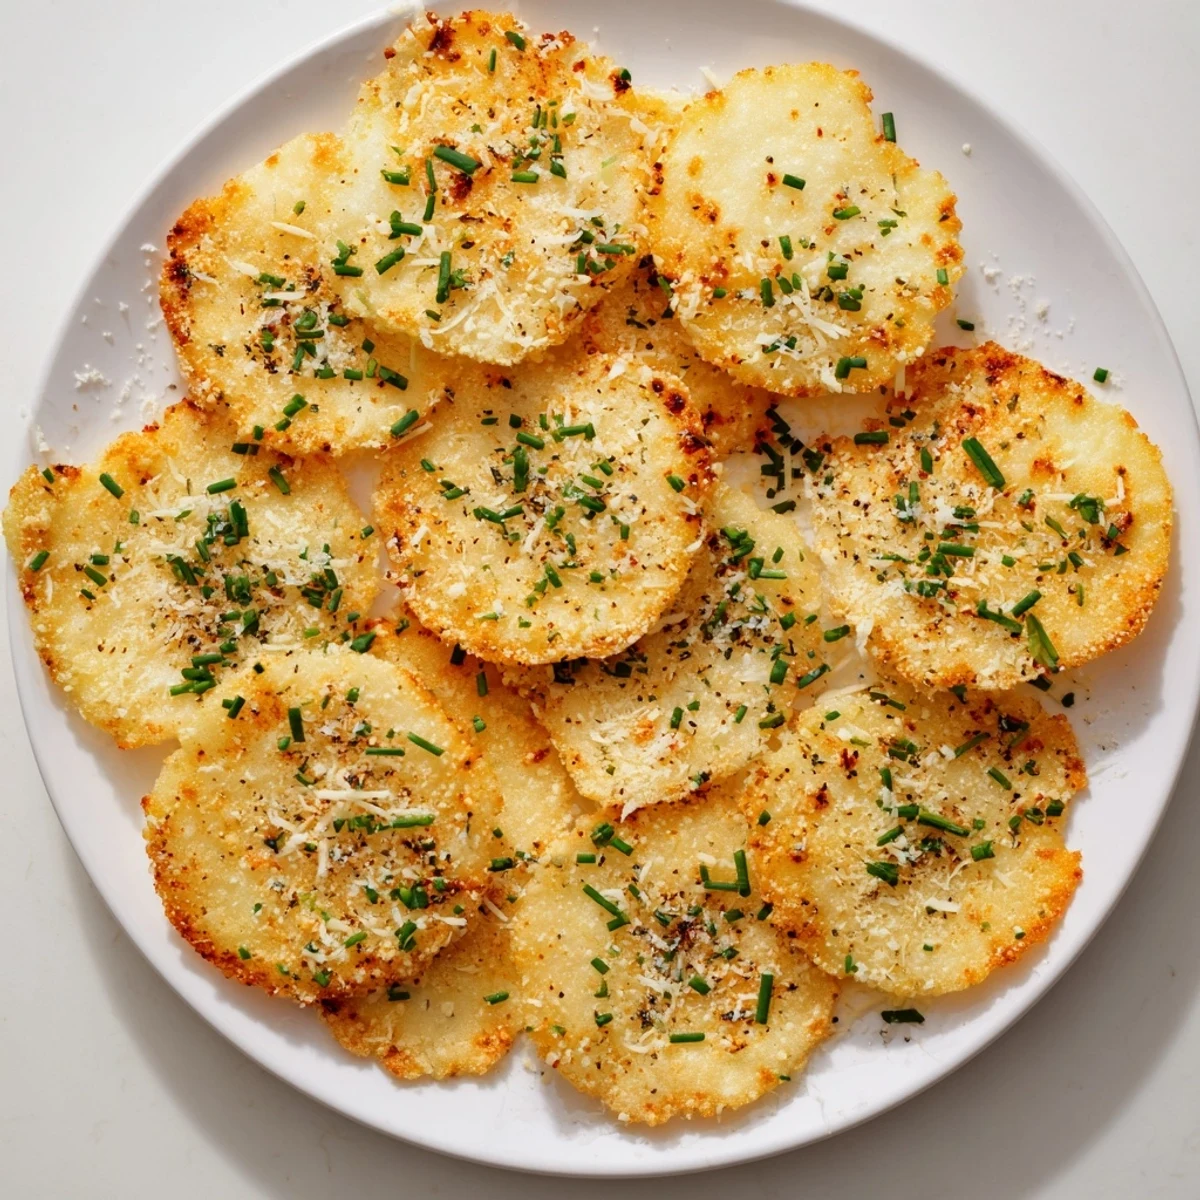
Save These crispy cottage cheese chips offer a protein-rich twist on traditional snacking. The process involves straining excess moisture from cottage cheese, blending it with aromatic seasonings like smoked paprika and garlic powder, then baking until golden and crisp. The result is a satisfyingly crunchy chip that delivers 14 grams of protein per serving while remaining gluten-free and vegetarian.
Perfect for parties or meal prep, these chips hold their crunch beautifully when stored properly. The base recipe allows endless customization—experiment with different herbs, spices, or cheese toppings to create your signature version. Serve alongside Greek yogurt dip, salsa, or enjoy them solo for a nutritious snack that doesn't compromise on flavor or texture.
The smell of these baking caught my roommate wondering what kind of fancy cheese crisps I was attempting. Honestly, I was just trying to use up that tub of cottage cheese sitting in the back of the fridge, but sometimes the best discoveries happen when you are not trying too hard.
Last game night, I made a double batch thinking they would last through the weekend. My friend Sarah actually asked for the recipe before she even finished her first serving, and now she makes them for her kids as an after-school snack. Something about knowing they are eating protein makes parents feel better about the chip request.
Ingredients
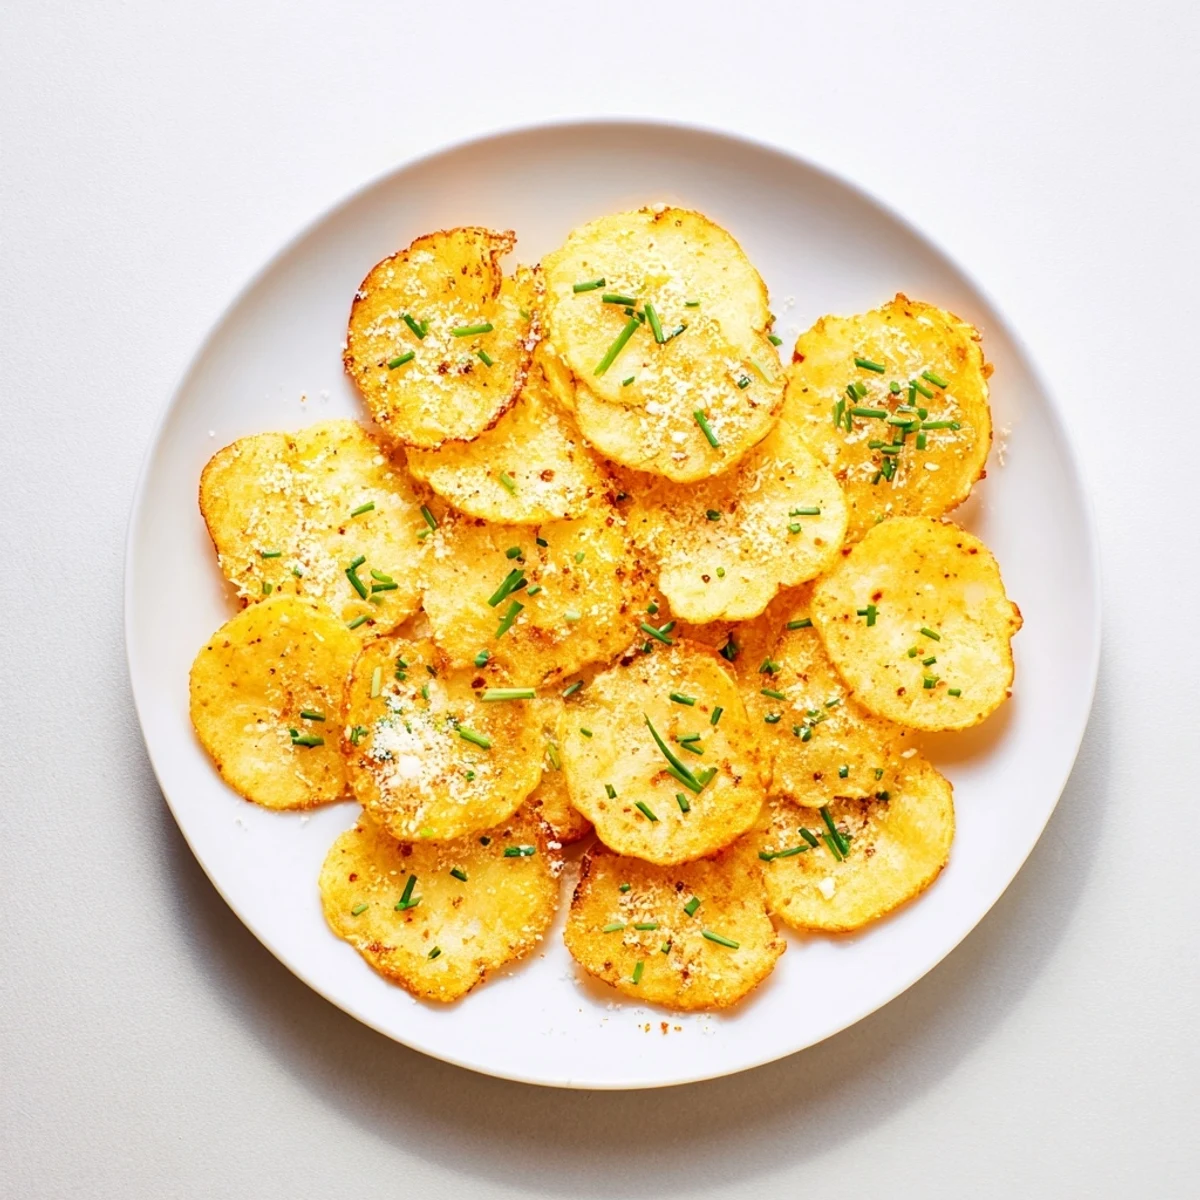
- 400 g cottage cheese: Low-fat gives you a lighter chip, but regular creates a richer mouthfeel that browns beautifully
- 1/2 tsp garlic powder: This disperses evenly throughout the cheese unlike fresh garlic which can burn
- 1/2 tsp smoked paprika: Provides that subtle smoky depth that makes people ask what your secret ingredient is
- 1/4 tsp ground black pepper: Freshly cracked makes a noticeable difference in the final flavor profile
- 1/2 tsp sea salt: Fine sea salt incorporates better than coarse varieties which can leave salty pockets
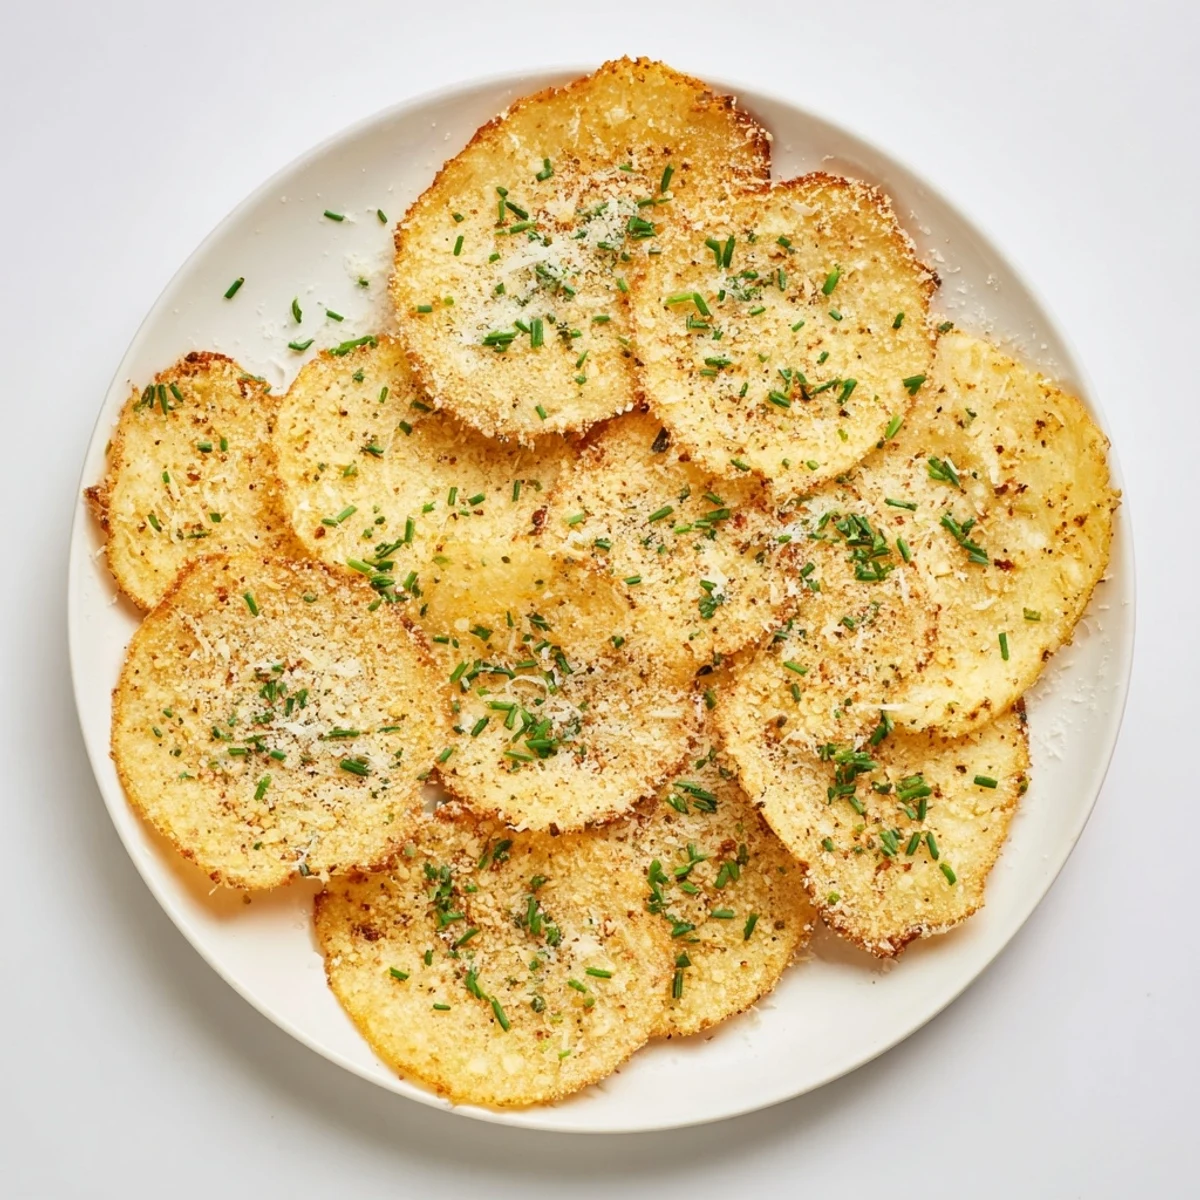
- 1 tbsp finely chopped chives: Add these after baking if you want them bright green, or before for a roasted onion flavor
- 2 tbsp grated Parmesan cheese: Sprinkle on top halfway through baking to prevent burning while still getting that golden crust
Instructions
- Prep your baking station:
- Preheat your oven to 180°C (356°F) and line two baking sheets with parchment paper. The parchment is non-negotiable here unless you want to spend twenty minutes chipping cheese off metal sheets.
- Remove excess moisture:
- Place the cottage cheese in a fine-mesh strainer and press gently to remove excess liquid. Do not squeeze the life out of it, just enough that the cheese holds its shape when scooped.
- Season the cheese:
- Transfer the cottage cheese to a mixing bowl. Stir in the garlic powder, smoked paprika, black pepper, and salt until evenly combined.
- Shape the chips:
- Drop heaping teaspoons of the mixture onto the prepared baking sheets, spacing them about 3 cm apart. Flatten each mound lightly with the back of a spoon to form thin rounds. Thin means crispy, thick means chewy, so aim for consistency.
- Add your toppings:
- Sprinkle with chopped chives and/or Parmesan cheese if desired. I recommend pressing them gently into the surface so they do not fall off during handling.
- Bake to golden perfection:
- Bake for 20 to 25 minutes, or until the chips are golden and crisp at the edges. Rotate the trays halfway through for even baking. Watch them closely in the last five minutes because the line between perfect and burnt is thin.
- Cool completely:
- Let the chips cool on the tray for 5 minutes, then carefully transfer to a wire rack to cool completely. They crisp up as they cool, so do not rush this step even if you are eager to taste test.
- Store or serve:
- Serve immediately or store in an airtight container for up to 2 days. After that, they start losing their signature crunch and become more chewy than crispy.
 Save
Save My grandmother tried these and immediately wanted to know if she could make them with her homemade farmer cheese. The answer is yes, and honestly, they tasted even better with that slightly tangy, fresh cheese flavor. Sometimes traditional ingredients meet modern recipes in the most wonderful ways.
Getting The Right Texture
The difference between a perfect chip and a disappointing one comes down to moisture content. I learned the hard way that fresh, watery cottage cheese needs more draining time than the tub sitting in my fridge for a few days. Trust your instincts here, if the mixture feels too wet to hold a mound shape, give it more time in the strainer.
Flavor Variations That Work
Once you have the basic technique down, the flavor possibilities are endless. Everything bagel seasoning works surprisingly well, and I have had great success with ranch seasoning mix for a party crowd. Just remember that dried herbs work better than fresh ones when baking at these temperatures.
Serving Suggestions
These chips shine brightest when paired with something creamy and cool. Greek yogurt dip with fresh dill creates that perfect protein-rich combination, but they are equally good crumbled over soup for extra texture and nutrition.
- Try them as a crouton replacement in salads for a protein boost
- Crush them over roasted vegetables for added crunch and flavor
- Package them in small bags for portion-controlled snacking throughout the week
 Save
Save These cottage cheese chips have become my go-to when I want something crunchy without the processed food guilt. Hope they become a staple in your kitchen too.
Recipe FAQs
- → Why do I need to strain the cottage cheese?
-
Removing excess liquid prevents soggy chips and ensures even baking. The straining step concentrates the cheese proteins, helping the chips achieve their signature crisp texture without burning or becoming rubbery.
- → Can I make these chips in an air fryer?
-
Yes, air frying works well. Cook at 180°C for 8–12 minutes, shaking the basket halfway through. Keep a close eye as air fryers vary—some models cook faster and may require less time.
- → How do I store leftover chips?
-
Completely cool the chips before transferring to an airtight container. They stay crispy for up to 2 days at room temperature. Avoid refrigeration, which introduces moisture and makes them lose their crunch.
- → What's the best way to tell when they're done?
-
Look for deep golden edges and a firm, dry surface. The chips should lift easily from the parchment without sticking. If they still feel soft, continue baking in 2-minute intervals until crisp.
- → Can I use flavored cottage cheese?
-
Plain varieties work best since you control the seasonings. Flavored versions may contain added moisture or sweeteners that affect texture and baking time. Stick with low-fat or regular plain cottage cheese for consistent results.
- → Are these suitable for meal prep?
-
Absolutely. Double the batch and bake on Sunday for grab-and-go snacks throughout the week. The high protein content makes them ideal for post-workout or afternoon hunger. Just ensure they're completely cooled before storage.
