 Save
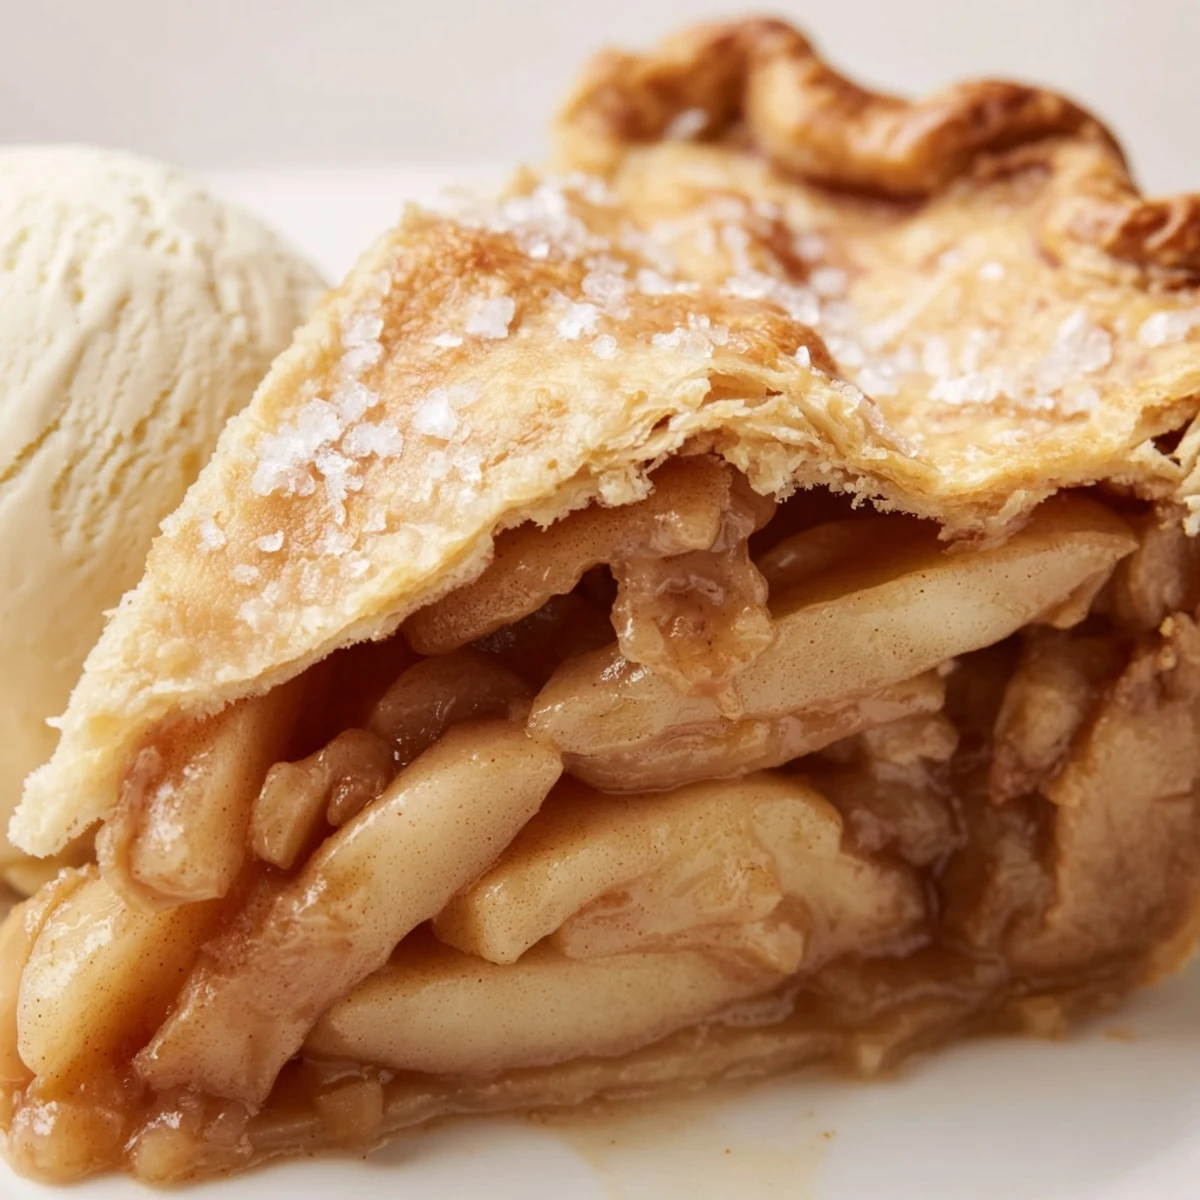
Save This beloved American dessert combines tart, thinly sliced apples with warm spices like cinnamon, nutmeg, and cloves, all nestled inside a homemade buttery crust. The filling features Granny Smith apples for perfect balance, while the flaky pastry develops golden edges when brushed with egg wash. Best enjoyed warm with vanilla ice cream, each slice offers tender fruit encased in layers of crisp, buttery dough.
My grandmother's kitchen always smelled like cinnamon and butter during autumn, and this apple pie brings that cozy feeling back every single time. I still remember standing on a chair at her counter, watching her transform a bowl of sliced apples into something magical. The way the house would fill with that warm, spiced aroma was better than any air freshener money could buy. Now whenever I bake this, my own kids come running to the kitchen, asking if it's ready yet.
Last Thanksgiving, I decided to enter my local community baking contest with this exact recipe. My hands were shaking as I carried the pie to the judges' table, still warm from the oven. When they announced my name as the winner, I wished my grandmother could have been there to see me carry on her legacy. Now my neighbors start hinting about pie season weeks before November even arrives.
Ingredients
- All-purpose flour: The backbone of both your crust and filling, providing structure and thickening power where needed
- Cold unsalted butter: Keeping it ice-cold is what creates those flaky, tender layers in your crust that melt in your mouth
- Granny Smith apples: Their tartness holds up beautifully during baking and prevents that mushy texture nobody wants
- Granulated and brown sugar: The brown sugar adds a deep caramel note while white sugar provides straightforward sweetness
- Ground cinnamon, nutmeg, and cloves: This warming spice trio is what gives apple pie its signature cozy flavor profile
- Lemon juice: A splash of bright acidity balances all that sugar and keeps your apples from turning brown
- Egg and milk: Whisked together, they create that gorgeous golden sheen on top of your crust
Instructions
- Making the Pie Crust:
- Whisk together your flour, salt, and sugar in a large bowl until well combined. Cut in that cold butter using a pastry cutter or your fingers until the mixture looks like coarse crumbs with some pea-sized pieces remaining. Drizzle in ice water one tablespoon at a time, mixing gently until the dough just starts to come together. Divide it in half, form each piece into a flat disc, wrap them tightly in plastic, and let them chill in the refrigerator for at least an hour.
- Preparing the Apple Filling:
- In a big mixing bowl, toss those peeled and sliced apples with both sugars, flour, lemon juice, and all your warm spices until every single apple slice is evenly coated. Let this mixture sit for about 10 minutes while you roll out your dough, which helps the apples release some of their juices before baking.
- Rolling and Assembling:
- On a lightly floured surface, roll out one dough disc into a 12-inch circle, working from the center outward and rotating frequently. Carefully transfer it to your 9-inch pie dish, letting the excess dough hang over the edges. Pour in your apple mixture and scatter those small butter pieces on top. Roll out the second disc and place it over your filling.
- Sealing and Finishing:
- Trim any excess dough, then fold the top crust edge under the bottom crust and crimp them together with your fingers or a fork to create a tight seal. Cut several small slits in the top crust to let steam escape during baking. Whisk your egg with the milk and brush this mixture over the entire top crust, then sprinkle with coarse sugar for that bakery-style sparkle.
- Baking to Perfection:
- Preheat your oven to 425°F and bake for 20 minutes to set the crust. Reduce the temperature to 375°F and continue baking for another 35 to 40 minutes until the crust is a deep golden brown and you can see the filling bubbling through those steam vents. This two-stage temperature method ensures your crust cooks through without burning.
 Save
Save This recipe has become my go-to for new neighbors, sick friends, and birthdays. There is something about a homemade apple pie that says 'I care about you' better than words ever could. Last month, my daughter asked if we could bake one together 'just because,' and that is when I knew this tradition would continue for another generation.
Mastering the Perfect Crust
After years of struggling with tough, dry pie crusts, I finally learned that keeping everything cold is the secret to success. I even put my flour in the freezer for 15 minutes before starting and work quickly to keep the butter from melting. Those solid bits of butter create steam pockets as they bake, resulting in those coveted flaky layers.
Serving Suggestions
While vanilla ice cream is the classic pairing, do not be afraid to get a little creative. A sharp cheddar cheese slice might sound unusual, but the salty creaminess against the sweet apples is surprisingly delicious. I have also served this with a dollop of crème fraîche or a drizzle of salted caramel sauce for dinner parties.
Make-Ahead Tips
You can prepare the dough up to three days in advance and keep it wrapped tightly in the refrigerator. The apple filling can be sliced and seasoned the night before, though do not add the butter dots until you are ready to bake. If you want to freeze a completely assembled pie, wrap it well and bake it frozen, adding about 15 minutes to your baking time.
- Always bake your pie on the lowest oven rack to ensure the bottom crust gets fully cooked and crispy
- Place a baking sheet on the rack below to catch any bubbling overflow that might occur
- Store any leftovers loosely covered at room temperature for up to two days, though it rarely lasts that long
 Save
Save I hope this recipe becomes as treasured in your kitchen as it is in mine. There is nothing quite like pulling a golden, bubbling apple pie from the oven and sharing it with people you love.
Recipe FAQs
- → What type of apples work best?
-
Granny Smith apples are ideal for their tart flavor and firm texture that holds up beautifully during baking. You can also mix in Honeycrisp or Braeburn for sweetness.
- → How long should the pie cool before slicing?
-
Allow the pie to cool on a wire rack for at least 2 hours. This resting period lets the filling set properly, ensuring clean slices instead of a runny interior.
- → Can I make the crust ahead of time?
-
Absolutely. Prepare the dough discs, wrap tightly in plastic, and refrigerate for up to 3 days or freeze for up to 3 months. Thaw overnight in the refrigerator before rolling.
- → Why do I need to cut slits in the top crust?
-
Small vents allow steam to escape while baking, preventing the filling from bubbling over and keeping the crust from becoming soggy. This also helps create that beautiful golden-brown finish.
- → How do I know when the pie is done?
-
The crust should be deep golden brown, and you should see the filling bubbling visibly through the vents. If the crust browns too quickly, cover edges with foil during the last 15 minutes of baking.
- → What can I serve with this?
-
Warm slices pair wonderfully with vanilla ice cream, whipped cream, or even a drizzle of salted caramel. For a cozy touch, serve with a cup of coffee or spiced cider.
