 Save
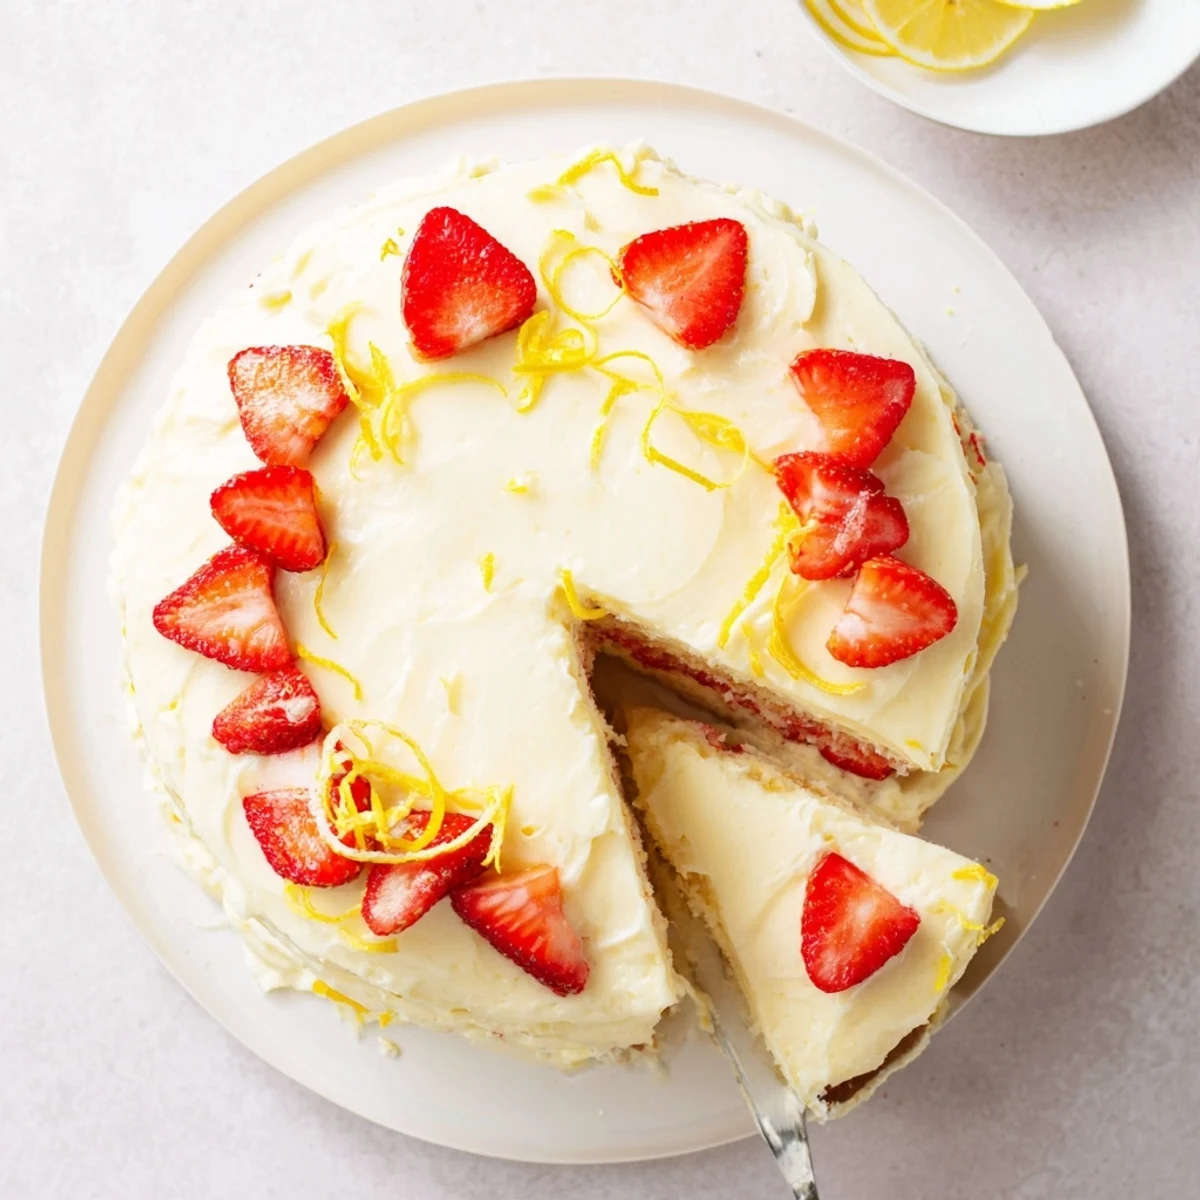
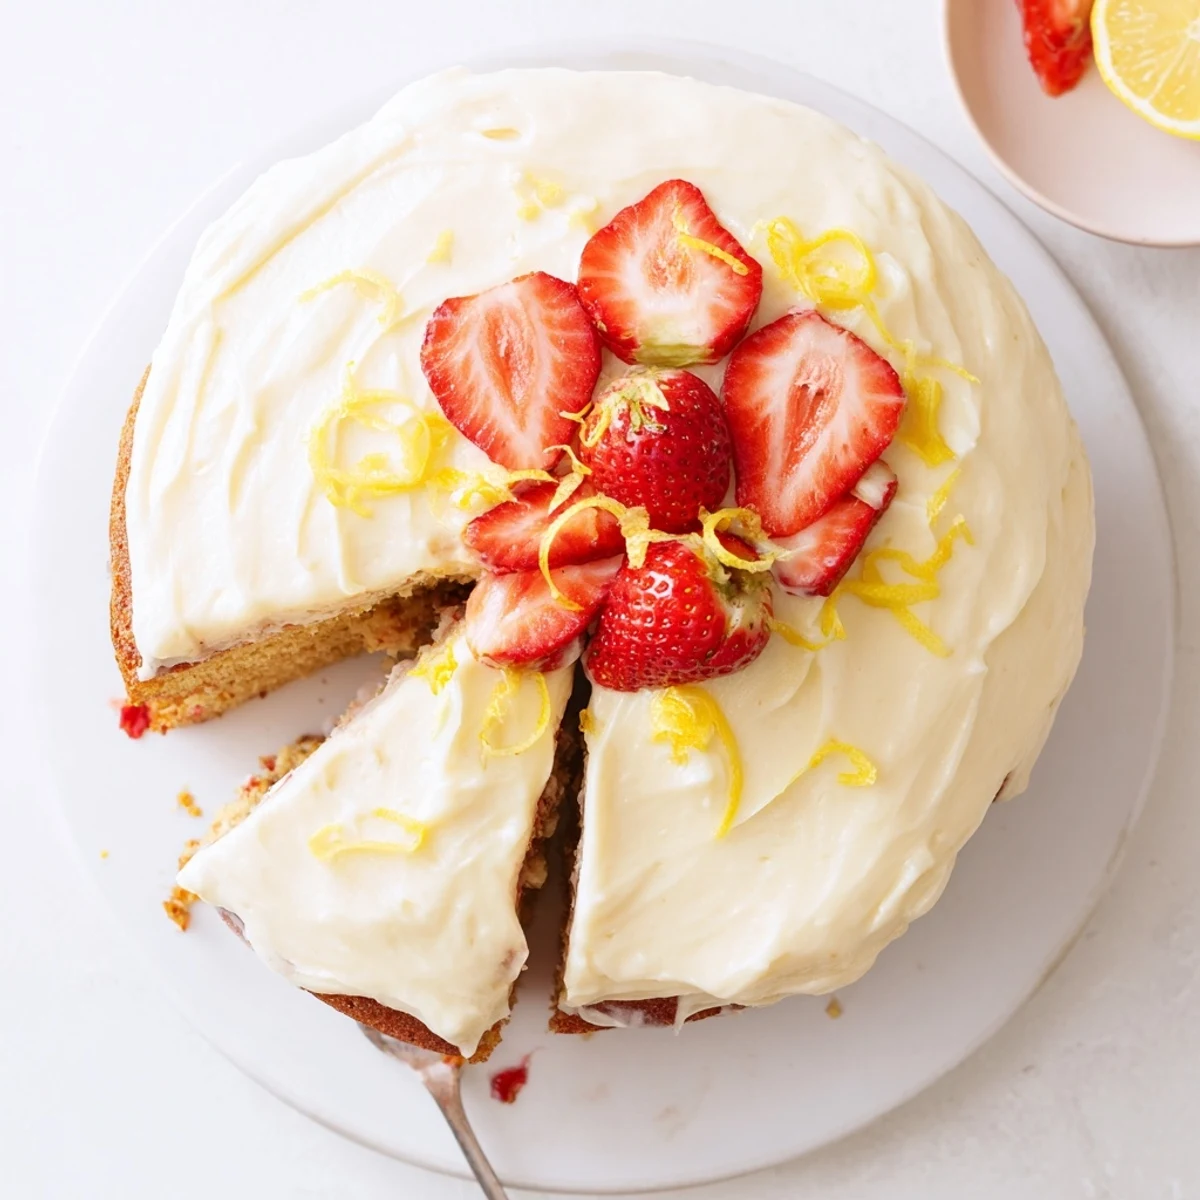
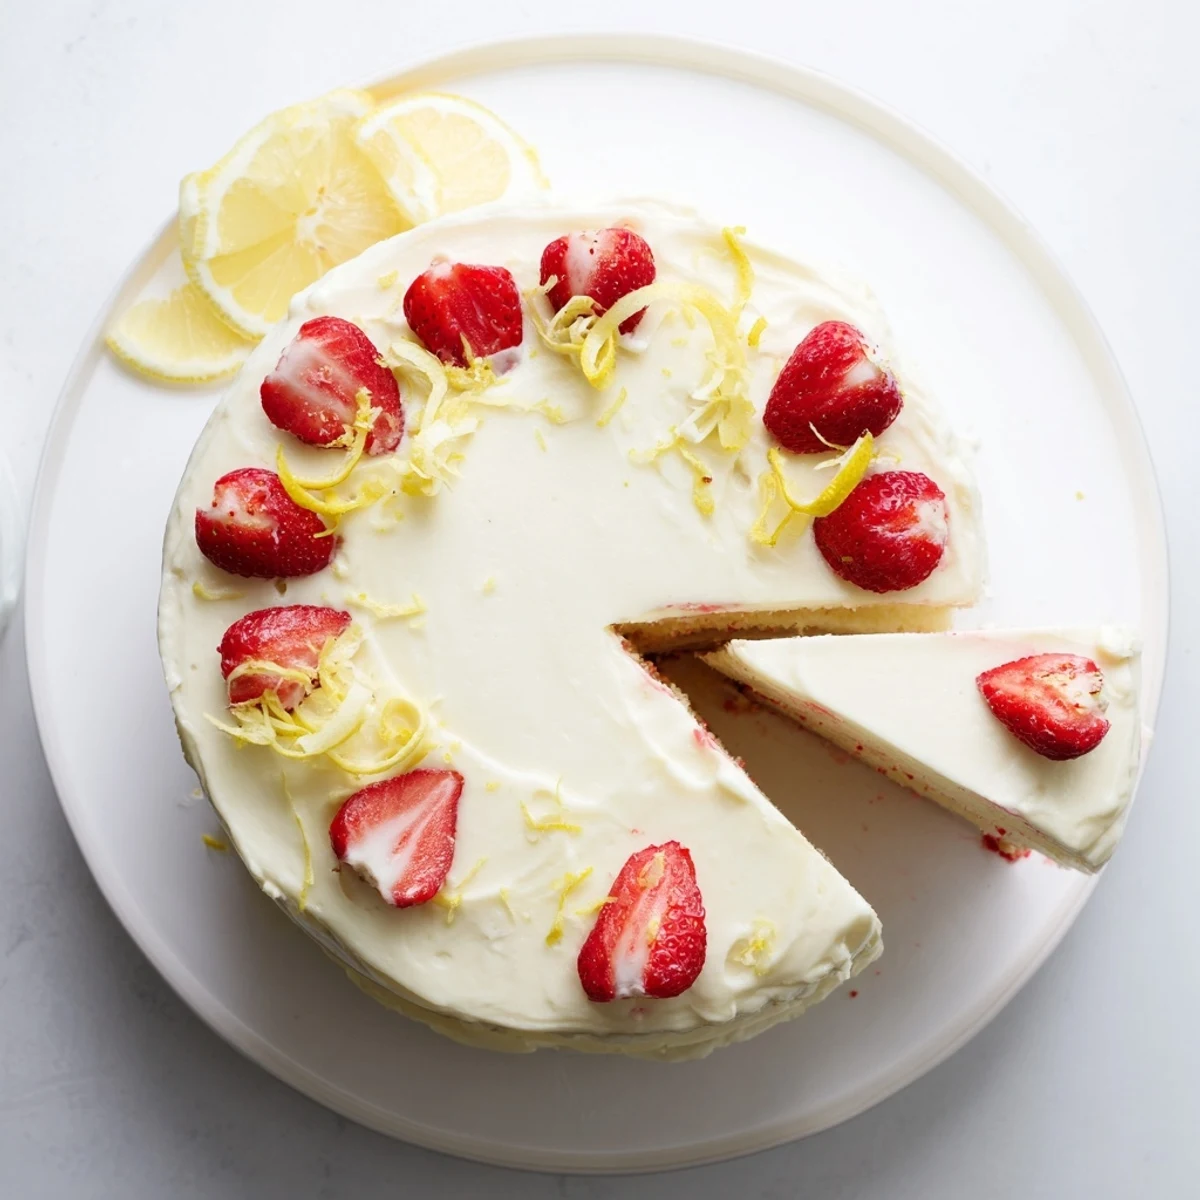
Save This stunning two-layer dessert combines fresh strawberries and bright lemon flavors in a moist, tender cake. The fluffy layers are infused with real fruit and topped with a velvety lemon buttercream that balances sweetness with tangy citrus notes.
Perfect for birthdays, summer parties, or afternoon tea, this vibrant treat delivers bakery-quality results at home. The fresh strawberry pieces add natural sweetness and a lovely pink hue, while the zesty buttercream provides a smooth, creamy finish.
The scent of lemons being zested always takes me back to my grandmother's kitchen, where she'd bake something bright whenever summer birthdays rolled around. This strawberry lemonade cake captures that same sunshine in dessert form, marrying the sweetness of fresh berries with the right amount of tangy citrus kick.
I made this for a friend's July garden party once, and watching people's eyes light up at that first bite of pink flecked cake with swirly buttercream made all the zesting worth it. Someone actually asked if I could teach them how to get those fluffy bakery style layers at home.
Ingredients
- All purpose flour: Provides the structure for your cake layers, and measuring by weight gives the most consistent results every time
- Baking powder and baking soda: Work together to give your cake that beautiful rise and tender crumb structure
- Unsalted butter: Room temperature butter is non negotiable here it needs to be soft enough to cream properly but not melting or greasy
- Granulated sugar: Sweetens while also helping create that tender texture by creaming with the butter
- Large eggs: Bind everything together and add richness, again at room temperature for proper emulsification
- Fresh lemon zest and juice: The zest packs all those aromatic oils while the juice provides the tangy brightness
- Milk and sour cream: The combination creates the most tender, moist crumb while adding subtle depth
- Fresh strawberries: Chop them small so they distribute evenly without weighing down the batter with excess moisture
- Powdered sugar: Sifting prevents lumps in your buttercream and ensures silky smooth frosting
Instructions
- Prep your pans and oven:
- Get your oven to 350F and grease those cake pans thoroughly, lining the bottoms with parchment circles so nothing sticks later
- Whisk the dry ingredients:
- In a medium bowl, combine flour with baking powder, baking soda, and salt so everything's evenly distributed
- Cream the butter and sugar:
- Beat butter and sugar for a full 3 to 4 minutes until it's pale and fluffy, incorporating air for that light texture
- Add eggs and flavor:
- Drop in eggs one by one, letting each incorporate fully, then mix in that beautiful lemon zest and vanilla
- Mix the liquids:
- Whisk lemon juice with milk and sour cream in a separate cup until combined
- Combine wet and dry:
- Alternate adding flour mixture and lemon milk mixture to your butter, starting and ending with flour, mixing just until combined
- Fold in strawberries:
- Gently fold those chopped strawberries through the batter, adding a drop of food coloring if you want that pretty pink hue
- Bake until done:
- Divide batter between your prepared pans, smooth the tops, and bake for 28 to 32 minutes until a toothpick comes out clean
- Cool completely:
- Let cakes rest in their pans for 10 minutes before turning onto wire racks to cool completely before frosting
- Make the buttercream:
- Beat butter until creamy, add powdered sugar, lemon zest, juice, salt, and cream, whipping until fluffy and spreadable
- Frost and decorate:
- Level cake tops if needed, stack with buttercream between layers, frost the outside, and top with fresh strawberries and lemon
 Save
Save My niece asked me to make this for her graduation, and seeing her smile when she saw those fresh strawberries piled on top reminded me why baking from scratch matters. It's not just cake, it's a celebration.
Getting The Perfect Texture
Patience with the creaming step makes all the difference in creating those bakery quality layers. Those extra minutes beating butter and sugar incorporate tiny air pockets that expand during baking, giving you that cloud like crumb structure.
Making It Ahead
You can bake the cake layers a day ahead and wrap them tightly in plastic wrap at room temperature. The buttercream can also be made ahead and stored in an airtight container, then brought to room temperature and whipped again before frosting.
Serving And Storage
This cake actually tastes better on day two as the flavors meld and the moisture redistributes throughout the crumb. Store under a cake dome or in a cake keeper at room temperature for up to three days.
- Use a warm knife dipped in hot water for clean slices that show off those beautiful strawberry flecks
- If refrigerating, bring slices to room temperature for 15 minutes before serving for the best texture
- Leftover buttercream can be frozen for up to three months for your next baking project
 Save
Save There's something about the way strawberry and lemon dance together that feels like summer on a plate, no matter what month it actually is.
Recipe FAQs
- → How should I store the finished cake?
-
Keep refrigerated in an airtight container for up to 4 days. Bring to room temperature 30 minutes before serving for optimal texture and flavor.
- → Can I make the layers ahead of time?
-
Yes, bake and cool the layers completely, then wrap tightly in plastic and freeze for up to 3 months. Thaw overnight in the refrigerator before frosting.
- → What if my strawberries are too watery?
-
Pat chopped strawberries gently with paper towels before folding into the batter. This prevents excess moisture from making the cake dense or soggy.
- → Can I use frozen strawberries instead of fresh?
-
Frozen berries work well—thaw completely and drain excess liquid before chopping. Note that the texture may be slightly softer than with fresh fruit.
- → How do I know when the cakes are done baking?
-
Insert a toothpick into the center—if it comes out clean or with just a few moist crumbs, the layers are ready. The tops should spring back lightly when touched.
- → Can I make cupcakes instead of a full cake?
-
Absolutely! Fill lined muffin tins two-thirds full and bake for 18-22 minutes at 350°F. This yields about 24 standard cupcakes.
