 Save
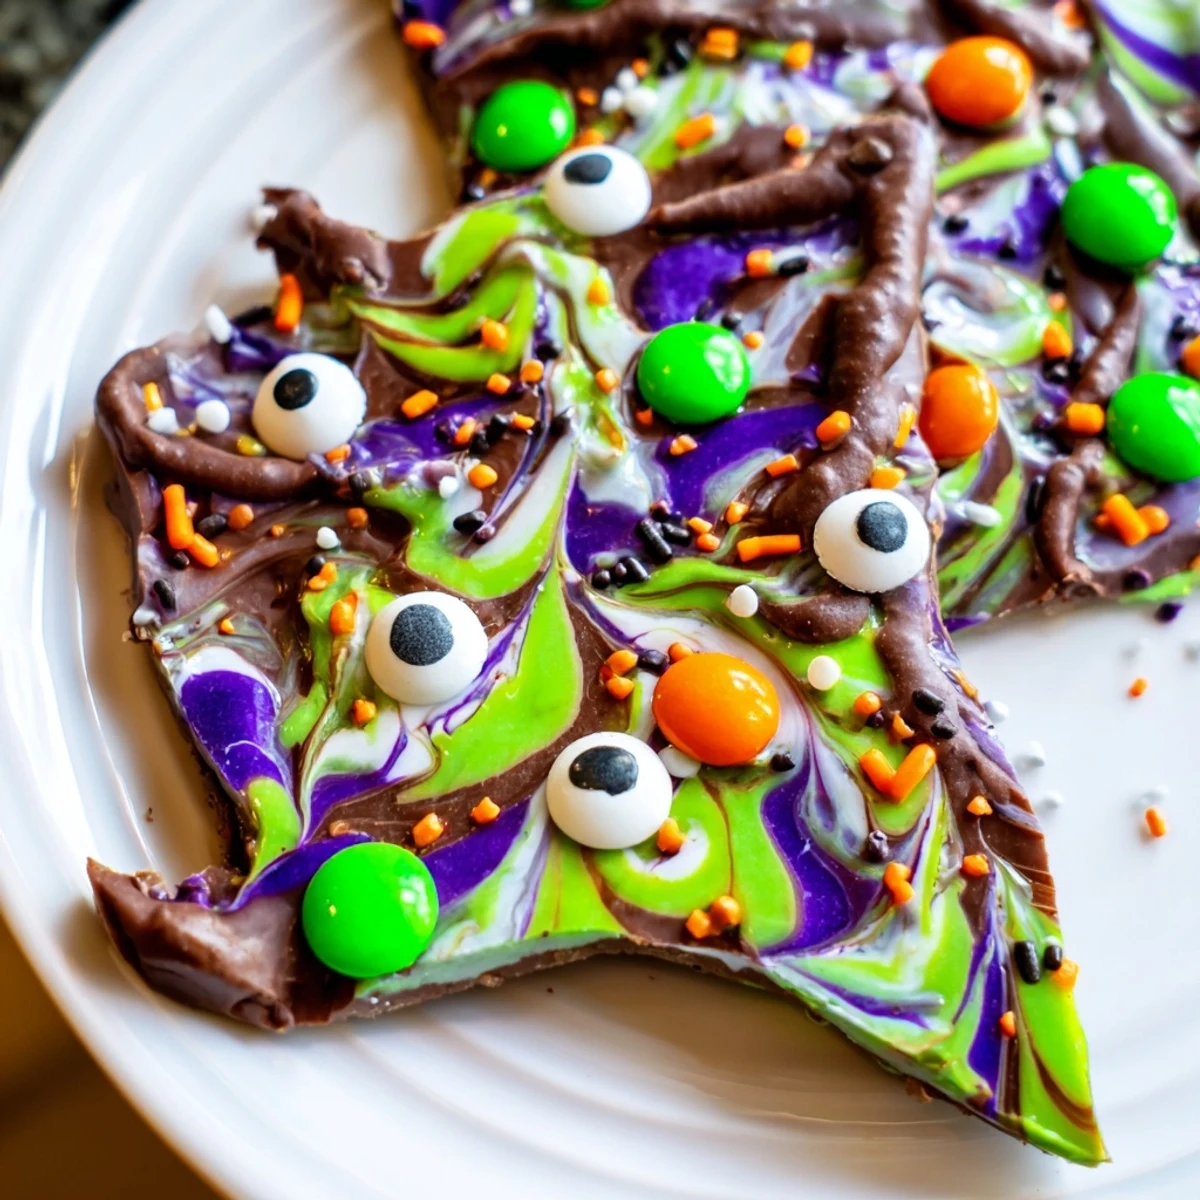
Save This festive Halloween treat combines melted semisweet chocolate with swirled white chocolate and colorful candy melts, creating a marbled effect that resembles a witch's potion. The preparation involves melting chocolates separately, spreading the dark base, then drizzling colorful melts and swirling them together with a toothpick for that signature marbled appearance.
While the chocolate remains warm, press candy-coated chocolates, edible candy eyes, and Halloween sprinkles into the surface. The bark sets quickly at room temperature or in the refrigerator, then breaks easily into irregular serving pieces. Each serving delivers rich chocolate flavor with crunchy candy additions, perfect for Halloween parties or spooky dessert tables.
The kitchen smelled like pure chocolate heaven when my daughter announced we needed something spooky for her class party. I'd never made chocolate bark before, but how hard could it be? As we melted those first chocolate chips together, I realized this was going to become our annual Halloween tradition faster than you could say boo.
Last year my niece helped me make a batch and she insisted on arranging every single candy eye in a perfect grid pattern. We ended up with the most orderly, slightly OCD witches bark anyone had ever seen. This time we're going for chaotic swirly magic and honestly I think the messy version tastes even better.
Ingredients
- Semisweet chocolate chips: The dark chocolate base creates that perfect contrast against the bright candy colors and white chocolate swirls
- White chocolate chips: These melt into creamy rivers that marble beautifully with the dark chocolate
- Colorful candy melts: The purple, green, and orange melts are what give this bark its authentic witchy cauldron appearance
- Mini candy-coated chocolates: These add little pockets of crunch and color throughout each piece
- Candy eyes: Absolutely essential for the spooky factor these googly eyes make everyone smile
- Halloween sprinkles: The finishing touch that adds sparkle and ties all the colors together
Instructions
- Prepare your canvas:
- Line a baking sheet with parchment paper ensuring it lies flat without any wrinkles or folds that could show in your finished bark.
- Melt the dark chocolate:
- Place semisweet chocolate chips in a microwave-safe bowl and heat in 30-second intervals stirring thoroughly after each until completely smooth and glossy.
- Spread the base:
- Pour the melted dark chocolate onto your prepared baking sheet and use an offset spatula to spread it into an even rectangle about 1/4 inch thick.
- Melt the colorful chocolates:
- In separate microwave-safe bowls melt the white chocolate chips and colored candy melts in 20-second intervals stirring between each until perfectly smooth.
- Create the swirls:
- Drop spoonfuls of the melted white chocolate and colorful candy melts randomly over the dark chocolate base then drag a toothpick through the colors in swirling motions.
- Add the spooky details:
- While the chocolate is still warm scatter the candy-coated chocolates candy eyes and Halloween sprinkles generously across the surface.
- Let it set:
- Allow the bark to cool completely at room temperature or place it in the refrigerator for 10 to 15 minutes until firm and no longer sticky.
- Break into pieces:
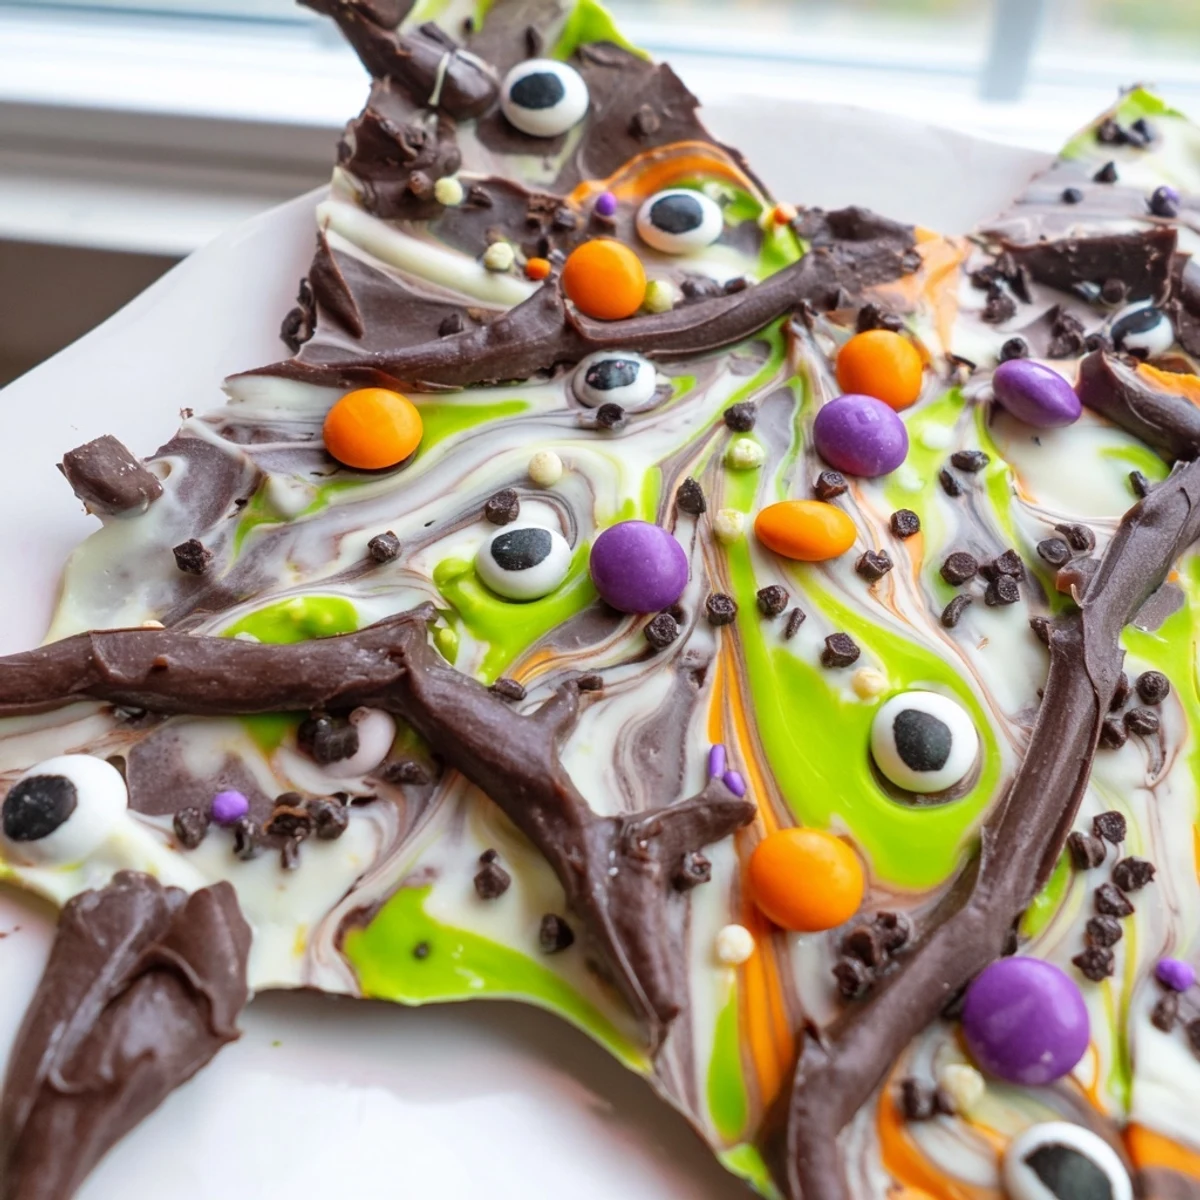
- Once completely set use your hands to break the bark into irregular jagged pieces creating those natural rough edges that look like broken spells.
 Save
Save The first time I made this I accidentally used too much pressure while swirling and ended up mixing all the colors into an unappealing muddy brown. My family still ate every bite but I learned that light gentle swoops create those magical marble effects that make this bark so stunning.
Making It Your Own
Swap the semisweet chocolate for milk chocolate if you prefer something sweeter or go with dark chocolate for a more sophisticated intense flavor. The white chocolate swirls look absolutely gorgeous against either base and provide that perfect creamy contrast.
Allergy-Friendly Swaps
Always check your candy labels carefully because many chocolate products and decorative candies are processed in facilities with nuts. There are nut-free versions of candy-coated chocolates available and some brands make allergen-safe candy eyes that work just as well for creating those spooky googly expressions.
Storage And Serving
This bark keeps beautifully for up to a week stored in an airtight container at cool room temperature though I rarely have it last that long in my house. Layer pieces between parchment paper to prevent sticking and keep away from direct sunlight or warm spots which could cause the chocolate to bloom or become soft.
- Package small pieces in clear bags tied with orange and black ribbon for instant party favors
- Serve alongside other Halloween treats like ghost meringues or spiderweb cookies for a themed dessert spread
- Keep a batch hidden away for emergency chocolate cravings because this stuff is seriously addictive
 Save
Save There's something deeply satisfying about breaking chocolate into jagged pieces like you're cracking open a treasure chest filled with spooky surprises. Happy haunting in your kitchen.
Recipe FAQs
- → How long does melting witches bark take to make?
-
The entire process takes 20 minutes total—15 minutes for preparation and 5 minutes for actual cooking. The melting and swirling happens quickly, with most time spent allowing the bark to set at room temperature or in the refrigerator until firm.
- → Can I use different types of chocolate?
-
Absolutely. While semisweet provides the classic bittersweet balance, you can substitute milk chocolate for a sweeter profile or dark chocolate for intensity. The white chocolate swirl remains essential for creating that signature marbled appearance and color contrast.
- → How should I store the finished bark?
-
Keep the pieces in an airtight container at cool room temperature for up to one week. Avoid refrigeration unless your kitchen is particularly warm, as condensation can cause the chocolate to bloom or become sticky. Separate layers with parchment paper to prevent sticking.
- → What if I can't find candy melts?
-
You can substitute additional white chocolate tinted with gel food coloring in Halloween shades like orange, green, and purple. Alternatively, use colored white chocolate chips or simply skip the colorful swirls and focus on the white chocolate marbling effect with extra sprinkles.
- → Is this suitable for nut-free gatherings?
-
The base bark can be completely nut-free if you select chocolates and candies manufactured in nut-free facilities. Always check individual labels for allergen information. The recipe suggests adding pretzels or nuts for crunch, but these are optional modifications.
- → Why do my candies sink into the chocolate?
-
Heavier candies may sink if the chocolate is too warm when you add them. Work quickly after swirling, and if needed, let the bark sit for 2-3 minutes until slightly thickened before pressing decorations onto the surface. The candies should adhere without sinking completely.
