 Save
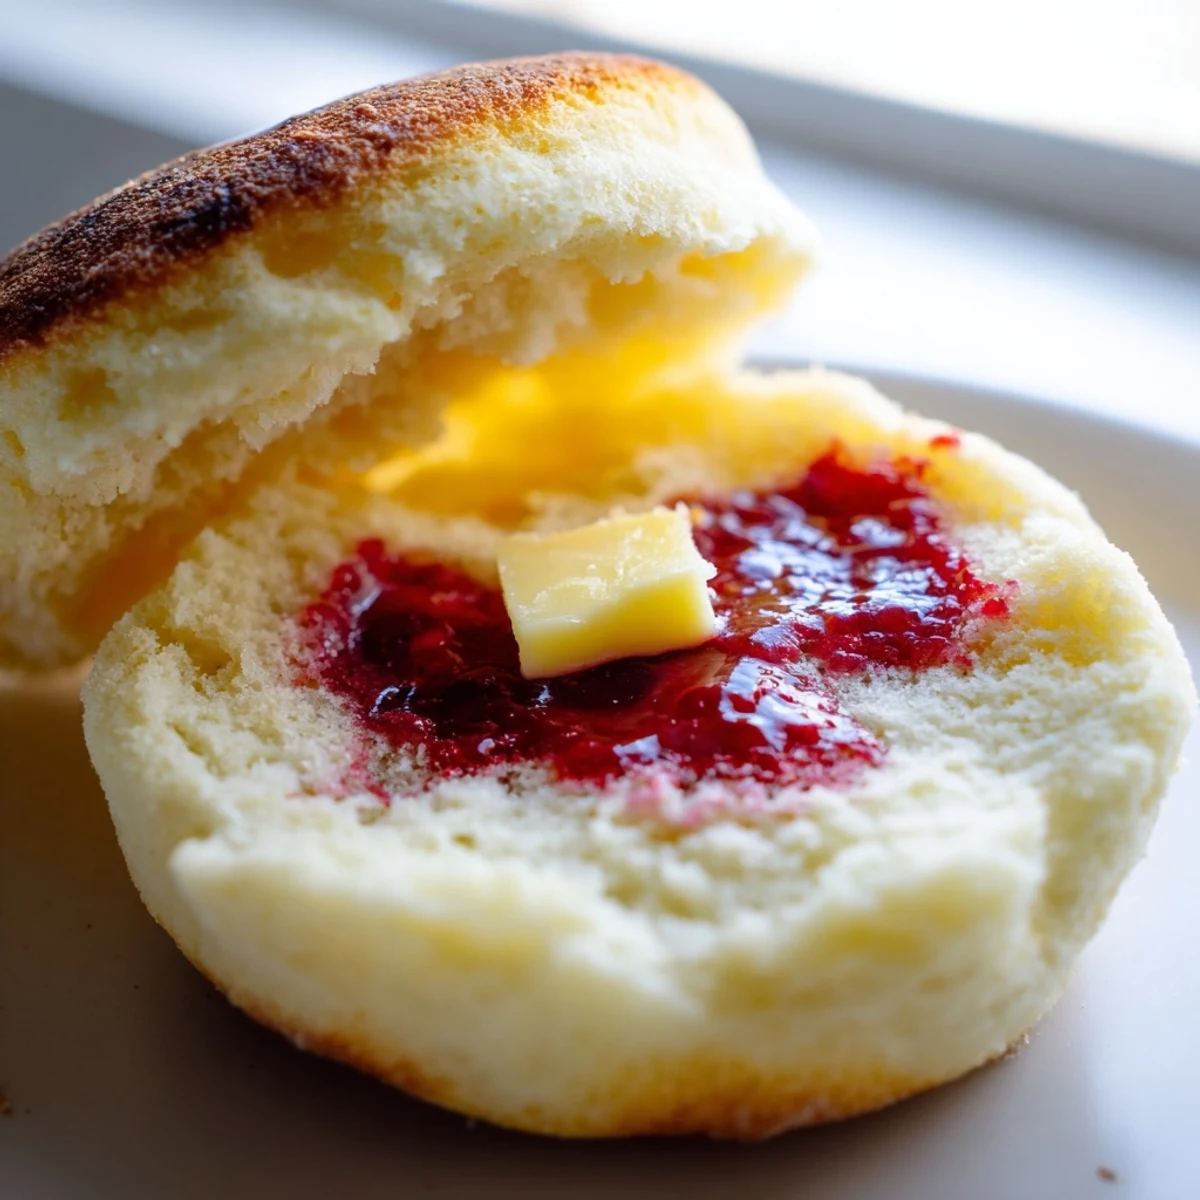
Save These classic English muffins deliver everything you love about the bakery favorite—soft interiors, golden crusts, and those signature nooks and crannies that capture melted butter and jam beautifully. The dough comes together with simple pantry staples like bread flour, milk, and butter, then gets transformed on the griddle into perfectly rounds.
After a single rise and brief proofing, cook them slowly on a skillet to achieve that signature golden-brown exterior. The key is splitting them with a fork rather than a knife, which creates those coveted rough edges that toast up beautifully. Store them for quick breakfasts throughout the week or freeze for longer keeping.
The smell of yeasting milk always takes me back to my first apartment kitchen, where I foolishly attempted English muffins on a rainy Sunday with zero patience. That first batch turned into dense hockey pucks, but something about the process hooked me anyway. Now, years later, I have these down to a science, and there is nothing quite like pulling a warm, golden muffin apart to reveal those butter catching craters.
Last winter, my sister came over during a snowstorm, and we made these together while drinking tea. She kept peeking under the towel to check the rising dough, convinced nothing was happening. When they finally hit the hot griddle, the kitchen filled with this incredible yeasty, buttery aroma that made us both forget we were hungry.
Ingredients
- Bread flour: The higher protein content creates that signature chewy texture and helps the muffins rise tall
- Whole milk: Adds richness and helps create a tender crumb, plus the natural sugars encourage browning
- Active dry yeast: The magic worker that creates those beautiful air pockets inside each muffin
- Granulated sugar: Feeds the yeast and helps achieve that gorgeous golden color when cooked
- Fine sea salt: Essential for flavor balance and strengthens the gluten structure
- Unsalted butter: Adds subtle richness and helps create a soft, pillowy texture
- Cornmeal or semolina: Prevents sticking and gives that classic restaurant style texture on the outside
Instructions
- Wake up the yeast:
- Stir yeast and sugar into lukewarm milk and wait until frothy, about 5 to 10 minutes. This tells you the yeast is alive and ready to work.
- Mix the dough:
- Combine flour and salt in a large bowl, make a well in the center, pour in the yeast mixture and melted butter. Mix until shaggy dough forms.
- Knead until smooth:
- Turn onto floured surface and knead for 8 to 10 minutes until smooth and elastic, or use a mixer with dough hook for 5 to 6 minutes.
- Let it rise:
- Place dough in lightly oiled bowl, cover, and let rise in warm spot for 1 to 1.5 hours until doubled in size.
- Roll and cut:
- Punch down dough, roll to 3/4 inch thickness, and cut circles with a 3 inch round cutter, rerolling scraps to get about 8 muffins.
- Prepare for proofing:
- Dust baking sheet with cornmeal, place muffins on sheet spacing slightly apart, and sprinkle tops lightly with more cornmeal.
- Proof until puffy:
- Cover loosely and let rest for 25 to 30 minutes until slightly puffed but not doubled.
- Cook to golden:
- Preheat skillet over low medium heat, grease lightly, and cook muffins 7 to 9 minutes per side until deeply golden and cooked through.
 Save
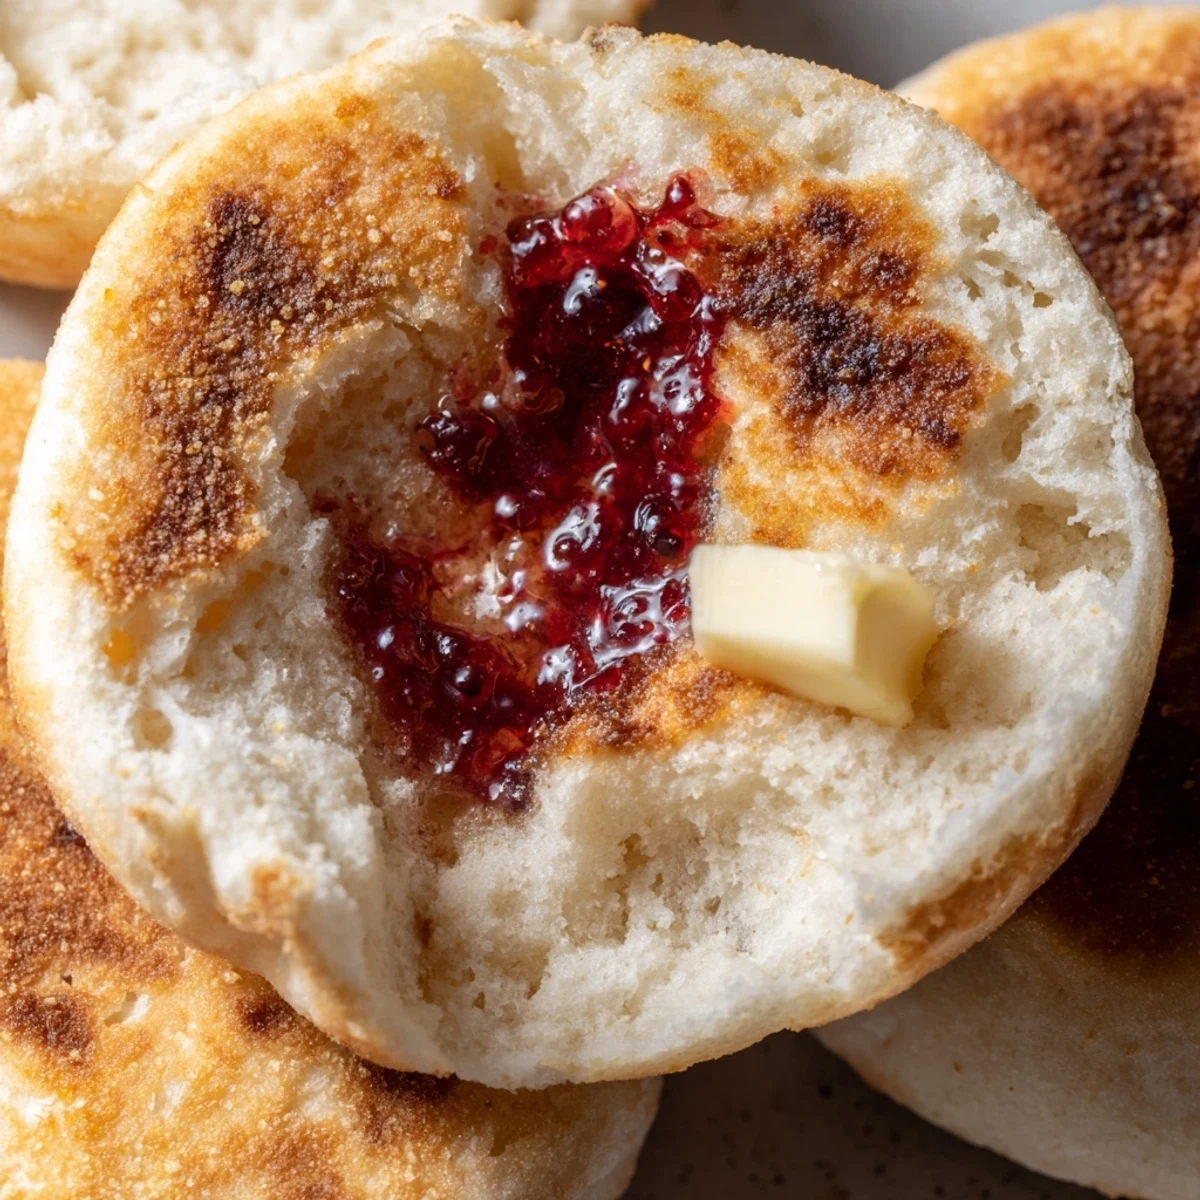
Save These muffins became my go to weekend breakfast after I served them at a brunch and watched three people literally moan over butter melting into the warm craters. Now I keep a batch in the freezer because nothing beats that fresh from the griddle taste, even on busy weekdays.
Getting The Rise Right
Warmth is your best friend during proofing. I have learned the hard way that a drafty kitchen can add an extra hour to rising time. Sometimes I preheat my oven for just 60 seconds then turn it off and proof the dough inside, leaving the door cracked open.
Perfect Pan Technique
A cast iron skillet holds heat beautifully and creates that gorgeous golden crust, but any heavy bottomed pan works wonders. The key is letting the pan get fully heated before adding the muffins, and resisting the urge to press down on them while they cook.
Storage Secrets
These freeze exceptionally well, which is why I always double the batch. Once cooled completely, wrap them individually in plastic and freeze for up to two months. To refresh, thaw and give them a quick toast to bring back that fresh cooked texture.
- Split and freeze them already halved for quick weekday breakfasts
- Store in a paper bag at room temperature for the first day to maintain texture
- Never refrigerate them, as this makes them stale surprisingly fast
 Save
Save There is something deeply satisfying about making bread that does not require an oven or hours of attention. These English muffins have become my favorite weekend project, simple enough to make while sipping coffee but impressive enough to serve to anyone who stops by.
Recipe FAQs
- → What makes these muffins have nooks and crannies?
-
The signature texture comes from the griddle cooking method and the dough formulation. Cooking on a skillet creates a crust that forms distinct pockets inside, while the bread flour and proper kneading develop the structure that holds those crannies intact when split with a fork.
- → Can I make these dairy-free?
-
Absolutely. Substitute the whole milk with your preferred plant-based milk (oat, almond, or soy work well), and use vegan butter or coconut oil instead of dairy butter. The texture remains remarkably similar, with just slight variations in browning.
- → Why should I split English muffins with a fork?
-
Using a fork to split the muffins preserves those characteristic rough, uneven edges that create more surface area for butter and jam to cling to. A knife cuts through and smooths out the texture, while a fork gently pries apart the halves, maintaining those desirable nooks and crannies.
- → How do I know when the muffins are fully cooked?
-
Look for deep golden-brown coloring on both sides and cook until an instant-read thermometer inserted into the center reads 200°F (93°C). The muffins should feel firm and spring back when pressed gently. If they brown too quickly, reduce the heat and cook longer to ensure the centers are done.
- → Can I prepare the dough ahead of time?
-
Yes, after the first rise, you can refrigerate the dough overnight for a slow fermentation that enhances flavor. Let it come to room temperature before rolling and cutting. Alternatively, freeze the cut, uncooked rounds on a baking sheet, then store in bags and cook straight from frozen, adding a couple minutes to the cooking time.
- → What's the best way to store leftover muffins?
-
Keep at room temperature in an airtight container or bag for up to 3 days. For longer storage, freeze individually wrapped in plastic wrap, then place in a freezer bag for up to 2 months. To refresh, thaw and toast until warmed through and crispy on the cut sides.
