 Save
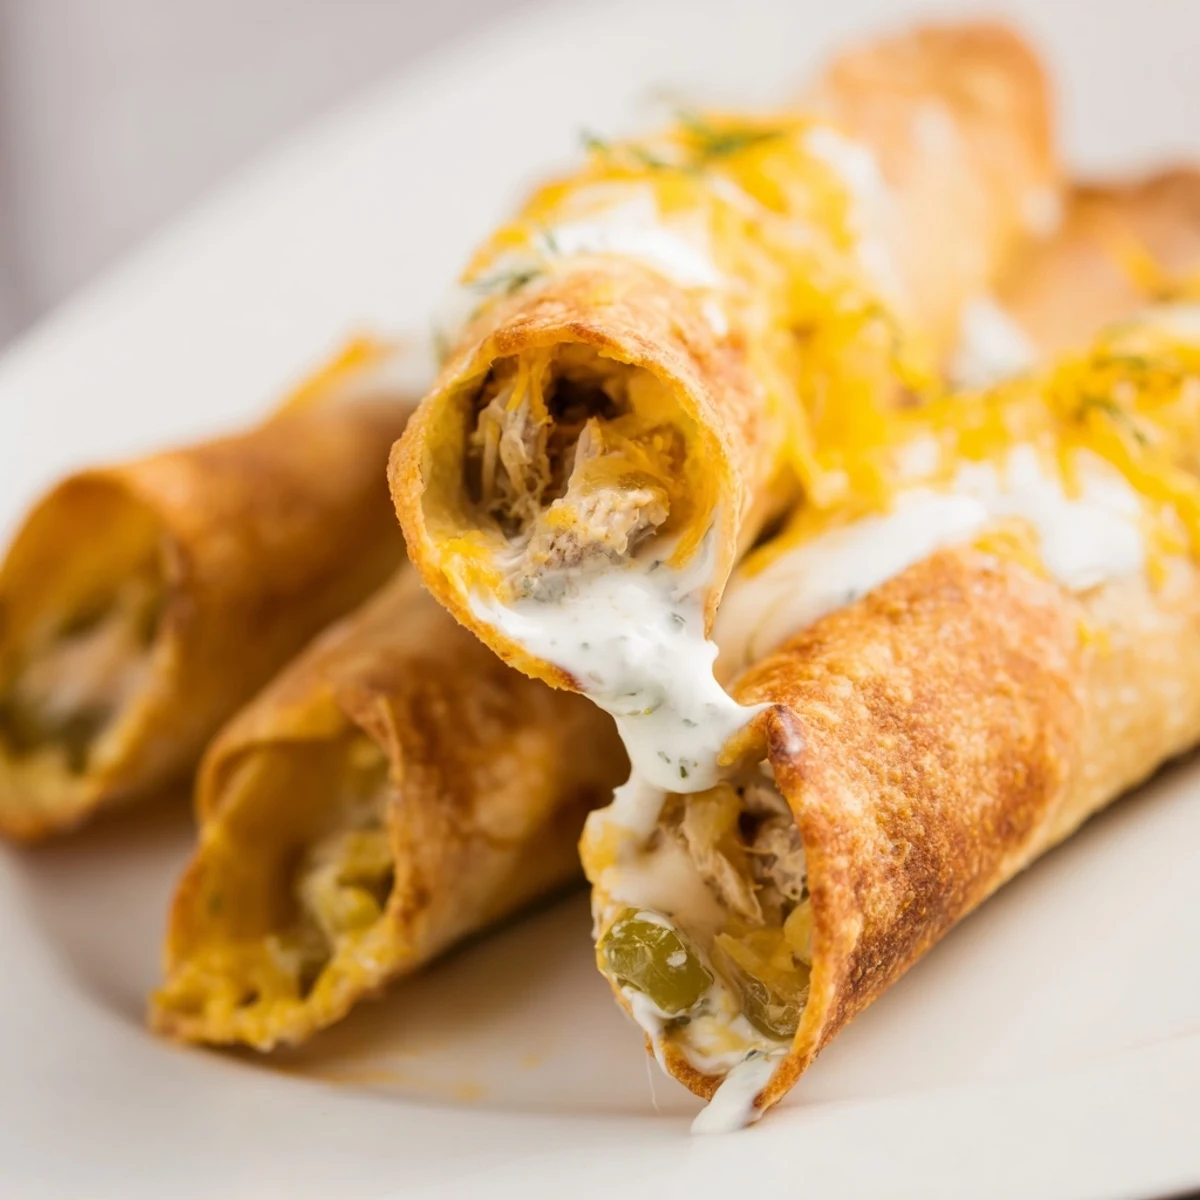
Save Crispy taquitos loaded with shredded chicken, tangy dill pickles, creamy ranch dressing, and sharp cheddar cheese. These bite-sized treats bake up golden and crunchy, perfect for snacking or party appetizers. Easy to prepare with simple ingredients and ready in under an hour.
The first time I made these dill pickle ranch chicken taquitos, my husband took one bite and quietly ate six in a row without saying a word. That is when I knew they were something special. The tangy crunch of pickles meets creamy ranch in the most unexpected way, all wrapped up in golden crispy tortilla perfection.
I brought a platter to our annual Super Bowl party a few years back, and they disappeared before the main appetizers even hit the table. My sister-in-law actually hovered near the baking sheet, claiming she was just helping serve guests but really eating half the batch herself. Now they are the most requested item at every family get together.
Ingredients
- 2 cups cooked chicken breast, shredded: Rotisserie chicken works beautifully here, or use leftover roast chicken for the best flavor and texture
- 1/2 cup dill pickles, finely chopped: The dill pickles are the star of the show, so choose a brand you really love with good crunch
- 1/2 cup ranch dressing: This binds everything together while adding that classic creamy tang we all know and crave
- 1/2 cup shredded cheddar cheese: Sharp cheddar adds the perfect salty contrast to the cool creaminess of the ranch
- 2 tablespoons fresh dill, chopped: Fresh dill brightens the entire filling, though dried works in a pinch at one third the amount
- 2 green onions, finely sliced: These add just the right amount of mild onion flavor and pop of green color
- 1/4 teaspoon garlic powder: A subtle background note that deepens all the other flavors without overwhelming
- 1/4 teaspoon black pepper: Freshly cracked gives the best bite and complements the pickle brine beautifully
- 12 small flour tortillas (6-inch): Smaller tortillas roll tighter and crisp up better than the larger wraps
- Cooking spray or 2 tablespoons melted butter: This is the secret to getting restaurant-style golden crispiness all over
Instructions
- Preheat your oven to 425°F and line a baking sheet with parchment paper:
- Getting everything ready before you start assembly makes the process smooth and stress free
- Combine all filling ingredients in a large bowl:
- Mix the chicken, pickles, ranch, cheese, dill, green onions, garlic powder, and pepper until everything is evenly distributed throughout
- Lay out tortillas and place filling along the lower third:
- Scoop about 2 to 3 tablespoons of the chicken mixture onto each tortilla, spreading it slightly but not all the way to the edges
- Roll each taquito tightly:
- Start from the filled end and roll forward, keeping the cylinder snug so none of that delicious filling escapes during baking
- Arrange taquitos seam side down on the prepared baking sheet:
- Place them close but not touching, then brush with melted butter or give them a light spray of cooking oil
- Bake for 18 to 22 minutes until golden and crispy:
- Flip them halfway through for even browning, and look for that perfect deep golden color that promises crunch in every bite
- Let cool slightly before serving:
- Just a few minutes lets them set up so they hold their shape when you pick them up for that first satisfying crunch
 Save
Save These became my go-to comfort food during a particularly stressful month at work. Coming home to the aroma of baking taquitos felt like a warm hug after a long day, and something about the tangy dill flavor just hits different when you need a pick me up.
Making Them Ahead
You can assemble the taquitos up to 24 hours in advance and keep them covered in the refrigerator. When you are ready to bake, just add an extra minute or two to the cooking time since they will be starting cold.
Freezing Instructions
Flash freeze the assembled taquitos on a baking sheet for an hour, then transfer to a freezer bag. They will keep for up to three months and can go straight from freezer to oven, just add about five extra minutes to the baking time.
Serving Suggestions
These are fantastic on their own but become a full meal when served alongside some crisp celery sticks or baby carrots. The cool crunch of fresh vegetables balances the warm crispy taquitos perfectly.
- Set out small bowls of extra ranch for dipping
- Try adding some hot sauce or sriracha to your ranch for a spicy kick
- Squeeze fresh lime juice over the top right before serving
 Save
Save Whether you are feeding a crowd or just treating yourself on a Tuesday night, these taquitos never fail to hit the spot.
Recipe FAQs
- → Can I use corn tortillas instead of flour?
-
Yes, corn tortillas work well for extra crunch. Just warm them briefly before rolling to prevent cracking, as they're more delicate than flour tortillas.
- → How do I keep taquitos from unrolling?
-
Make sure to roll tightly and place seam-side down on the baking sheet. Brushing with butter or oil helps them stay sealed during baking.
- → Can I make these ahead of time?
-
Yes, you can assemble them ahead and refrigerate for up to 24 hours. Add 2-3 minutes to baking time if starting from cold.
- → What's the best dipping sauce?
-
Extra ranch dressing works perfectly, but they also pair well with sour cream, guacamole, or a spicy aioli.
- → Can I freeze these taquitos?
-
Yes, freeze unbaked taquitos on a baking sheet, then transfer to a freezer bag. Bake from frozen, adding 5-7 minutes to cooking time.
