 Save
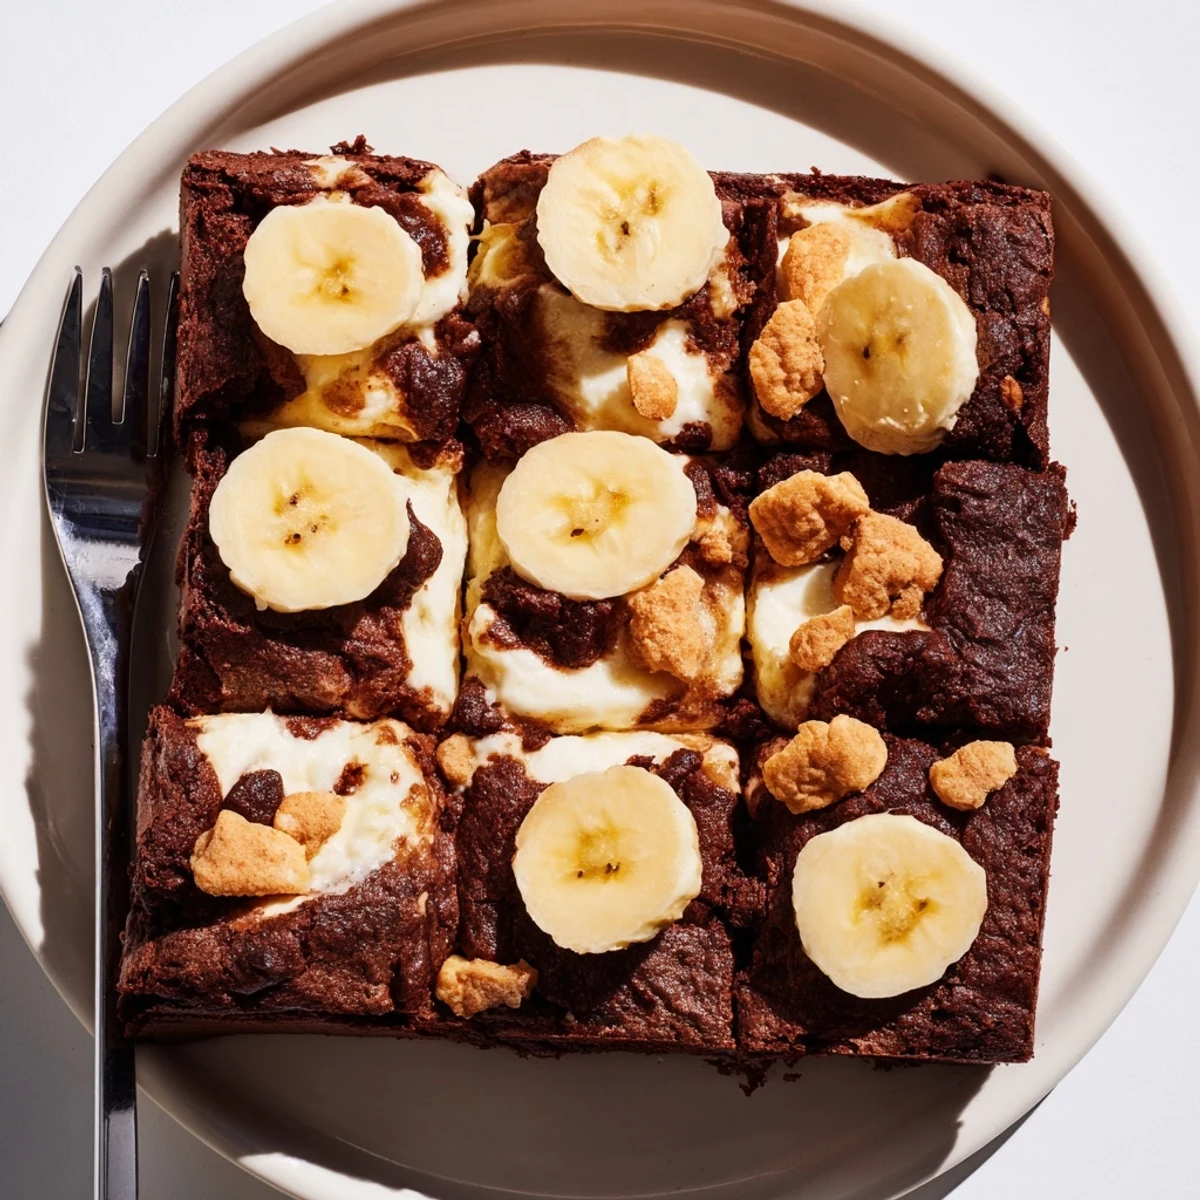
Save Layer fudgy cocoa batter and a quick banana pudding mixture for marbled bars with a crunchy vanilla wafer topping. Whisk melted butter, sugar, eggs and cocoa into a dense brownie base, then spoon over a thickened blend of milk, cream, banana pudding mix and mashed banana. Swirl gently, sprinkle chopped wafers and bake at 350°F for about 35–38 minutes. Cool completely before cutting; serve chilled or room temperature.
The summer I turned fourteen, my grandmother left a bowl of banana pudding sitting next to a pan of cooling brownies on her kitchen counter, and my cousin and I started eating forkfuls of both at the same time until she caught us and just laughed. That chaotic combination lived in my head for years until I finally decided to mash them together into one pan. These banana pudding brownies are the result, and honestly, they taste even better than that memory.
I brought a pan of these to a potluck last fall and watched three grown adults hover over the dessert table, cutting squares that got progressively larger each time they came back. One of them told me it was the best thing she had eaten all year, which was wildly generous but also deeply encouraging.
Ingredients
- Unsalted butter (1/2 cup, 115 g, melted): Using unsalted gives you control over the flavor, and melting it creates that dense, fudgy texture rather than a cakey one.
- Granulated sugar (1 cup, 200 g): This is a sweet dessert, so do not be tempted to reduce it, because the sugar also helps form that beautiful crackled top.
- Large eggs (2 for brownie, 1 yolk for pudding): Room temperature eggs blend more smoothly into the batter and help the pudding layer set up rich and silky.
- Vanilla extract (1 teaspoon): A good quality extract makes a noticeable difference here since the flavor list is simple and every ingredient pulls weight.
- Unsweetened cocoa powder (1/3 cup, 40 g): Stick with natural cocoa powder for a deeper, more intense chocolate flavor that stands up to the sweetness of the banana.
- All-purpose flour (1/2 cup, 65 g): Measure by spooning into the cup and leveling off, because too much flour is the quickest way to dry brownies.
- Salt (1/4 teaspoon): Just a pinch balances the sweetness and actually makes the chocolate taste more like itself.
- Whole milk (1/2 cup, 120 ml): Whole milk gives the pudding layer body that skim or low fat simply cannot match.
- Heavy cream (1/2 cup, 120 ml): This is what turns the pudding layer from ordinary into something lush and almost mousselike.
- Instant banana pudding mix (one 3.4 oz box, 96 g): The mix is a shortcut that delivers consistent banana flavor without any guesswork.
- Ripe banana (1, mashed): Fresh banana adds real fruit flavor and natural sweetness that the pudding mix alone cannot provide.
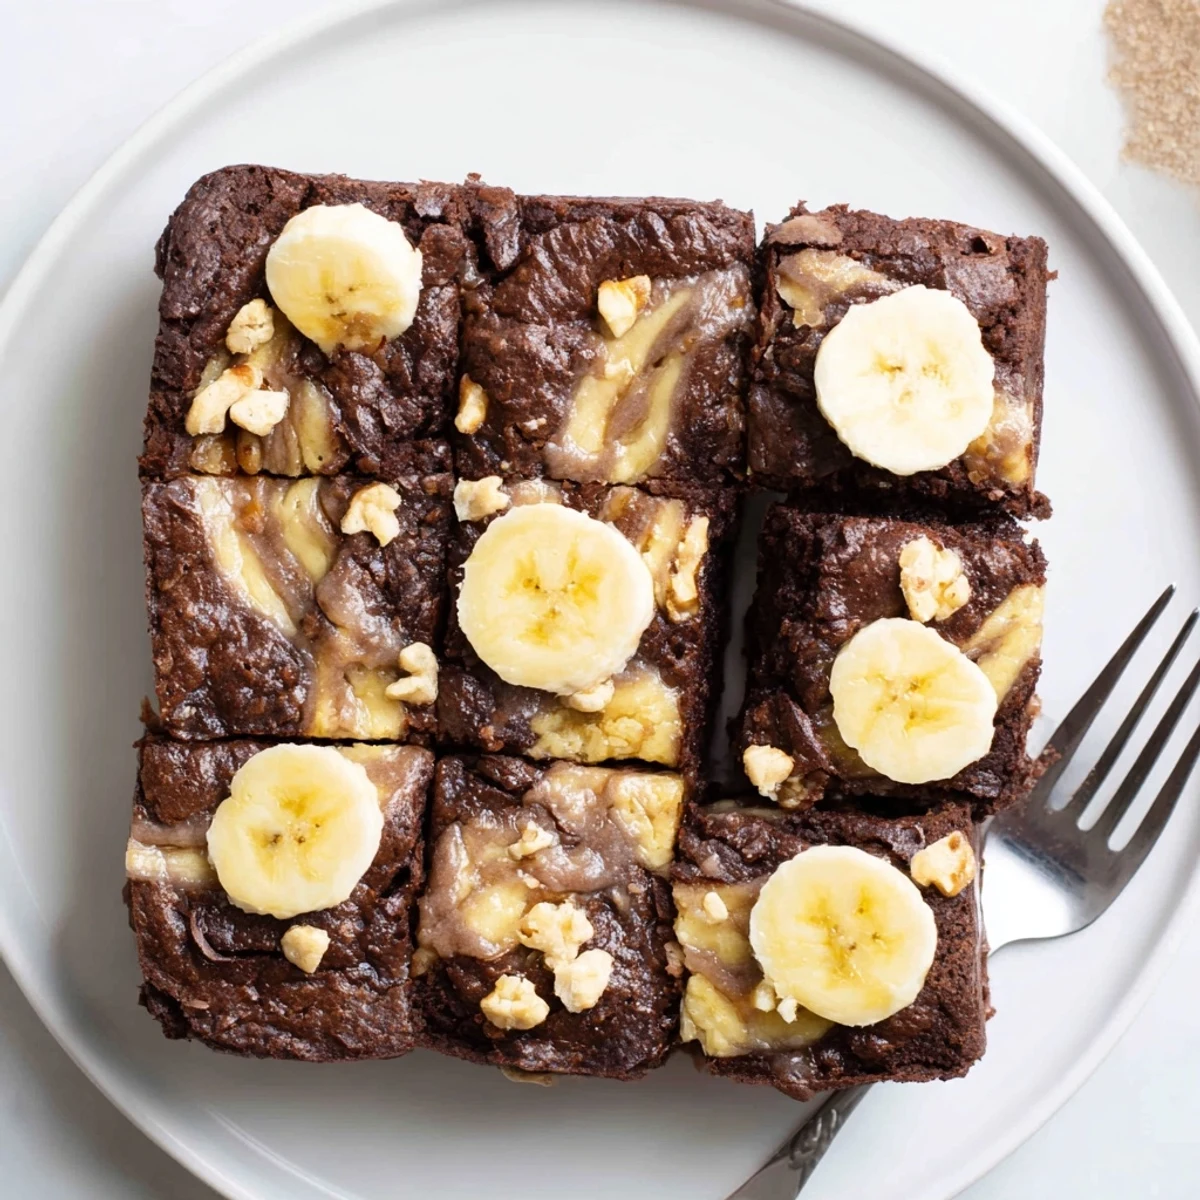
- Vanilla wafer cookies (10, roughly chopped): Scattered on top, they toast slightly in the oven and become the most addictive little crunchy bites.
Instructions
- Prepare your pan and oven:
- Heat the oven to 350 degrees F and line an eight by eight inch baking pan with parchment paper, leaving some overhang on the sides so you can lift the whole thing out later.
- Build the brownie batter:
- Whisk the melted butter and sugar together in a large bowl until it looks glossy and unified, then beat in the eggs one at a time followed by the vanilla. Fold in the cocoa powder, flour, and salt with a spatula just until the streaks disappear, then spread this thick chocolate batter evenly across the bottom of your prepared pan.
- Whip up the pudding layer:
- In a separate bowl, combine the milk, heavy cream, pudding mix, egg yolk, and mashed banana, then whisk vigorously for about two minutes until the mixture thickens and holds soft ribbons when you lift the whisk.
- Create the marble swirl:
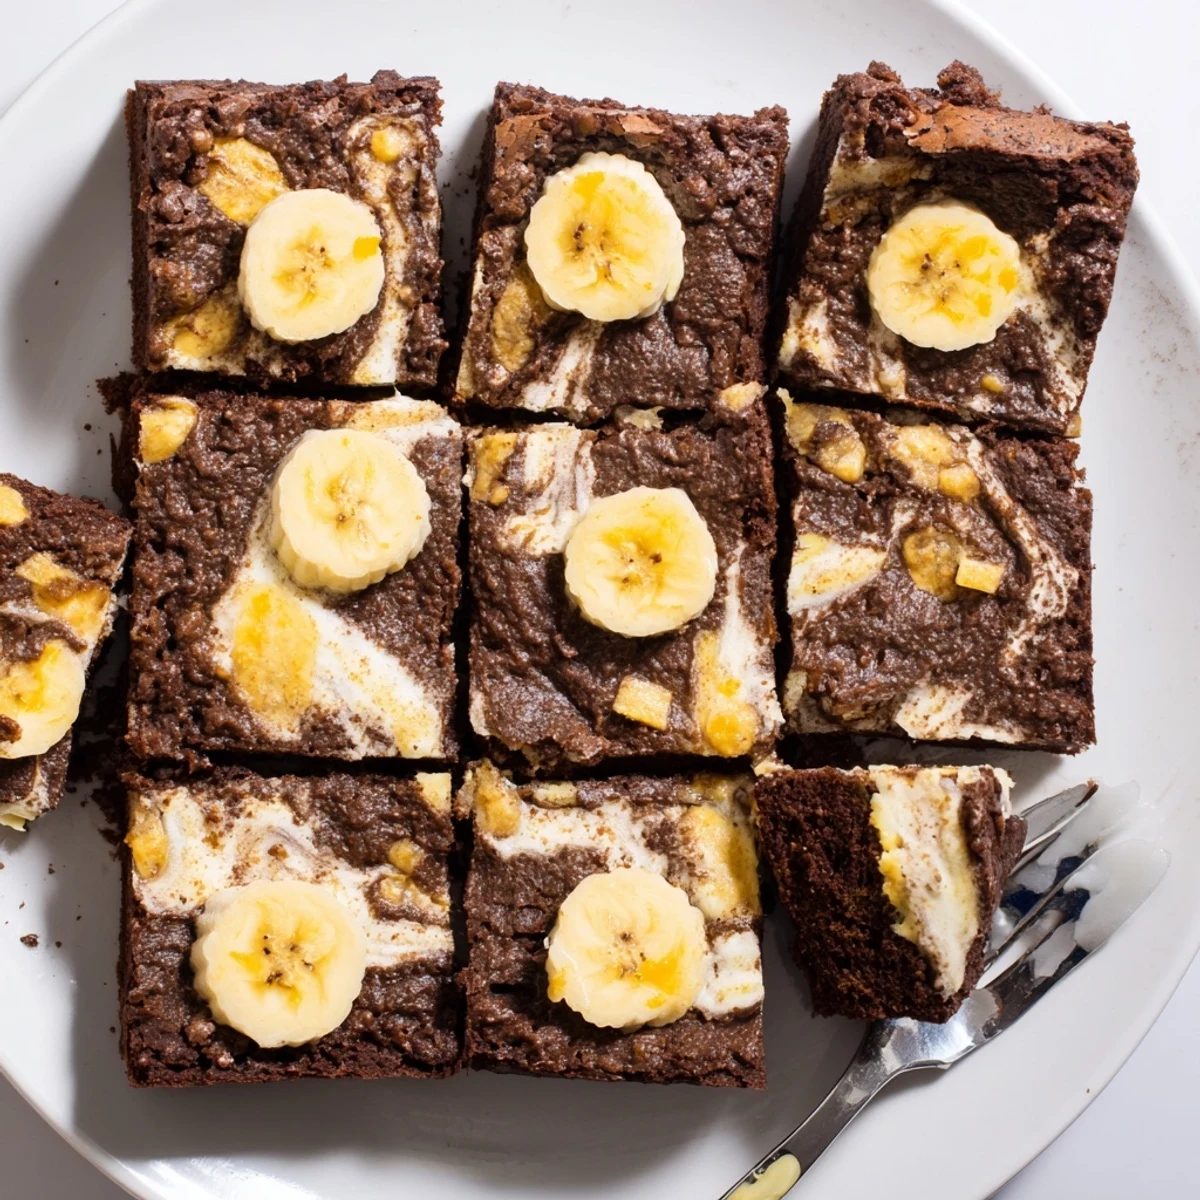
- Drop large, generous spoonfuls of the banana pudding mixture all over the surface of the brownie batter, then take a knife or skewer and drag it through in gentle figure eight motions until you see beautiful ribbons of pale yellow threading through dark chocolate.
- Add the crunch and bake:
- Scatter the chopped vanilla wafers across the top and slide the pan into the oven for 35 to 38 minutes, until the center is just set and a toothpick poked near the edge comes out with only a few moist crumbs clinging to it.
- Cool completely before cutting:
- Let the pan sit at room temperature until fully cooled, because these need that time to set into dense, sliceable squares that hold their shape when you lift them out.
 Save
Save The moment when I pulled these out of the oven and saw those golden wafer pieces nestled into the swirled top, I knew I had stumbled onto something worth making for every gathering from that point forward.
Serving Ideas That Actually Work
These brownies are phenomenal on their own, but a scoop of vanilla bean ice cream melting over a warm square takes the experience into genuinely unforgettable territory. You can also drizzle a little caramel sauce across the plate if you want to push things over the top in the best possible way.
Making Them Ahead
One of the best things about this recipe is that it tastes even better the next day, after the flavors have had time to mingle and the texture has settled into something even more fudgy. Store them covered in the refrigerator and let them sit at room temperature for about twenty minutes before serving for the softest, most satisfying bite.
Smart Swaps and Adjustments
If you need to make these gluten free, swap the all-purpose flour for a one-to-one gluten free blend and use gluten free vanilla wafers. For extra indulgence, fold a handful of chocolate chips into the brownie batter before spreading it into the pan.
- Toss the chopped wafers in a tiny bit of flour before sprinkling them on top so they do not sink into the batter during baking.
- A squeeze of lemon juice over the mashed banana keeps it from turning brown if you prep that step ahead of time.
- Always check the pudding mix label for allergens, because some brands contain soy or trace nuts that might surprise you.
 Save
Save Every time I make these, someone asks for the recipe, and I always smile because the real secret is just letting two beloved desserts share the same pan. That is the kind of kitchen magic that never gets old.
Recipe FAQs
- → How do I prevent the pudding layer from sinking?
-
Use a thickened pudding mixture (egg yolk and instant mix or a cooked custard) and dollop it rather than pouring. Gently swirl instead of overmixing so the layers hold their shape during baking.
- → Can I make the banana layer from scratch instead of instant mix?
-
Yes. Simmer milk with a bit of sugar and cornstarch until thick, whisk in an egg yolk off heat, then fold in mashed banana. Chill briefly so it’s thick enough to dollop and swirl.
- → How can I tell when the bars are done?
-
The center should be mostly set with a slight jiggle and the edges pulled away from the pan. A toothpick in the edges should come out mostly clean; avoid overbaking to keep fudgy texture.
- → What’s the best way to store and reheat leftovers?
-
Cover and refrigerate for up to 3–4 days. For longer storage, freeze individual squares on a tray, then transfer to a sealed container. Thaw in the fridge; serve chilled or bring to room temperature before serving.
- → How can I adapt this for gluten-free or egg-free diets?
-
Use gluten-free all-purpose flour and gluten-free vanilla wafers for a gluten-free version. For egg-free, replace eggs in the brownie base with a commercial egg replacer or flax egg and use an eggless banana pudding or a cornstarch-thickened banana custard.
- → Any tips for extra chocolate flavor?
-
Fold in a handful of chocolate chips or stir in a tablespoon of espresso powder to the brownie batter to deepen the cocoa notes without overpowering the banana layer.
