 Save
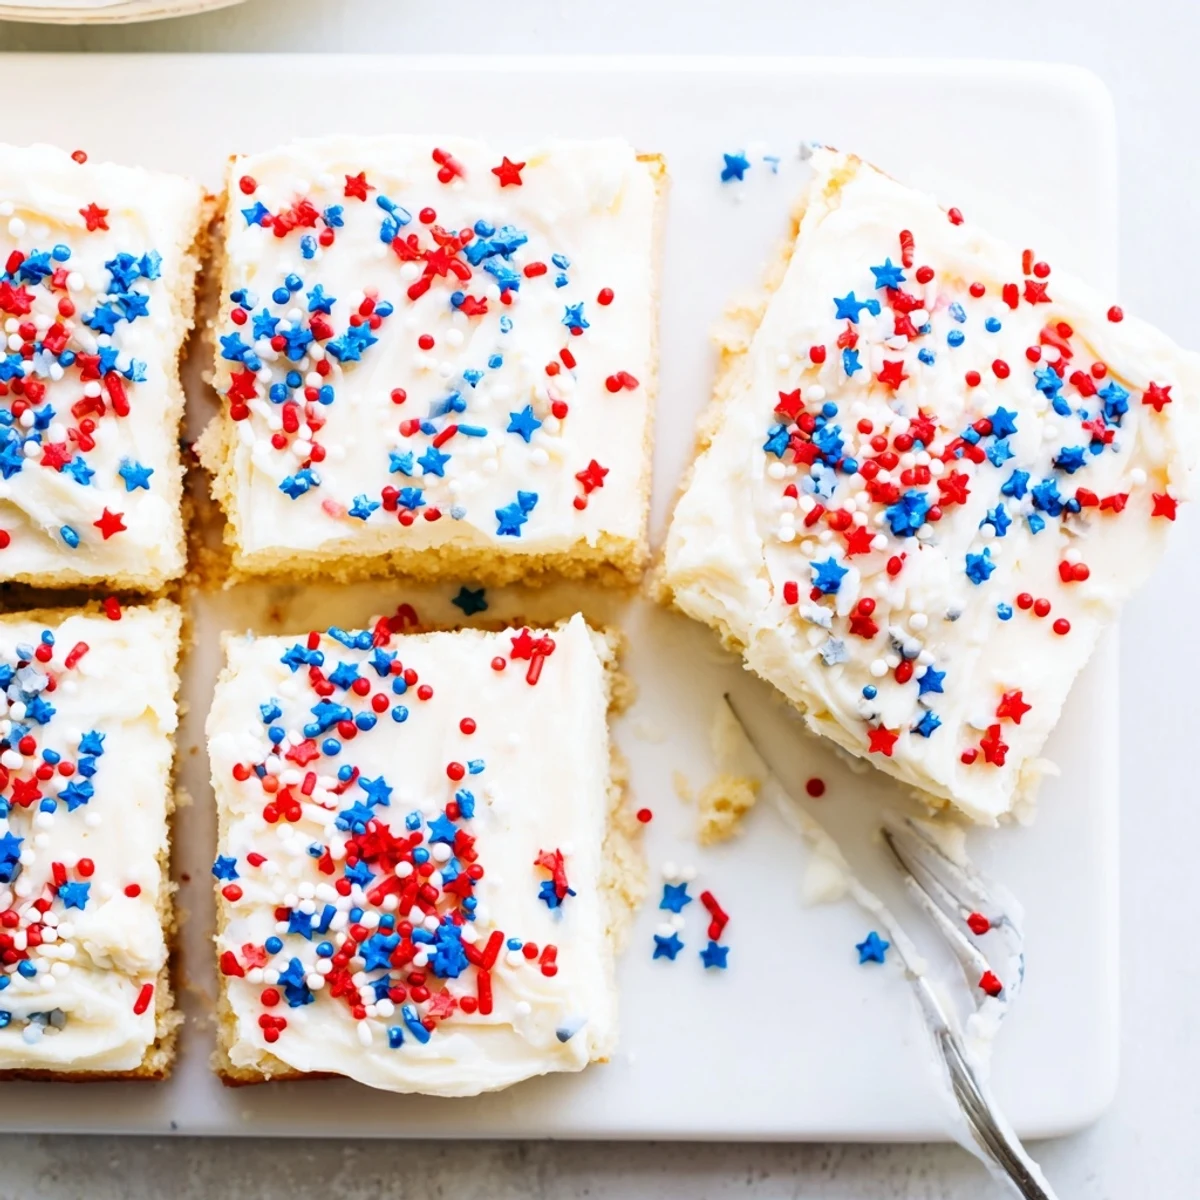
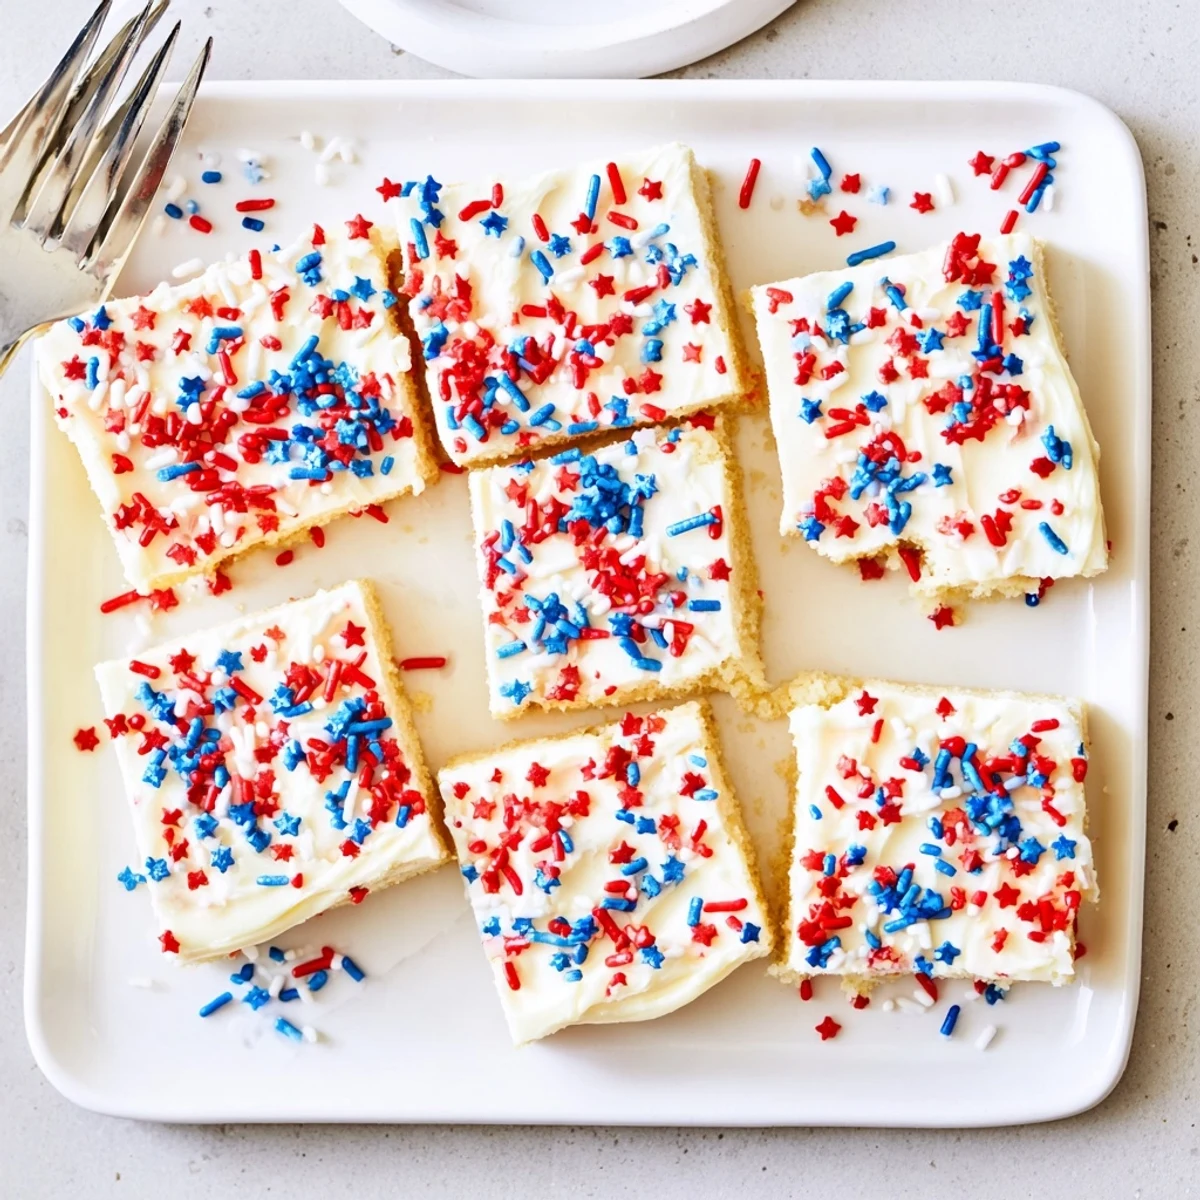
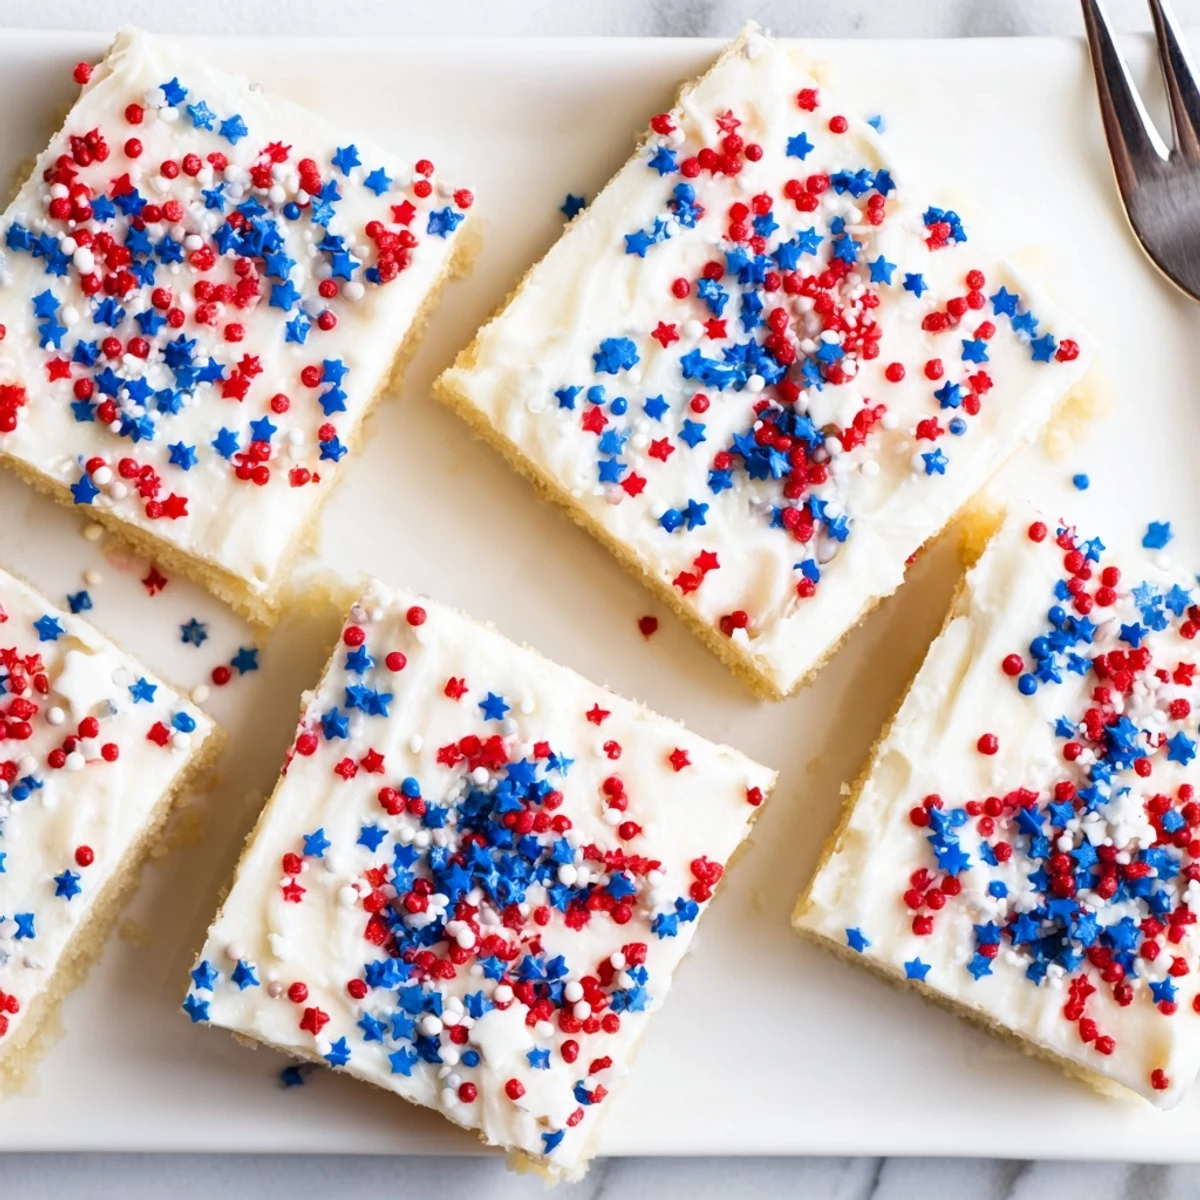
Save Create festive Independence Day treats with these soft sugar cookie bars. The buttery vanilla base bakes up tender and golden, then gets topped with fluffy vanilla frosting and red, white, and blue sprinkles for the perfect patriotic dessert.
The kitchen was already sweltering by 9 AM, the July heat pressing against the windows, but I'd promised my niece we'd make something special for the block party. These sugar cookie bars became our solution—no rolling pins, no sticky counters, just my vintage hand mixer and a rainbow of sprinkles scattered across every surface like glitter from a craft project explosion.
Last summer, my neighbor's three-year-old helped me press the dough into the pan, leaving tiny fingerprints everywhere. When the bars came out of the oven, those fingerprints had vanished into golden perfection, but she still claimed every square with a dent in the frosting as her own special creation.
Ingredients
- All-purpose flour: Provides the structure for these soft bars, and sifting it first prevents any stubborn lumps in your dough
- Baking powder and salt: These work together to give the bars a subtle lift without making them cakey or dry
- Unsalted butter: Room temperature butter creams perfectly with sugar, creating those tiny air pockets that make the final texture so tender
- Granulated sugar: Sweetens and helps create that slightly crisp edge while keeping the center soft and chewy
- Egg and egg yolk: The extra yolk adds richness and helps bind the dough without making it tough
- Pure vanilla and almond extract: The almond is optional but deepens the flavor in a way that vanilla alone cannot achieve
- Powdered sugar: Sifting this prevents any gritty texture in your frosting and ensures silky smooth results
- Milk: Start with two tablespoons and add more only if needed—too much will make your frosting slide right off the bars
- Patriotic sprinkles: Press them gently into the frosting immediately after spreading, or they will just roll right off
Instructions
- Get your oven ready:
- Preheat to 350°F and line a 9×13 inch pan with parchment paper, leaving those overhang tabs long—trust me, lifting the bars out later will feel like magic
- Whisk your dry ingredients:
- In a medium bowl, combine the flour, baking powder, and salt until everything is evenly distributed
- Cream the butter and sugar:
- Beat them together for a full 2 to 3 minutes until the mixture turns pale and fluffy—this step is what makes the bars tender rather than dense
- Add the wet ingredients:
- Beat in the egg, egg yolk, vanilla extract, and almond extract if you are using it, until the mixture is smooth and glossy
- Combine everything:
- Gradually mix in the flour mixture on low speed, stopping as soon as the flour streaks disappear to keep the texture soft
- Spread the dough:
- Press the dough evenly into your prepared pan using an offset spatula or clean fingers—the layer should be uniform so all bars bake at the same rate
- Bake to golden perfection:
- Bake for 18 to 20 minutes until the edges are barely turning golden but the center still looks slightly underbaked
- Let them cool completely:
- This is the hardest part—let the bars cool entirely in the pan on a wire rack, or your frosting will melt into a sad puddle
- Make the frosting:
- Beat the butter until creamy, then gradually add the powdered sugar, milk, vanilla, and pinch of salt until fluffy and spreadable
- Frost and decorate:
- Spread the frosting evenly over the cooled bars, then immediately scatter those red, white, and blue sprinkles before the frosting sets
- Slice and serve:
- Use the parchment overhang to lift the entire slab from the pan, then cut into 16 squares and watch them disappear
 Save
Save My dad still talks about the batch I made three years ago when I accidentally used salted butter instead of unsalted. The frosting was so rich he kept going back for just one more square, insisting it was the best version I had ever made.
Make Ahead Magic
You can bake the cookie bars up to two days in advance, wrap them tightly in plastic wrap while still in the pan, and frost them the morning of your event. The frosting actually seals in moisture, making them taste even better on day two.
Frosting Secrets
If your kitchen is particularly warm, chill the frosted bars for 15 minutes before adding sprinkles—they will stick better and create that professional bakery look. Room temperature frosting spreads like a dream, but cold frosting gives you those perfectly swoopy waves.
Serving Suggestions
These bars travel surprisingly well if you transport them in the original pan, covered tightly with foil. I once carried them on a bumpy car ride to a lakeside picnic and arrived with every sprinkle still in place.
- Cut them slightly smaller if you are serving a large crowd alongside other desserts
- Pair with fresh berries for a simple summer dessert that feels elevated
- Stack leftovers between sheets of wax paper in an airtight container
 Save
Save There is something joyful about a dessert that does not take itself too seriously. These bars have become my go-to for every summer celebration, and the empty pan at the end of the night says everything.
Recipe FAQs
- → Can I make these ahead of time?
-
Yes, prepare the bars up to 2 days in advance. Store unfrosted bars in an airtight container, then frost and decorate on the day of serving for best results.
- → How do I get clean cuts?
-
Let the bars cool completely before frosting. Once frosted, chill for 30 minutes, then use a sharp knife wiped clean between cuts for perfect squares.
- → Can I use homemade sprinkles?
-
Absolutely! You can make your own colored sugar sprinkles by mixing granulated sugar with food coloring and letting it dry overnight before decorating.
- → What if I don't have almond extract?
-
Simply omit it or substitute with an extra 1/2 teaspoon of vanilla extract. The almond extract adds subtle depth but isn't essential for delicious results.
- → Can I freeze these bars?
-
Yes, freeze unfrosted bars for up to 3 months. Thaw overnight at room temperature, then frost and decorate. Frosted bars don't freeze well due to the frosting texture.
